First Bike at 40: Learning to ride a bike as an adult

I didn’t learn to ride a bike when I was little. I grew up on a farm, so I learned to drive a tractor. Anywhere I would have taken a bike, I could take a tractor, so learning the bike never became a priority.

I learned to ride last year, and along the way I noticed that there isn’t a whole lot of information out there for how to teach yourself as an adult. To help fix that, I’m posting what I did and what I figured out along the way.

Choosing a bike to learn on

My advice for easiest bike to learn on is a cruiser style, single speed, lady’s model. Hundreds of these show up at your neighborhood big box store every spring for about 100 bucks. Single speed gives you the fewest variables to figure out. Cruisers have wide handlebars, which means a slight wobble in your hand position has less impact on your direction. (The first time I tried my wife’s bike, which has narrow handlebars, I found it to be very lively. It would have been a pain to learn on.) Regardless of your gender, you want the step-through (women’s) frame style. Sometimes something goes wrong and you need to get both feet on the ground. This is much more pleasant if the bike frame doesn’t hit you in the junk.

Training ground

You need a long stretch of concrete at least 8 feet wide to start. I used the alleyway behind my house. When you get to turns, you will want to find an empty parking lot.

Step one

Take the pedals off the bike and lower the seat so that you can sit with both feet flat on the ground. Start walking with the bike, and try to roll a bit between steps. Try to get to where you can lift both feet and glide for a second or two before you have to touch a foot down.

Try to make practice sessions half an hour or more, but no more than an hour. Enough time to make progress, but not enough to get frustrated.

Step two

When you can glide a bit, it’s time to put the pedals back on. Raise the seat to where you can touch with the balls of your feet. The goal is first to glide and get one foot on a pedal. When you can reliably do that, work on getting one foot on the pedal and pushing it to propel you forward. (Getting the pedal in position before you start makes this easier. You want it just forward of the top position, about 45 degrees from the horizontal.) Then work on getting the second foot on the pedal. When you get both feet going, you’re riding.

Step three

Okay, now we work on maintaining balance over distance, stopping, and adjusting the bike. The low seat makes learning easier, but lots of pedaling with the seat that low will wreck your knees. Every practice session, raise it half an inch or so, until your legs are nearly straight at the bottom of the cycle. Adjust it slowly so that it doesn’t feel all that different from last time.

See how far you can go in a straight line, brake to a stop, get off the bike, turn it around, and go again. When you feel like you are about to fall, turning towards the way you are falling can help bring you back.

If your bike has hand brakes, hit the rear then the front. Stopping the front first can make you pitch forward. If it has no hand brakes, you pedal backwards to stop.

Step four

Okay, now that you can go straight, work on making turns. Find a wide open parking lot and try a wide circle. Then start playing with figure eights and smaller turns.

The next step is simply to go somewhere. Ride to the park down the street or the grocery store or whatever. If you reach something that you think is above your abilities, stop, get off, walk the bike, and get back on when conditions are better. The more skilled you get, the more places you will think of that you want to ride to.

Cycling events

As soon as I could ride a few miles, I wanted to do official rides/races. I emailed the race organizers to ask their advice, explaining that I’d only been riding a month and I had never ridden in a group setting. They advised me to start at the back of the crowd and have a good time. I made it through the 8 mile with only a few minor problems and will probably sign up for the 20 miler this year.

Back from Beyond

It’s been awhile since I’ve written.

Two and a half years, two moves, some epic road trips, a divorce, a new start, a marriage, there’s a lot that’s happened since my last post.

Here’s the cliff notes version.

Big life events

I got divorced and moved back home late in 2019. I vented about my situation to an old friend, and in talking about past relationships we realized that we made a really good match. We were married just over a year ago, in the most awesome ceremony ever.

Fitness and racing

We managed to run one of the very last 5ks before everything shut down for covid.

Then things went on lockdown and fitness got more difficult, particularly as we were in a small apartment at the time.

I let fitness slip more than I should have, but am starting to get back to live events.

Fort4Fitness Spring Cycle

I had never learned to ride a bike when I was little, but I managed to learn this year. (I might do a separate post about this, if nothing else to beef up the limited information online on learning as an adult.)

As soon as I could keep from falling over, I had to find a race.

Did the 8 mile this year, debating the 20 mile next year.

Notre Dame Spartan

Spartan Stadium race at one of the few sports venues that I actually know of, only a two hour drive from my house. I couldn’t not do this.

This was my first real function check of how much all-around fitness I had lost over this whole process. Not as much as I feared, but more than I had hoped. Slower than I used to be, but still able to knock out most of the obstacles.

Midwest Super/ Sprint

Second function check, and I’m much happier with how I did on this one.

Completed some obstacles that I haven’t done in years, and more importantly got back to the pre-pandemic feel. Teaming up with strangers to get everyone through, not worrying about pace or ranking, just having fun.

Looking towards the future

While I lost some ground over the past few years, I’m in a much better place to regain ground than I have been in a long time.

Next race is Saturday, starting to plan out events for next year, continuing training. We have all had enough downtime these last few years. It’s time to get back after it.

Fighting Demons in Hell: Midwest Suck 2019

62012000_2086963684766072_7790115345368350720_n.jpg

This year’s Midwest Suck was held just outside of the town of Hell, Michigan. It was a great venue, and gave me a rare opportunity to tell friends that I would see them in Hell. It is also noted as being the most common location for sightings of the elusive Michigan Dogman. More on him later.

The event started with a trail run to spread out the pack, then went straight into the Mogadishu Mile workout. While keeping in constant contact with a 50# sandbag, 19 ground-to-overhead, 19 squats, 19 pushups with the right hand on the bag, 19 with the left, then pick up the bag and carry it for 1/4 mile (we went down the trail to a particular sign post and back), then repeat this process three more times.

By the time I got to the end of this, the heat was getting to me, I was consciously having to slow down to not feel nauseous, and the bugs had come out in force. All of this made me really happy when I found out the next task was in the water.

61986620_2086964254766015_3943162758098321408_n.jpg

61772201_2086964274766013_1905817099658330112_n.jpg

100 swim burpees, then a swim around the buoys that you can see in the background of the picture. Coming into it overheated, the water was delightful, and I knocked out the swim and reported for my next task.

Grab two empty buckets and hydration pack, go across the parking lot to a hand-operated water pump, fill them up and take them down the trail until you find a volunteer. The volunteer at the pump told us it would be a grind, not a sprint, and to pace ourselves accordingly.

By this point I was very near to the back of the pack, which always messes with my head, particularly on lonely dark trails where you can’t see anyone or anything around you. This is the stretch where I may have seen the Dogman, or possibly just a big raccoon. I had a short conversation with the eyes reflecting my headlamp, then hoped whatever it was was friendly and kept moving down the trail.

My mental state got better when I got to where I could see people in front of me, and I realized that I was gaining on people on the bucket carry. This has always been my weak event, and catching up with someone here had never happened before.

I reached the checkpoint at a fence across the trail, dumped the buckets, and carried them back to the start point empty. When I got back I was alerted that I was coming in close on time hacks and needed to step it up. Next task was a strongman circuit.

On the beach they had set out three rocks of varying sizes. Throw the small one over your shoulder, pick up the medium one to chest level, pick up the big one above knee level, and repeat that three times. I hulk-smashed my way through this one. I tend to be critical of my performance, but I was really happy with how I did on this.

Next was to repeat the trail run loop we ran at the start, to be completed in 45 minutes or less. I kept up a solid pace, checked back in thinking I had smashed the time hack, to find I had just barely made it.

Next was the Gut Check Murph. Ruck with 50# sandbag, 100 overhead press, put the ruck on, 200 pushups, then 300 box squats (in the ruck, using a bucket as the box). I expected the upper body portion to be the worst, but it turned out to be the squats. Without taking the time to take off the ruck (which no one was willing to do), there really is no way to take a rest break. If you rest standing you still have the weight on your shoulders, and if you try to rest seated you have to lock in your core muscles to stay in a seated position with the ruck pulling you backward.

Made it through that and proceeded to the Heavy Hump. 1 sandbag in the ruck, follow trail markings until they lead you back. Advertised as 6 miles but felt like a lot more.

This is where I started to let my personal demons get to me. Telling myself that I didn’t deserve to be here and starting to hope that I wouldn’t make this time hack. Then I made the time hack, told my brain to shut up, and moved on to the next task.

Bodyweight PT cycle- 100 decline situps (head downhill), 100 stepups on the seat of a picnic table, 100 tricep dips, and 100 lunges. I managed to complete this before a few racers who had passed me on the heavy hump and moved on to the next task.

Fill a bucket of water from the lake, carry it to the water pump and back without spilling too much (if you don’t return with enough, about 3″ down from the top of the bucket, then you have to do it again). You must carry the entire distance bear hug style, which turns out to be the most awkward possible way to carry a bucket. Since the turnaround point was a water pump and the instructions had been vague (we were only told to “return with enough water”) we topped off to make sure we had enough and were extra careful on the return trip.

Next movement: Both sandbags, both buckets clipped to the ruck, axe, and life jacket (literally all the required gear) need loaded up and carried up this trail. In my case, I was close enough to time hacks that I had all of 6 minutes to prep my gear and be ready to move out.

As can be expected, the resulting packing job was a horrendous gypsy camp that was stupidly uncomfortable to carry. Part of me wanted to stop and repack it more efficiently once I was on the trail, but I knew I was short on time and carrying 130 pounds of gear is going to suck no matter how you do it, so I just left it and kept trudging on.

After some distance we were allowed to drop one sandbag and continue on with the rest. An indeterminate amount of time and distance later, we were met by volunteers who instructed us to drop everything but the life vest and continue down the hill.

Get to the bottom, swim across the lake and back, back up the hill to where you left your gear. Once there, grab your axe and chop wood (cutting a notch into a log until the volunteer said it was deep enough). Then load up and get all your gear back to base camp.

It was not actually said that we would be done at the end of this march, but several of us assumed that it would be, and I let that idea get a little too much into my head. I kept telling myself just a little more, almost home, the pain will stop soon. Then I got there and it wasn’t over. My mind really wasn’t in the right place at this point, and I had been telling myself that I would quit if this wasn’t the end. For reasons that I still don’t understand, I got there, it wasn’t the end, and I just picked up my sandbag and kept moving.

The next movement was the same route as the water bucket carry the night before. Carry one sandbag and one bucket, return unloaded, repeat with the other sandbag and bucket, then continue down the road until met. There was minimal enthusiasm at this point, we were all pretty well beaten down. As I was returning for the second sandbag, one of the other racers told me that instructions had been changed and we were to proceed down the road from wherever we were now.

It turns out that moving down the road was to bring us into the town of Hell to have an awesome location for the finish line. We had to do 666 feet of burpee frog jumps and then a sprint to the Gates of Hell.

61630889_2086653644797076_387753843665928192_o.jpg

61862375_2086653708130403_9140979840969605120_o.jpg

I made it. Just barely, but I made it. And I realized that my biggest problem is how my mind responds when I know I am just barely making it. Notes for next time:

I need to accept that I am going to be barely making it for awhile yet. These events are tough, and while I’m better than I used to be I’m still not any example of peak performance. This is where I’m at, and I need to be okay with that.

My strength training seems to be on the right track. My speed training needs some work. There was a period of several hours where other racers would pass me on a run/ruck task, I would complete a strength task fast enough to move back ahead of them, and they would pass me again on the next movement. These events cover too much distance for speed over ground to be my weak point.

Adjusting training, getting my head back in the game, and preparing for the 36 hour.61843419_10218024349467567_3925440898401304576_o.jpg

Lift Heavy, Shoot Straight: Desert Brutality 2019

This was the second year for this event, and since I won a plate carrier the first year, I decided to shoot in armored division this year. To allow more people to shoot the match, the match directors put out a request for volunteers to shoot it early and complete all 8 stages in one day. I jumped at it. In addition to giving someone else a chance to shoot on the weekend, it gave me the additional challenge of doing it in half the time and gave me the weekend to drive home.

A new rule was put in place this year, that you cannot leave any targets standing. Last year there were a few stages where I left a difficult target in order to get to the part of the stage I would enjoy more. Overall, I like the change, as it eliminated uncertainty of how much time to spend on each part of the stage, and it didn’t prevent me from getting to anything that I really wanted to do.

Note: As usual, pictures were taken whenever I had time, often when the stage was being reset, and sometimes show people downrange. Obviously everyone got off the course before shooting started.

Stage 1: Office Space51607290_10217141364233488_2720853582923431936_n.jpg

Start with pistol holstered, rifle empty and slung. Use your pistol to engage the evil Polish plate rack (targets start spinning as soon as you knock out the first one), clear pistol, then crawl under this table:

51168245_10217141364553496_4971717128097890304_n.jpg

Run to the next door and engage two mini-mo targets (a hit to the center of the chest pops up a head target, which you then hit and knock back down) go over a desk to a barricade at the next door:

51130343_10217141365313515_1858546131252805632_n.jpg

And shoot the Texas star through the ports, one shot per port, cycling through all of the top five holes.

51607278_10217141365673524_8627524725595176960_n.jpg

Then find a way through and over this mess:

51454158_10217141365993532_4671535756336955392_n.jpg

Engage one more mini mo target, clear the pistol, and run to the bleachers for the rifle portion.

51590793_10217141363313465_62584528270524416_n.jpg51081775_10217141363673474_1205650796625002496_n.jpg

Several shooting positions were marked behind the bleachers. One shot, move, one shot, move until you clear the plate racks.

My run: I had a lot of trouble with the Polish plates, and even more with the barricade, where I timed out.

Stage 2: Fighting holes.

Start way around the corner from the targets.

51791248_10217141371713675_1244746329142329344_n.jpg51186826_10217141371273664_6498315991640965120_n (1).jpg

You run around the berm, crawl over these water containers:

51569592_10217141366713550_7443880894718279680_n.jpg

Shoot one steel target, then a lot of paper targets as you move towards three fighting holes.

50992422_10217141368113585_8041122043124514816_n.jpg51245385_10217141370993657_2181861927741816832_n.jpg

Get in the first hole, hit three steel targets, go back to the first, hit them all again, then run to the next hole and repeat.

I started out with a dumb mistake, firing the first shot and realizing I had forgotten my hearing protection. The second run went reasonably well, balanced moving quickly with controlling breathing to make my hits. I was bringing my sights on target for the last shot when I timed out. One shot shy, I’ll take it.

Stage 3- Obstacles and Rabbits

This stage was a lot of fun. Pistol holstered, rifle slung, run and climb over these obstacles:

50992424_10217141380473894_3728394112462749696_n.jpg

Load the rifle, shoot the bad guys hiding among all the no-shoots-

51030661_10217141379753876_8179242590726520832_n.jpg

Clear rifle, run to the next bay, engage some paper, kick over an activator that launches a “rabbit,” a clay pigeon that is rolled along the ground. Shoot the rabbit without hitting the no-shoot that it rolls behind.

51304453_10217141378513845_3703033301242478592_n.jpg

Clear rifle, run to next bay, draw pistol, shoot some small steel targets, run up and kick another activator for another rabbit.

51464787_10217141372633698_3830854616052924416_n (1).jpg

All of that in 3 minutes or less.

My run: I did well with the rifle, waited for the rabbit to clear the no-shoot then machine-gunned it. I was gassed and breathing hard when I got to the pistol. The coaching from the RO changed suddenly when I hit the last steel target. “Slow press, make your hits, good.” *Last hit.* “HURRY RUN GO GO GO JUST SHOOT AT IT!!”

I emptied my magazine at the rabbit, didn’t hit it. There is no penalty for missing the rabbits, 15 second bonus for hitting them, but a 1-minute penalty if you don’t at least get a shot of at them. This was the reason the RO told me to hurry. I finished with less than 2 seconds to spare.

Stage 4: Kasarda Drill

51020944_10217141380993907_3976984839575306240_n.jpg

This one is as simple as it is brutal. Go prone, make one hit on the bottom of the spinner, throw the 62# kettlebell. Run to the kettle bell, go prone, one hit. Repeat until you reach the 50 yard marker, then engage/flip the spinner.

I did reasonably well at this stage, although a malfunction on the rifle used up enough time that I didn’t complete the spinner. Stuck case, collapsed the stock to mortar-clear it, stock then got stuck in the collapsed position. I ended up reaching the 50 yard mark with about 10 seconds left.

Stage 5- Lt Dan and the Mortar Tube

Start in the shoot house with 5 rounds in the rifle, all other ammo in the plate carrier in the next bay. engage 5 clay pigeons in cardboard backers from the doors/windows:

51116904_10217141381273914_3919907911077199872_n.jpg51038287_10217141381593922_456827556419600384_n.jpg

Then run, pick up your ammo, rescue Lt. Dan (the steel silhouette weight), and carry him back to the shoot house.

51208972_10217141383513970_2308424636745908224_n.jpg51415520_10217141382793952_501746716697952256_n.jpg

Drop Lt. Dan, run to the next bay, engage a steel target with the rifle, then pick up and carry the mortar tube.

51116883_10217141383073959_4097835199126044672_n.jpg

Go back to the shoot house, drop the tube, draw your pistol, engage two steel targets, and clean up any of the clay pigeons that you didn’t get with the rifle.

Lt. Dan is heavy. I came in just a touch slow, again timing out one shot shy of completing it. Still had a lot of fun with this.

Stage 6- Wobbly Prone and Pistol Spinner.

51156337_10217141384073984_4727449113770065920_n.jpg

Start at the back of the bay next to your targets, run to this suspended platform:

50548267_10217141384673999_4213535167039406080_n.jpg

The platform moves from you getting onto it, keeps moving, and even recoil is enough to make it move more. Targets are clay pigeons in cardboard backers and one static steel target. Break one clay, one hit on steel, next clay, one hit on steel, repeat until all the clays are broken. Then run over to the rooftop prop and engage the pistol spinner.

51161351_10217141384353991_6205151501225033728_n.jpg

The wobbly table was something I could work with once I got used to it. The clays with cardboard behind are a deceptively difficult target. They are just small enough for close-range holdoffs to be necessary, and the cardboard prevents you from seeing where the bullets are hitting, so when you are missing it is much more difficult to correct. My repeated missing low eventually tore a big enough hole for me to see where I was hitting, and then I could hold off and start making hits. I think I had four of the five clays broken when I timed out.

Stage 7: Screw It, I’ll Bomb Tokyo Myself!

Start seated in the back of a WWII bomber mockup:

50959466_10217141385354016_1064049946828734464_n.jpg

Run to the window, pick up your rifle, and engage paper targets through the windows.51057068_10217141391034158_196810360873811968_n.jpg

Climb up the stairs and engage more targets from the cockpit.

51035029_10217141386554046_5253429595025178624_n.jpg

50916981_10217141387794077_5833583997728325632_n (1).jpg

Drop the rifle into a sled at the front of the plane, run to the back and pick up the bomb.

51291872_10217141390754151_7028036912669523968_n.jpg51401431_10217141388554096_747018533602328576_n.jpg

Carry the bomb to the next bay, drop it on the bullseye (tire on the ground) then engage some steel pistol targets while moving across platforms.

51389709_10217141388874104_5992595923388071936_n.jpg51145979_10217141390434143_8989179728040558592_n.jpg

I completed this stage with only one hiccup. I walked past a target, had to moonwalk backward to go back and get it, then forgot what targets I had already hit and just shot them all again. (Guys taping the targets referred to it as “You straight up murdered those people.”)

Stage 8- Math Class

Flip over a card that will give you the number 2, 3, or 5. You then must engage all numbered targets divisible by that number.

After you flip the card, pick up the machine gun and carry it through the tunnel.

51110839_10217141392594197_3731816836325441536_n.jpg51156337_10217141393074209_3444122553696649216_n.jpg

Get yourself and the machine gun under the roof, and engage the numbered targets. If you hit the wrong number, it counts as a no-shoot.

51165029_10217141393394217_959931044696424448_n.jpg

Run to the next bay, put the machine gun and rifle in the trunk, climb into the car through the passenger window, and engage targets with your pistol.

My run: I skipped one target due to a simple brain-fart, other than that shot it clean. I was later to learn that there are more elegant ways of getting through a car window than the headlong dive that I used.

With that, we were done, and we managed to get the last shooter through about 20 minutes before we lost daylight. Great time and I learned a lot, both from experience and from advice from my fellow shooters.

A closing note for my readers who are intrigued by this type of shooting but worried that they are not yet skilled enough to go to a match: You will notice that I timed out of more stages than I completed. I still had fun, still learned things that will help me do better next time. As long as you can handle a gun safely, all that anyone asks is that you show up and do your best.


No One Cares What You Can Do Fresh: Heavy Drop Training Round VIII-18

30739505_2052961064733219_246500774551486464_o.jpg

I had only a rough idea of what this program was when I signed up for it, but had heard several people say that it was extremely effective. I had 6 weeks open in the training plan I had laid out, and it allows me to get an awesome patch, so I signed up for it.

Pre-Work

Before starting, you determine how strong and fast you are when you are fresh. How many pushups can you do in 2 minutes, situps in 2 minutes, burpees in 5 minutes. You also have a run and a ruck for time, at whatever distances you choose. (I did a 3-mile run and a 4 mile ruck.)

Basic plan

It is a 6 week program. You choose either the sandbag or bodyweight version (I did sandbag) and to have a battle buddy or to “fly solo” (I had a battle buddy).

You earn points for every workout, run and ruck you do, and the team with the most points wins a discounted entry into the next round. This is where having a battle buddy helps a lot for motivation. I will sometimes slack off and make excuses to not get a workout in when it is just me. When missing a workout would be letting down a teammate, I’ll find a way to get it done.

Every week you have 3 main workouts (upper body, lower and core) and one bonus workout (called a “care package”). In addition, you have one run or ruck each week (run one week, ruck the next), one 6-mile ruck that needs done within the first 3 weeks, and a 12-mile ruck within the last 3 weeks. So your to-do list looks something like this:

Week 1: 3 main workouts, care package, run. You may do the 6-mile ruck anytime in the next 3 weeks.

Week 2: 3 main workouts, care package, ruck.

Week 3: 3 main workouts, care package, run. Get the 6-miler done if you have not done it yet.

Week 4: 3 main workouts, care package, ruck. 12-mile ruck is now fair game.

Week 5: 3 main workouts, care package, run. Check your run time improvement and feel good about your progress.

Week 6: 3 main workouts, care package, ruck. 12 miler if it is not done yet. Get all of this done a day early. (More on that later.)

The Workouts

The slogan “no one cares what you can do fresh” didn’t make a lot of sense to me at first. Then I did the first workout, and it was perfectly clear. We test how many pushups you can do, do a bunch of exercises to wear out every muscle involved with pushups, and test how many pushups you can do at the end. How much can you do when you are already worn out?

Workouts for the coming week are posted on Sunday, with YouTube videos showing how to do each movement. Basic format is usually do several rounds of one exercise with specified rest breaks, then repeat the process for another four or five exercises. For example:

4 rounds of 12 crocodile pushups with maximum of 60 seconds rest between rounds.

3 rounds of 15 sandbag cleans, 60 seconds max rest.

4 rounds of 10 overhead sandbag press, 30 seconds max rest.

3 rounds of 10 ruck rollers, 60 seconds rest.

4 rounds of 10 sandbag ground to shoulder, 90 seconds rest.

Now that you can barely lift your arms, test pushups.

60 seconds rest, test pushups again. This last set will be very humbling, but also push you to give it all you have.

(Quick tip: I found it useful to set a stopwatch on my phone and leave it visible through my workout. I could see that I finished that set of ruck rollers at 7:04, so I need to start the next one before 8:04.)

Care Packages

Weekly bonus workouts are posted on Tuesdays. They generally don’t look too bad when you read them, and suddenly seem a lot more difficult when you start doing them. Most are in the format of set a timer, and do as many rounds as possible of this list of exercises, i.e. 20 minutes of 10 overhead press, 10 good morning, 10 squats and 10 cleans, rinse and repeat.

Rucks and Runs

Each week, you will be given a time goal for your run or ruck, based on your previous time. The goals were more ambitious than I would have set for myself, but I managed to hit them more often than not.

Scoring

You are given access to an online spreadsheet to mark your workouts done and note particular details (like how many pushups you could do at the end of the upper body workout). Your battle buddy then fills in the points for what you have gotten done (3 points for a workout, one point for a care package, run, or ruck). The point value for the 6 mile and 12 mile ruck are determined after you do them, so you don’t know in advance how important they are to your score.

Now for my advice about getting everything done a day early: If there is a tie for winners (top 3 teams get prizes), then the tie breaker is a care-package-like workout that needs done that last Sunday of the program. Do not be that guy who has to do that on the same day as the 12-mile ruck. I was that guy, and it was not pleasant.

Should you not make it into the tie breaker, the workout is posted where you can access it. Do it anyway and see how your score ranks.

Results

The hype on this program turned out to be true. I took a few minutes off of my ruck and run times, and had significant improvement in all of my pushup/situp/burpee scores.

While it is not what I tend to judge workouts on, I did notice that this is one of the few programs I have been on that made a visible difference in how my body looks in this short of a timespan. Muscles of my upper arms, shoulders, and back have grown noticeably, my posture has improved a bit, and the muscles that my ruck straps bear on don’t wear out on long rucks like they used to.

I absolutely reccomend this program. If interested, you can check it out here.

No Squads, No Problem: Red Oktober Kalashnikov Championship 2018

43250091_10216287877816861_651450288586096640_n.jpg

This was my second year at this match, and my first time here as a regular competitor rather than a volunteer, so it was interesting to see the new changes.

Overall, stages were shorter and simpler than last year. Not working the match allowed me to check out vendors and shoot new guns for free (including the full auto pictured above) which was awesome. The biggest change was the new idea of “open squadding.” Instead of a group going from one stage to the next together, in order, you could individually go to any stage at any time, so if there is a long wait at one stage you can bypass it and come back to it later. It worked well, as there was only one stage that I had to wait a significant time on.

Going through the stages in the order I shot them, numbers based on my memory.

Stage 3- Start in this box:

43245312_10216287868576630_3359874498147909632_n.jpg

Run to the table, pick up your rifle, and engage 6 steel targets with one shot each. Then run to the next table:43335414_10216287868216621_5679977567583469568_n.jpg

And shoot 6 more targets. Left handed shooters go to the opposite table first, to make it easier to keep the muzzle downrange when running between the two.

Stage 4- Shoot paper targets from colored planks. You must be completely on the plank when you shoot, and you shoot the targets color-coded to the plank you are on.

43266591_10216287869336649_6290124508598632448_n.jpg43242475_10216287869696658_735313815712825344_n.jpg

Stage 5- Rivet press and shoot house.

You start seated at a press, compress a 7.62 case to shorter than a 9mm case, pull a cord to activate a moving target, then grab your rifle and engage all the targets through the windows. You have four 10-round magazines that are located around the shoothouse.

I did not get good photos of the inside of the shoot house, but here are the photos I have to either side of it.

43247215_10216287870616681_7702463730100994048_n.jpg43385902_10216287870976690_4918923128102453248_n (1).jpg

Stage 6: You start with the rifle in one hand and this sickle in the other:

43314868_10216287872936739_7316748239259041792_n.jpg

At the start beep, you stab the fascist invader with the sickle:

43234146_10216287871976715_7139903540666826752_n.jpg

The cord attached to the sickle activates a moving target, then you shoot and move around the barricades to engage all targets. 43312933_10216287873416751_3123531089323229184_n.jpg

I noticed on this stage that many shooters were considering the sickle as just an activation switch, which takes a little of the fun out of it. If the idea is stabbing the enemy before you start shooting, it is so much more fun to do it in character.

“Shooter ready. Stand by. BEEP.”

“FOR THE MOTHERLAND!”

As I was leaving, I heard the next shooter behind me also start with a battle cry.

Stage 7- Crawl through the tunnel with an AK mag with one round in it, fire one round through the stage gun, then pick up your gun, shoot paper targets on either side of you, then go into the tank and shoot the rest of the targets through the ports. (A bit of explanation: This was originally intended to have a bolt-action as the stage gun, which would have made more sense than shooting their AK and then your AK. The bolt action they intended to use had a mechanical failure, so they substituted a basic AK to keep going.)

43296963_10216287875616806_8303074237401268224_n.jpg

43264735_10216287875176795_1810523904347734016_n.jpg

This was one of a couple stages where I decided to do things that made it more fun for me, but that likely hurt my score. I engaged all the targets that I could from the tank, even though I could have shot them from outside it, just because 1) the shooting angles made it more interesting for me and 2) it’s a tank, of course I want to play in it.

Stage 9: Rifle starts in a wooden crate, with ammo loose or on stripper clips. Speed loader can’t be in the box, but there was no rule against having one on your person. Open the crate, load, move to a shooting box, shoot 5 targets, move to the other shooting box, shoot the other five targets.

43384936_10216287878936889_2259471965305700352_n.jpg43268406_10216287879336899_6980303505135239168_n (1).jpg

I learned a few things on this stage. There are good stripper clips and garbage stripper clips. The ones I had were garbage. A cartridge got stuck on both of the ones I used, and I would have been faster loading from loose. I then got flustered, forgot to shoot one of the targets, and told the RO that it wasn’t a miss, I didn’t shoot at it (which is a stiffer penalty). Make sure you test your gear before you need it, and keep your head on straight when things start to go wrong.

Stage 10- Vietnam Cooper tunnel

43250634_10216287879776910_2856542259912900608_n.jpg43345386_10216287881176945_3663147052361056256_n.jpg

Your rifle starts in the middle of a tunnel covered by wooden slats. You pick up a helmet that triggers a “mortar” boobytrap, go into the tunnel, pick up your rifle, shoot 2 targets, get the rest of the way through the tunnel, stand up and shoot 4 targets, then crawl through a second tunnel, hit an activator plate, and shoot 2 static targets and one moving target. There is a penalty if you displace any of the slats covering the tunnel, so you have to keep your head down. (A friend’s 13-year-old son shot the match, and he smoked everyone on this stage.)

Stage 2: Technical

43395770_10216287884217021_7194086082114224128_n.jpg

You start manning the machine gun in the back of a pickup truck, rifle on the side toolbox. At the start beep, you grab your rifle and shoot two steel targets:

43241233_10216287882816986_6630483903549276160_n.jpg

Then jump out of the truck, run to the shooting box, and shoot the paper targets around or under the barricades. The area painted yellow was specifically noted as a place you could shoot under.

43362306_10216287883857012_6373810739475382272_n.jpg

When the RO asked if I understood what I needed to do, I said yes, but that I was going to shoot it differently than most had been doing it. He paused for a moment. “Am I going to be happy with how you shoot it?”

“Umm, you will have no reason to be scared?”

“Okay. I am going to stand behind the truck.”

Again, I did things that hurt my score by a few seconds to make this more interesting. You could shoot all the paper from as close as possible, and you could get a clear shot at everything without having to shoot rollover prone under the barricade, but I shot the far targets as soon as I was in the shooting box, shot under the wall, and I think I re-shot some of them that could be engaged from more than one location. (That last one is something I do whenever I am unsure, as it is better to waste 2 more rounds than to leave a target untouched because you forgot what was what.)

My run on this stage went really well, and was probably my favorite stage of the match.

Stage 1: Golan Heights

43374040_10216287887857112_1511328218991296512_n.jpg

You start by firing a mortar (dropping a bar with a blank cartridge attached into a tube) then crawling through a section of pipe to the table where your rifle is.

43249591_10216287888457127_1412636690937282560_n.jpg

Go to the first barricade, shoot 2 long range steel torso targets, shoot 2 plates on a close plate rack, move to the next barricade, do it again, move to next barricade, do it again.

43258892_10216287889017141_7519013535016288256_n.jpg

Every good match has that one stage where you experience a total dumpster fire. This stage was mine. I had a lot of trouble hitting the distant targets and timed out. I have been told that AK sights have more trouble in varying light conditions than other sights, and I remember thinking that the light conditions when I shot it made my sights look weird. I can’t think of anything else to explain it.

Practice with AK sights more, and I think re-blacking the sights before next year would be a good move.

It had been raining on and off for much of the day, but about this time a storm blew in and most of us called it a day. Get to the hotel, get the gear dried out and lubricated.

43357826_10216292508172617_5886699093773778944_n.jpg

Come back in the morning to shoot the one stage I had bypassed.

Stage 8- Afghanistan.

43433859_10216296439910908_5899100176185819136_n.jpg

43614932_10216308521852949_7780409393589256192_n.jpg

Climb over the rooftop prop to the barricade, use it as a rest, shoot three long-range torso targets:

43548812_10216296440750929_5900079450204143616_n.jpg

Move to the higher barricade, shoot them again:

43436565_10216308521772947_1315541739666145280_n.jpg

Then climb on top of the roof prop and shoot closer round steel targets:

43360711_10216296439510898_3934670680041193472_n.jpg

I had a good run here and felt that I somewhat redeemed myself from failing on the long range the first day. One of the ROs at this stage let us try XTech magazines to get our opinions of them (and got the above photos of me using it). I liked it enough to pick up one of the Red Oktober souvenir mags before I left.

43442092_10216305689342138_9126519046861225984_n.jpg

While this is a rifle-only match, they had a 9x18mm pistol “game” in one of the bays.

43325199_10216296441270942_6423223208639463424_n.jpg

43320998_10216296443310993_1956580572260204544_n.jpg

I did not do particularly well at it, but it was fun. The first target (nicknamed “Big Ivan”) took 3-4 quick hits to knock down, and I didn’t slow down enough to make my hits on the smaller targets.

I put off writing this for longer than I intended to, so I may have forgotten small details of some of the stages, but this gives you a good idea of what they had this year. I had a great time and can’t wait to see what they do with it next year.

State of the Monk Address 2018

I haven’t written in awhile. Either events that I did were too similar to events that I have already written about or I failed too hard to have anything to write, and I stopped making time to put anything on this blog. Time to catch up on what has been going on and what you can expect to see here:

Spartan, Tough Mudder, and one GORUCK were similar to previous events (except that they all seemed to involve a lot of rain.)

I had some great firearms training with Rev-Tac and with GORUCK Firearms days. I highly recommend both, but unfortunately will not be posting AARs. (If you post about races or matches, people want to come do it too. If you post about training and what you learned, people think they know that now, so they don’t need training. To avoid this, I only write about the former.)

I had a DNF at the Suck. The weather was warm and humid, and I had spent too much of my training time indoors. My body started indicating that something was not medically okay a few hours in, and I dropped and volunteered rather than scare the medics like I did a couple years ago.

I shot the Red Oktober AK championships again this year, and I will post a write up of that soon. I am signed up for Desert Brutality 2019, and will make certain to post a write-up.

Biggest news related to this blog: I am devoting all of my training for the next 10 months or so to one event. I decided I have been saying “next year” for too many years, and signed up for the 36-hour Ultimate Suck. I am using a few different training plans to prepare for that, and I intend to post reviews of them, similar to the Pathfinder review that I did some time ago. First up will be Heavy Drop Training, which I am doing now, to be followed by several rucking-based and wildland firefighter plans. I will be posting those and measuring progress as I complete each program.

This post is just a quick check in to show that the blog is still going. Look for more to come in the next week or so.


Desert Brutality 2018

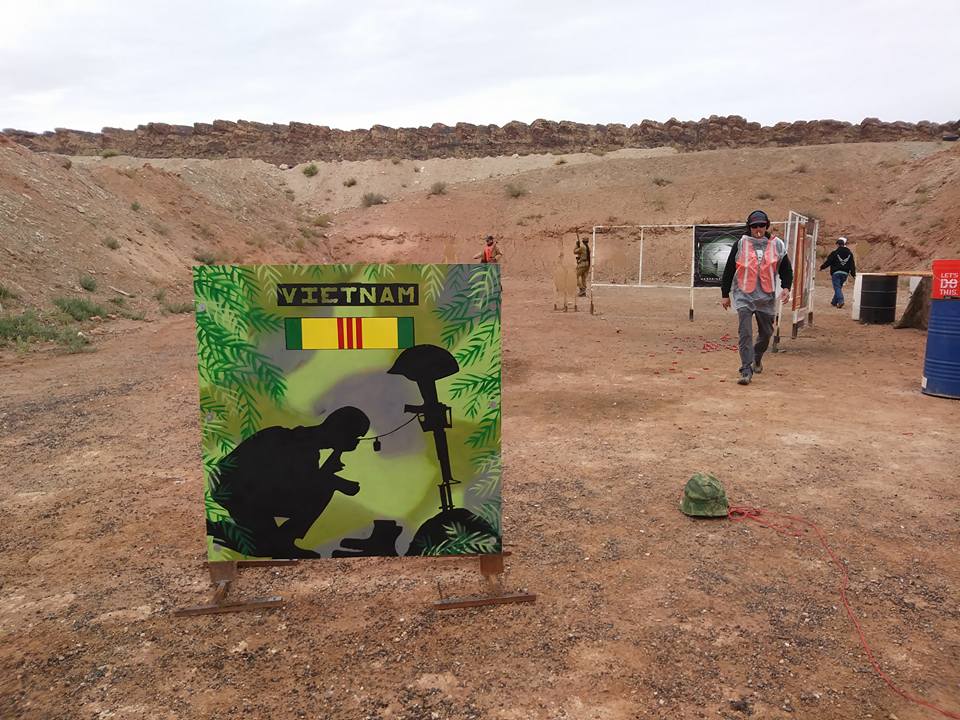
When I  heard that InRange TV was putting on a bigger, badder version of the 2 Gun Action Challenge Match, I was on board instantly.

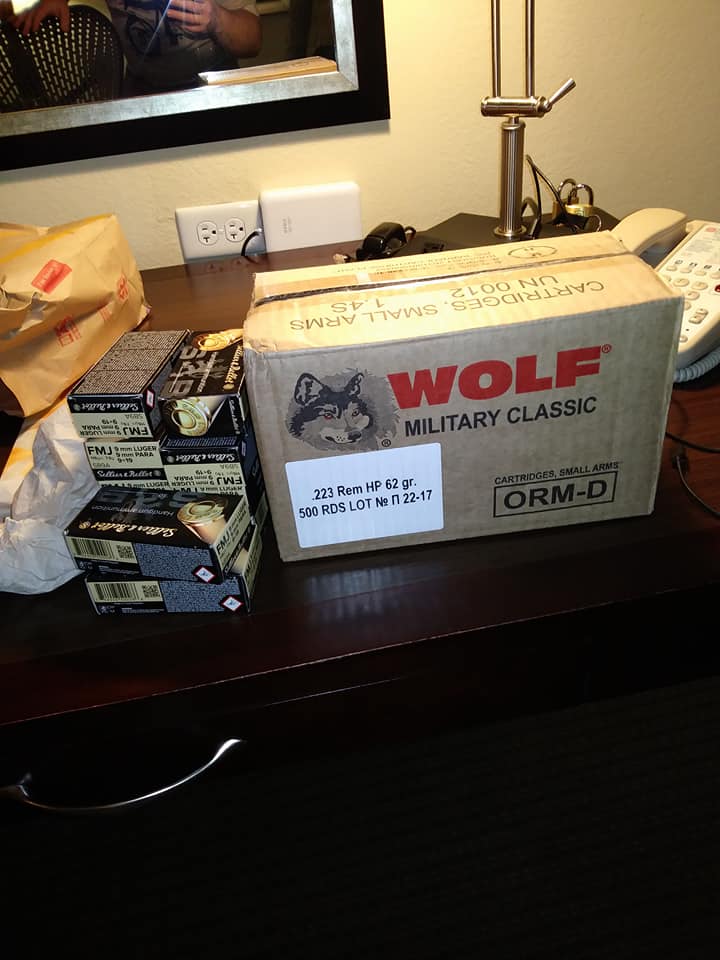
This was the first match that I had to fly to, which it turned out I worried about a lot more than I needed to. The gun case turned up where it was supposed to, ammo that was shipped ahead to a friend nearby was there and correct, all good to go.

27459014_10214419223501671_8187154825746387313_n.jpg

Day 1:

Found check in, found my squadmates, had the safety briefing and match overview. The only thing unusual was the penalty system: every penalty, miss, failure to engage, procedural, whatever, was 60 seconds, the logic being that in any form of military or law enforcement action, an errant bullet or an opponent not stopped is a huge issue, so put a big penalty on all of it.

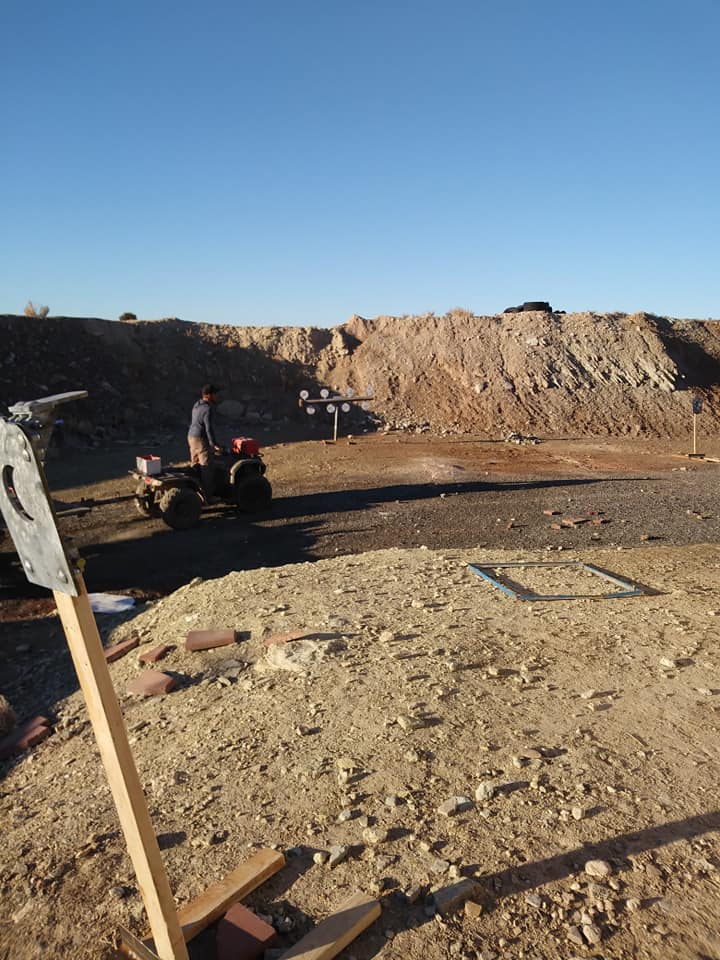
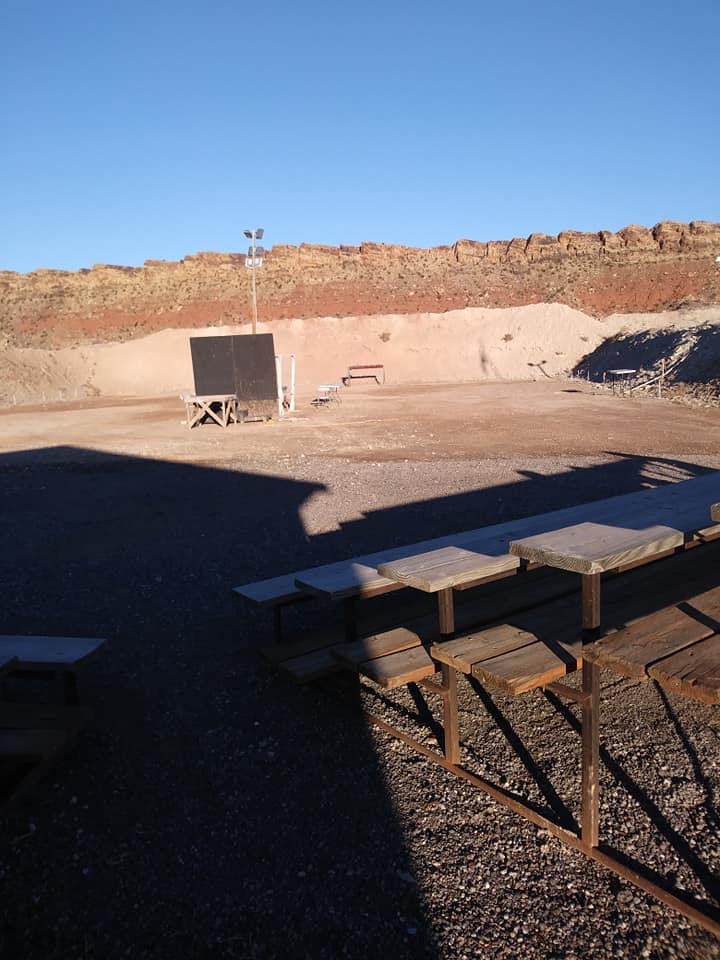
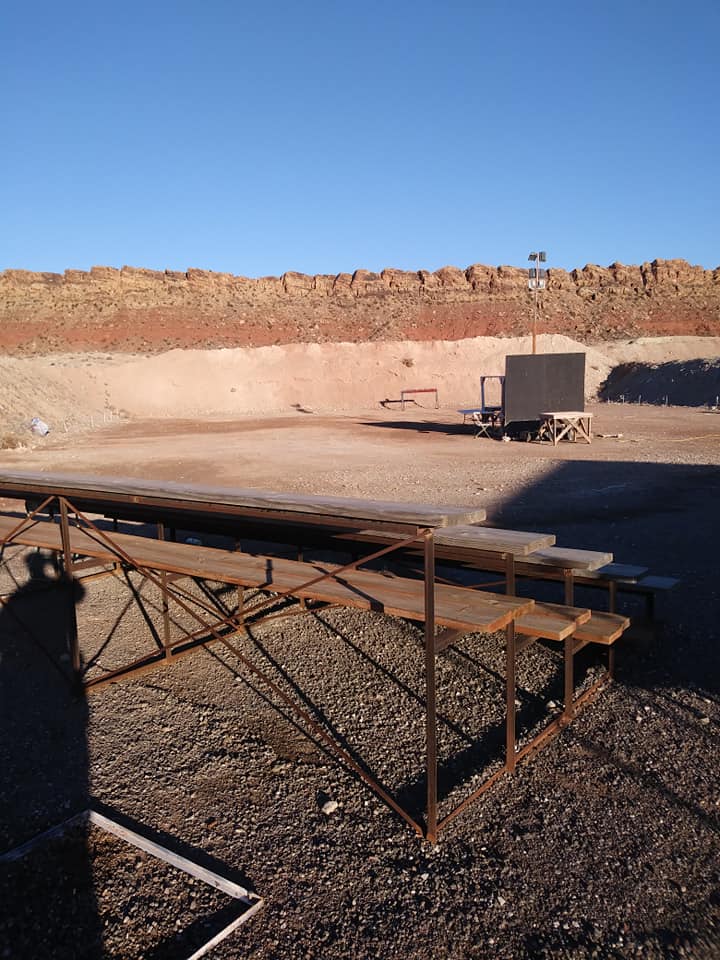
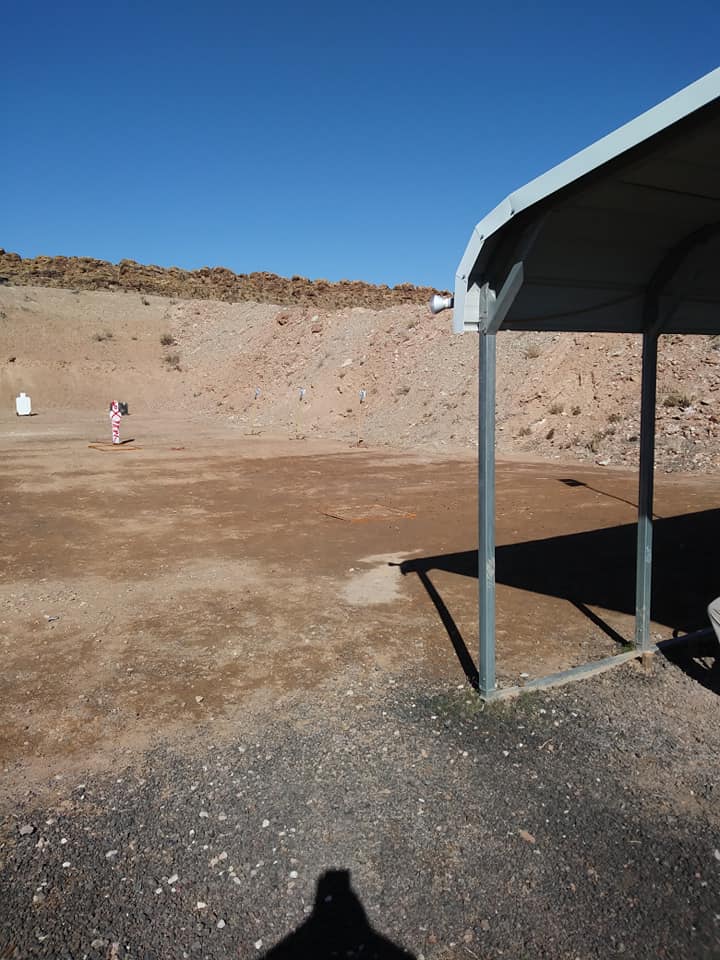
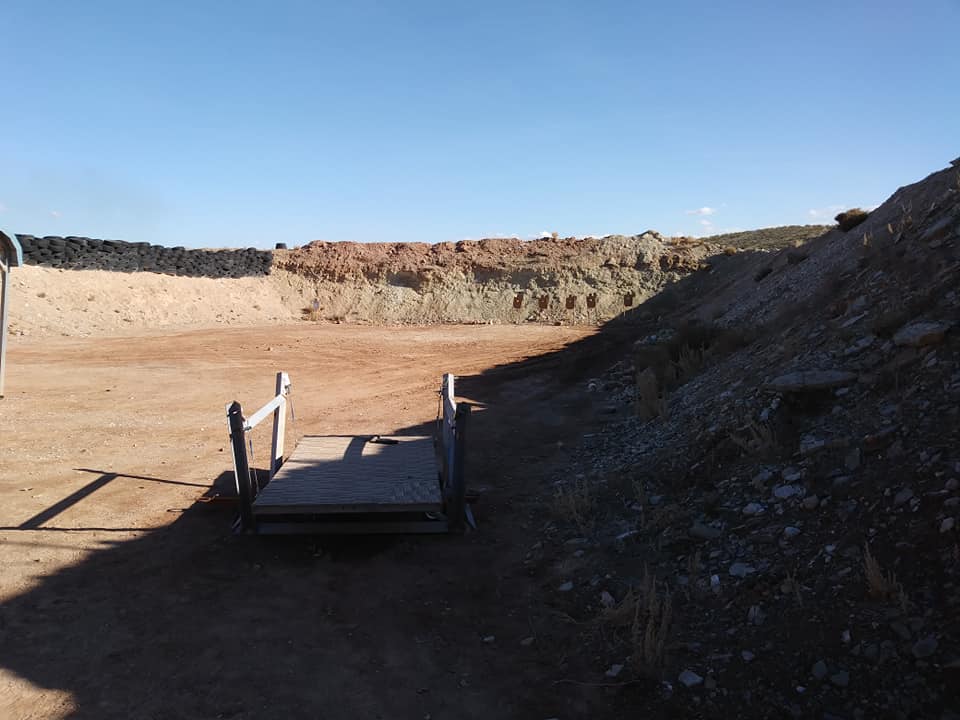
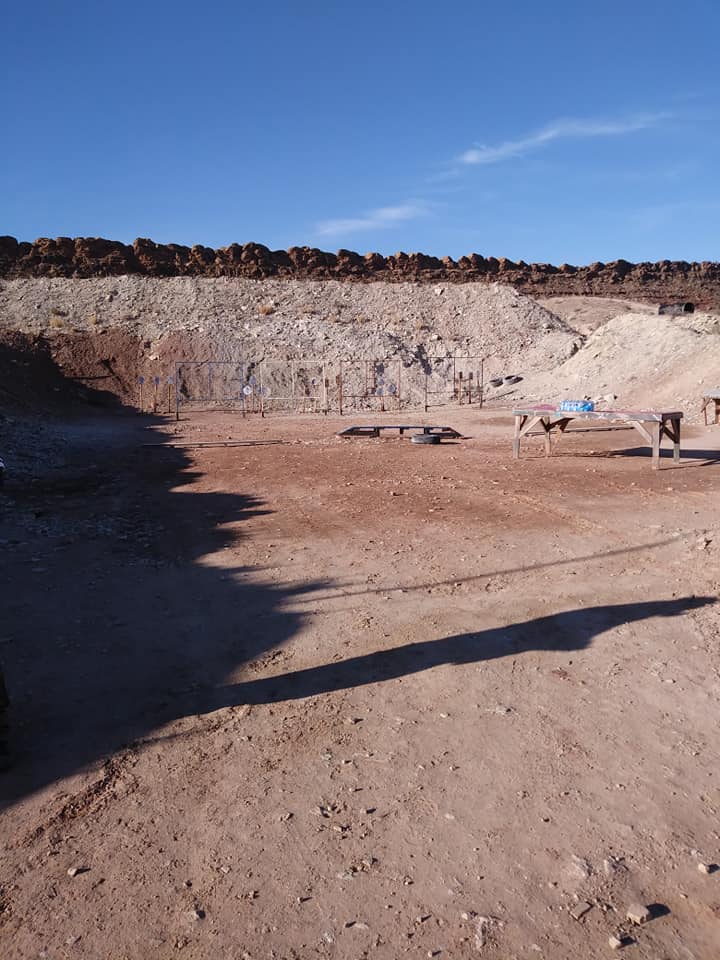
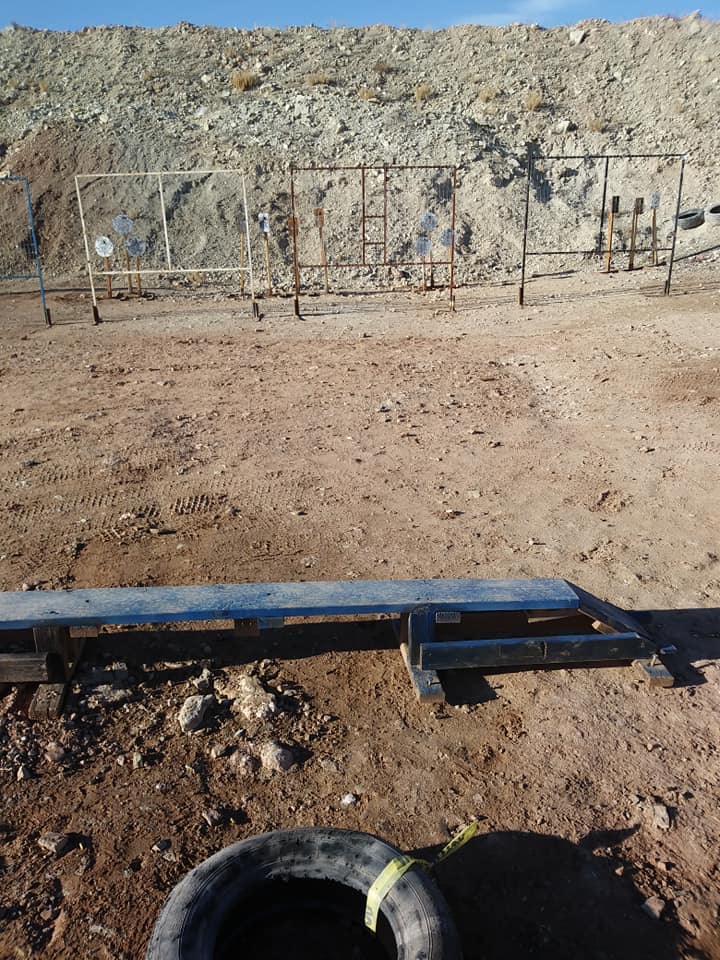
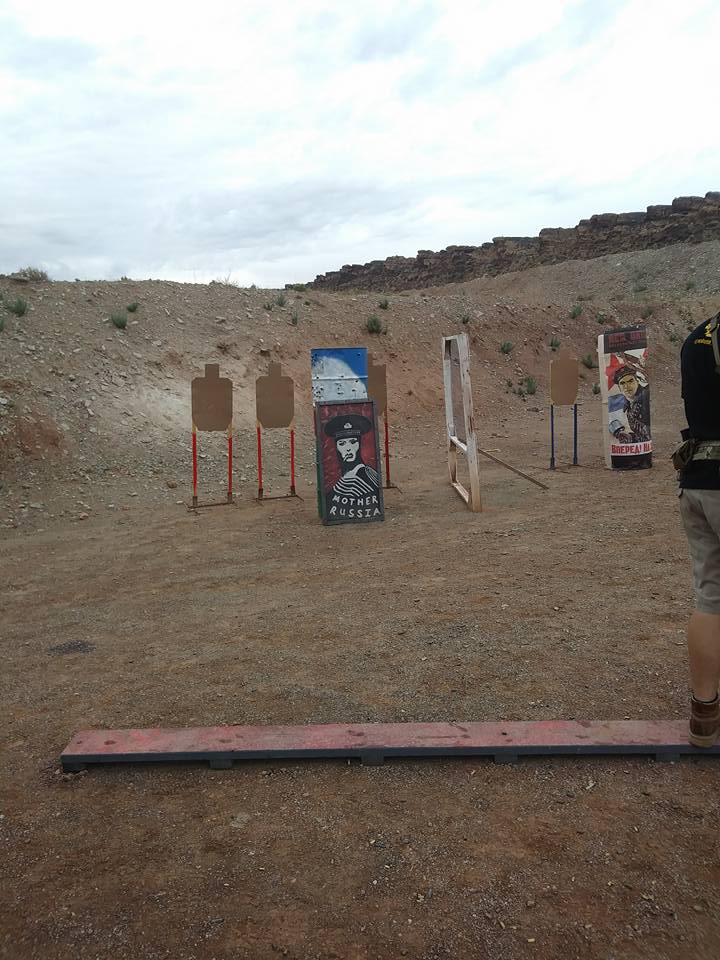
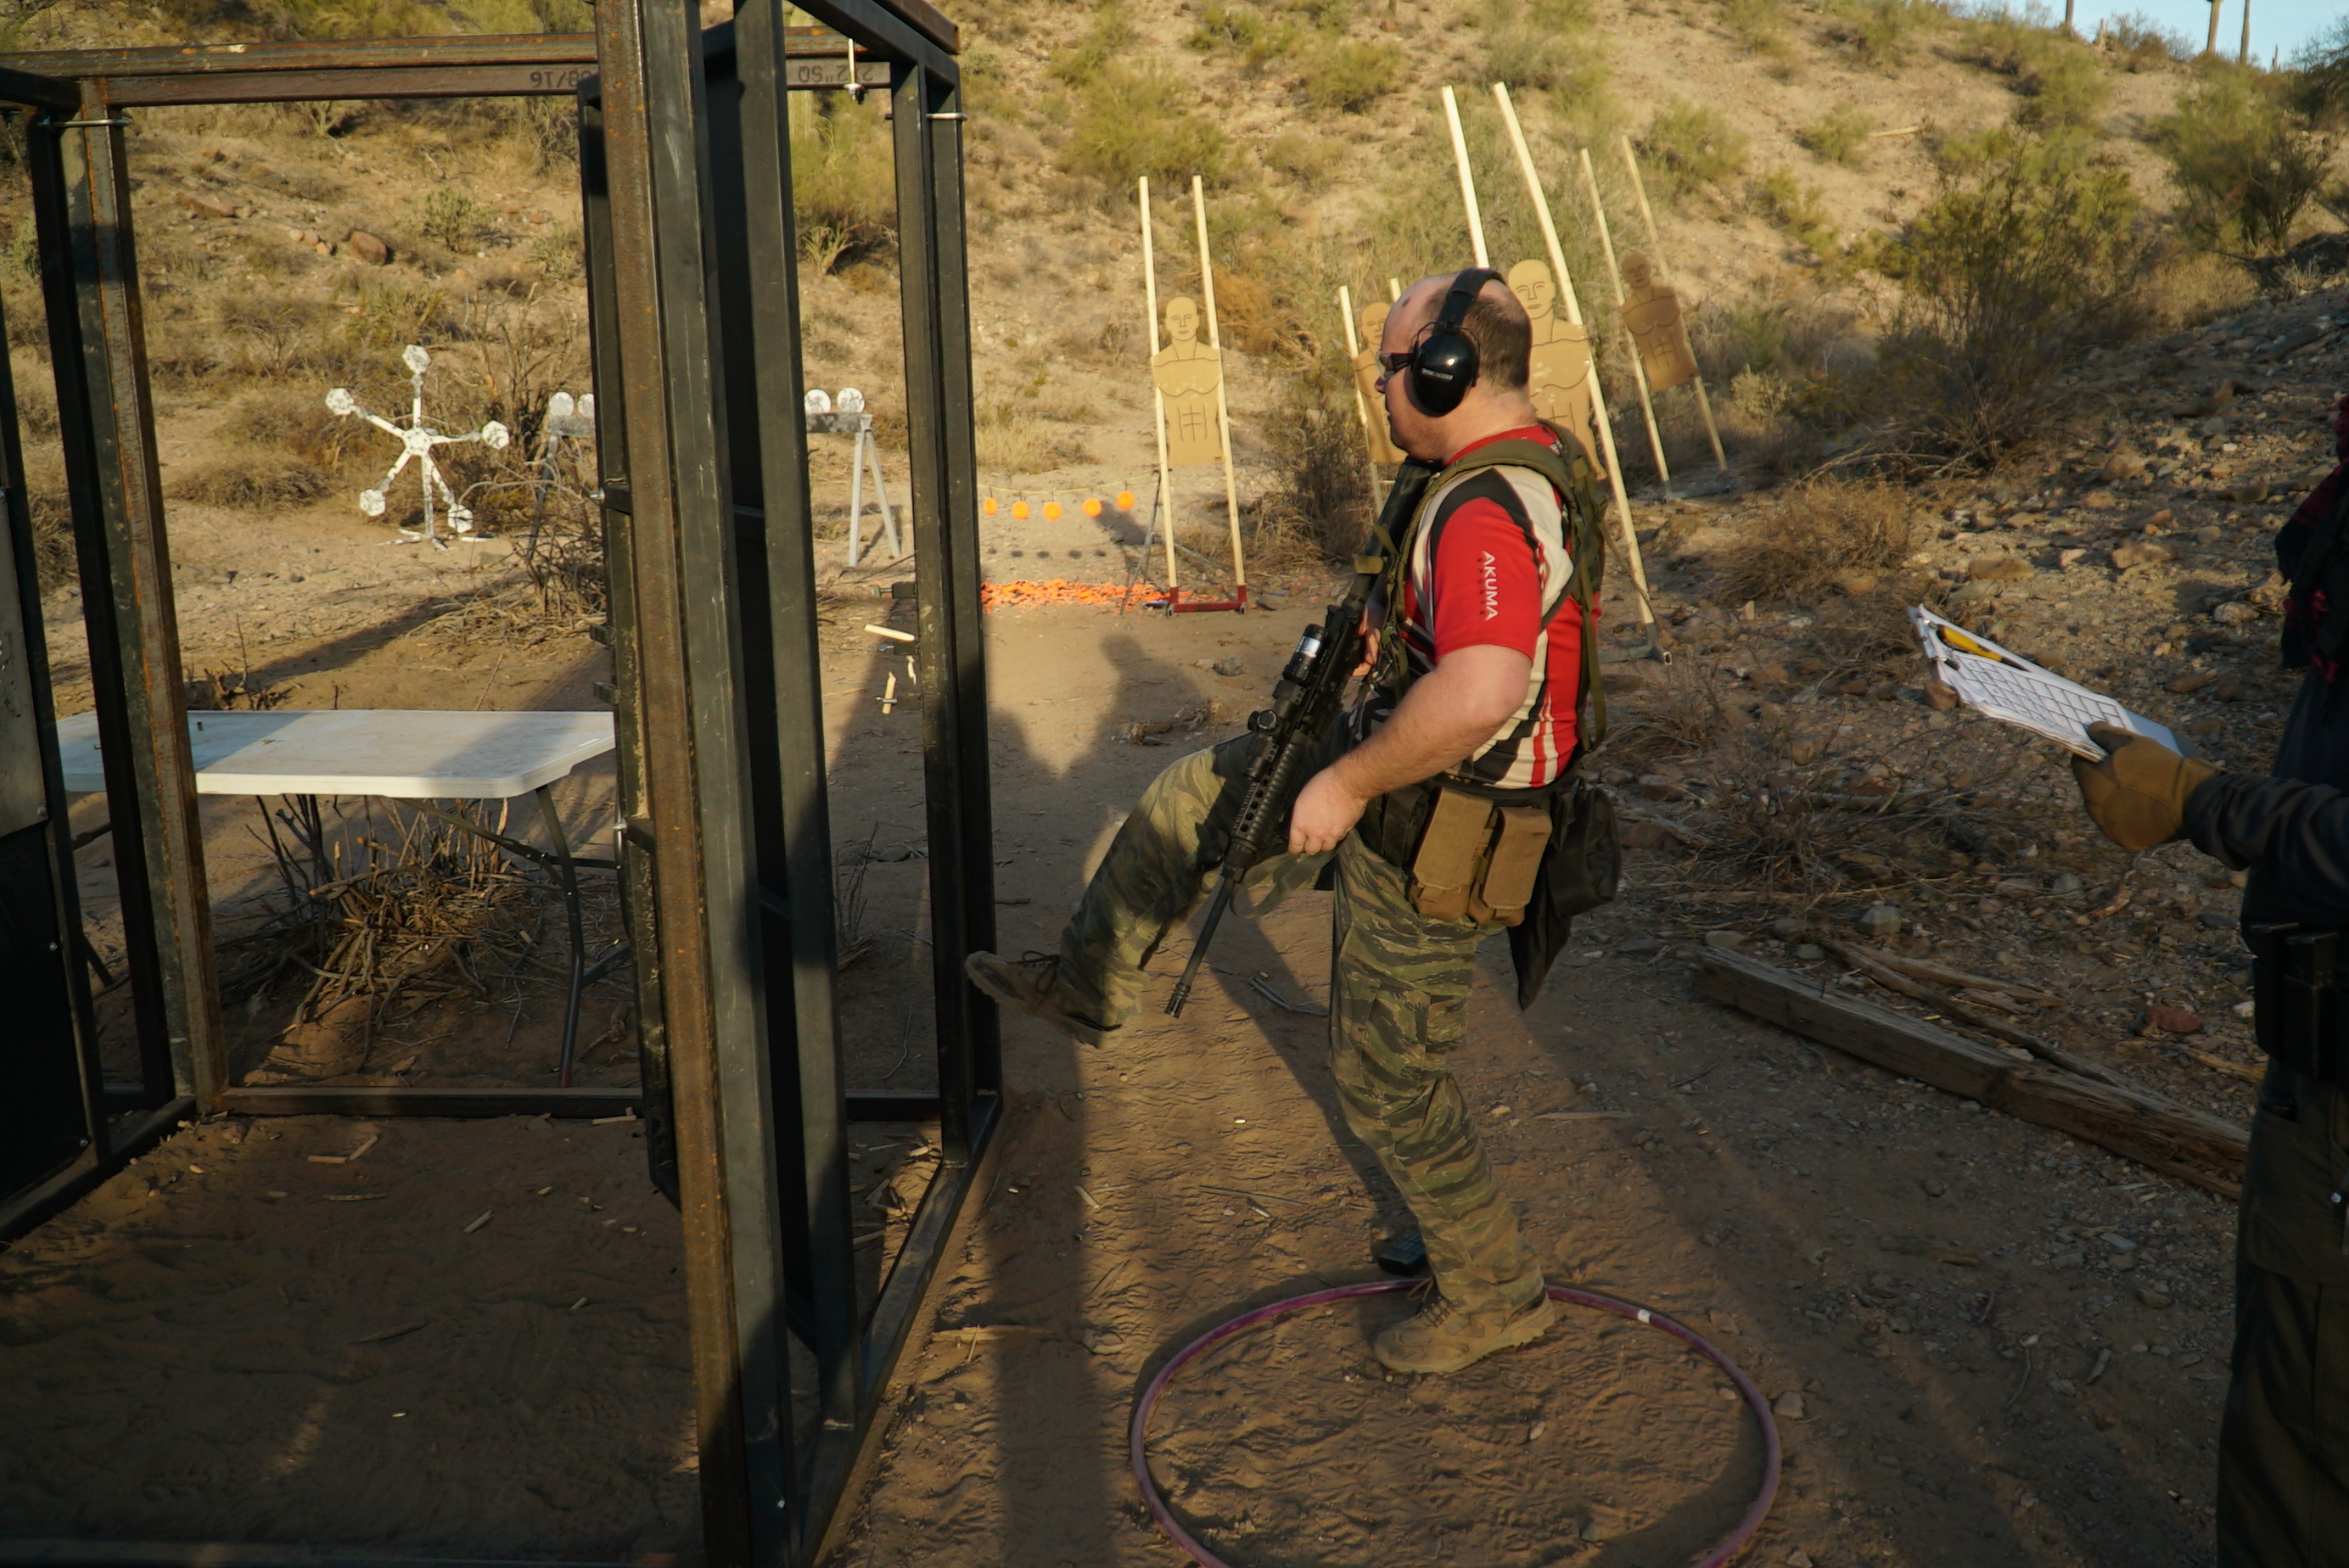
First stage (officially Stage 2, as I was on Squad 2) was referred to as “Suicide Sprints.”

27540592_10214419224381693_4954129833828475118_n.jpg

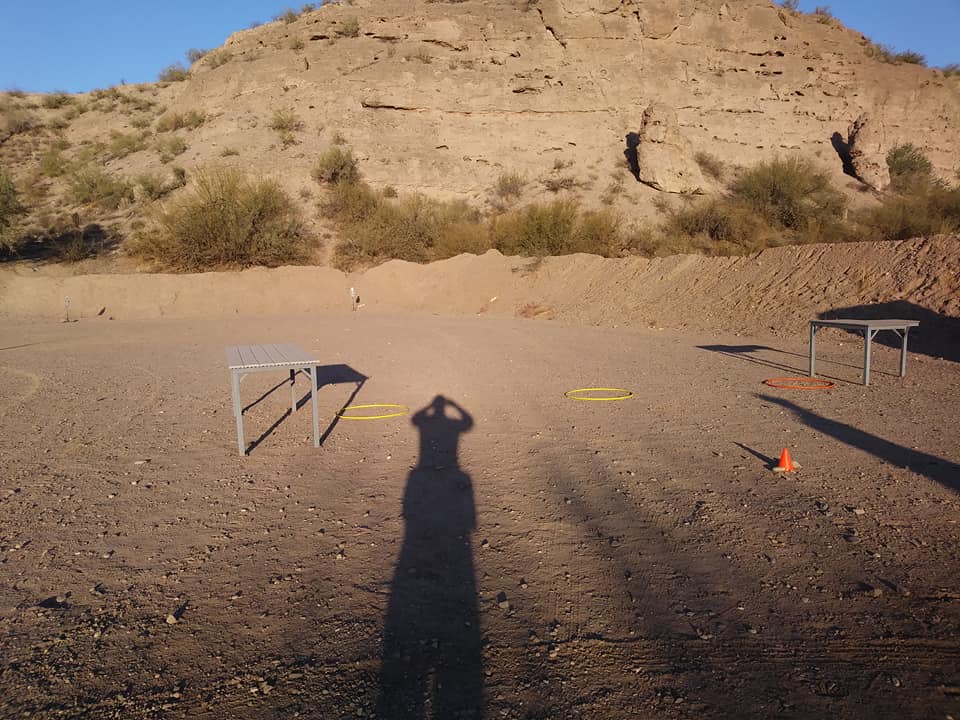
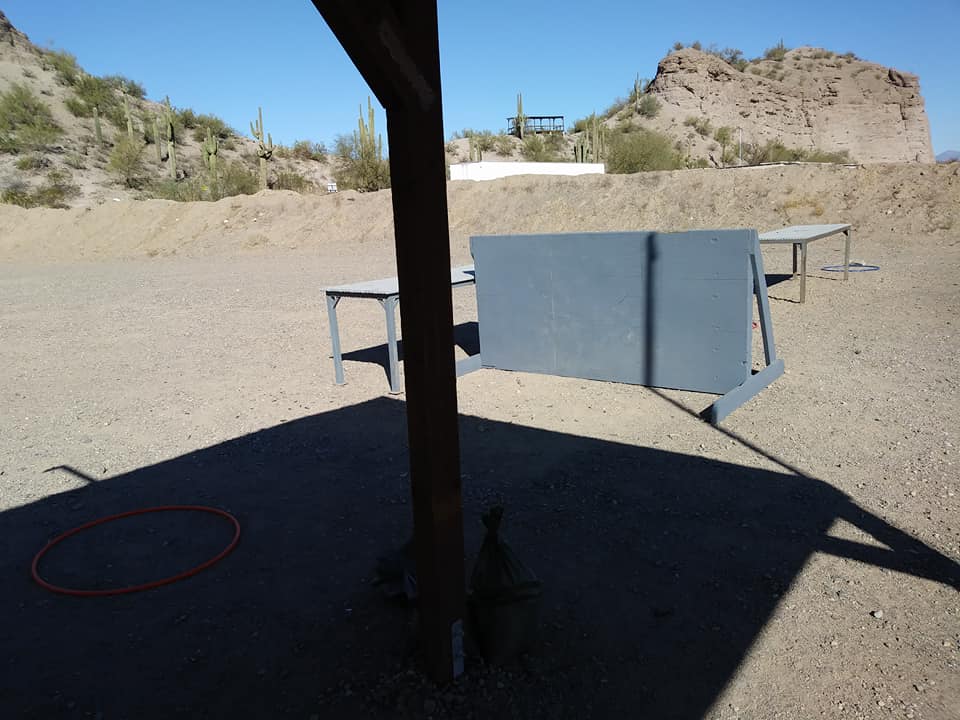
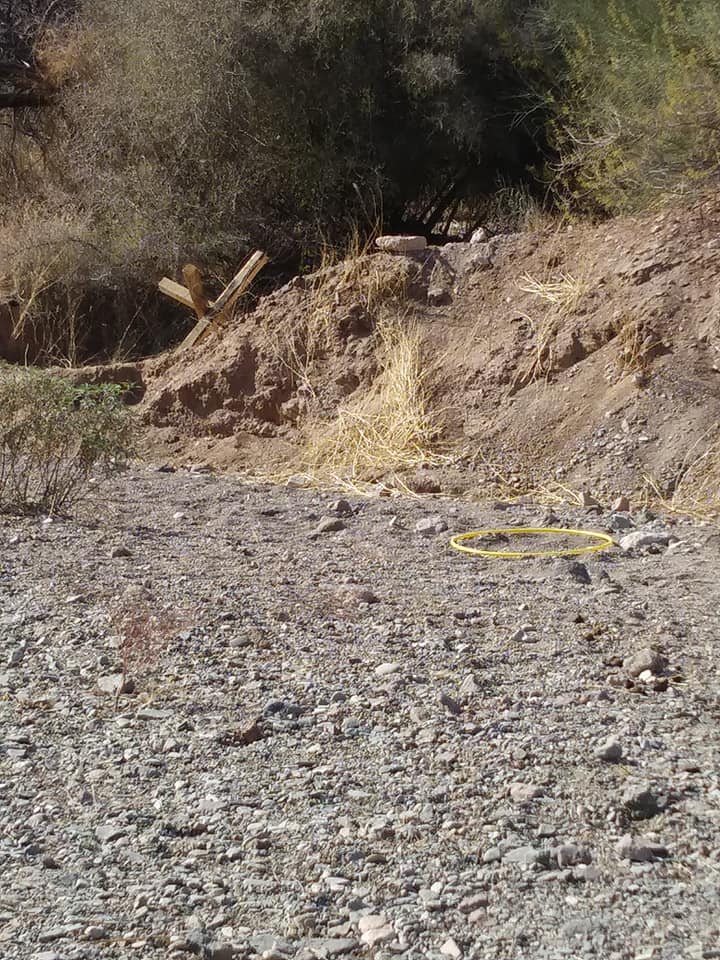
Start at the cone, rifle in low ready, pistol in holster. At start, run to one of the hula hoops, engage two steel targets with two hits each. Move to the next hoop, engage again, next hoop, do it again. After you shoot from the third hoop, put the rifle on the table and run around a berm to the next bay.

27540433_10214419226221739_5435557722058128396_n.jpg

With the pistol, knock down one steel target from each of the three hoops, then table the pistol and run back to the rifle bay. Repeat this back-and-forth until all the pistol targets are knocked down (three cycles for 9 targets), then complete the rifle side one more time.

DSC00344 (1).JPG

For me, this was the perfect stage to get started on and get the nervousness out of my system. I shot it reasonably well, for me, completing it with no reload in the pistol and needing one round out of a reload on the rifle.

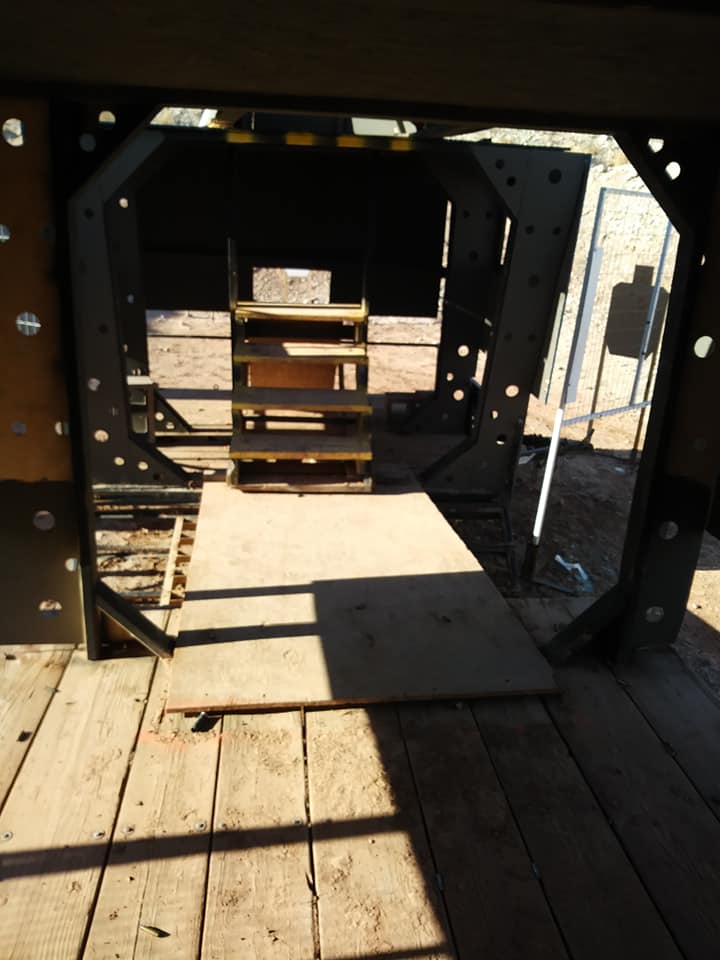
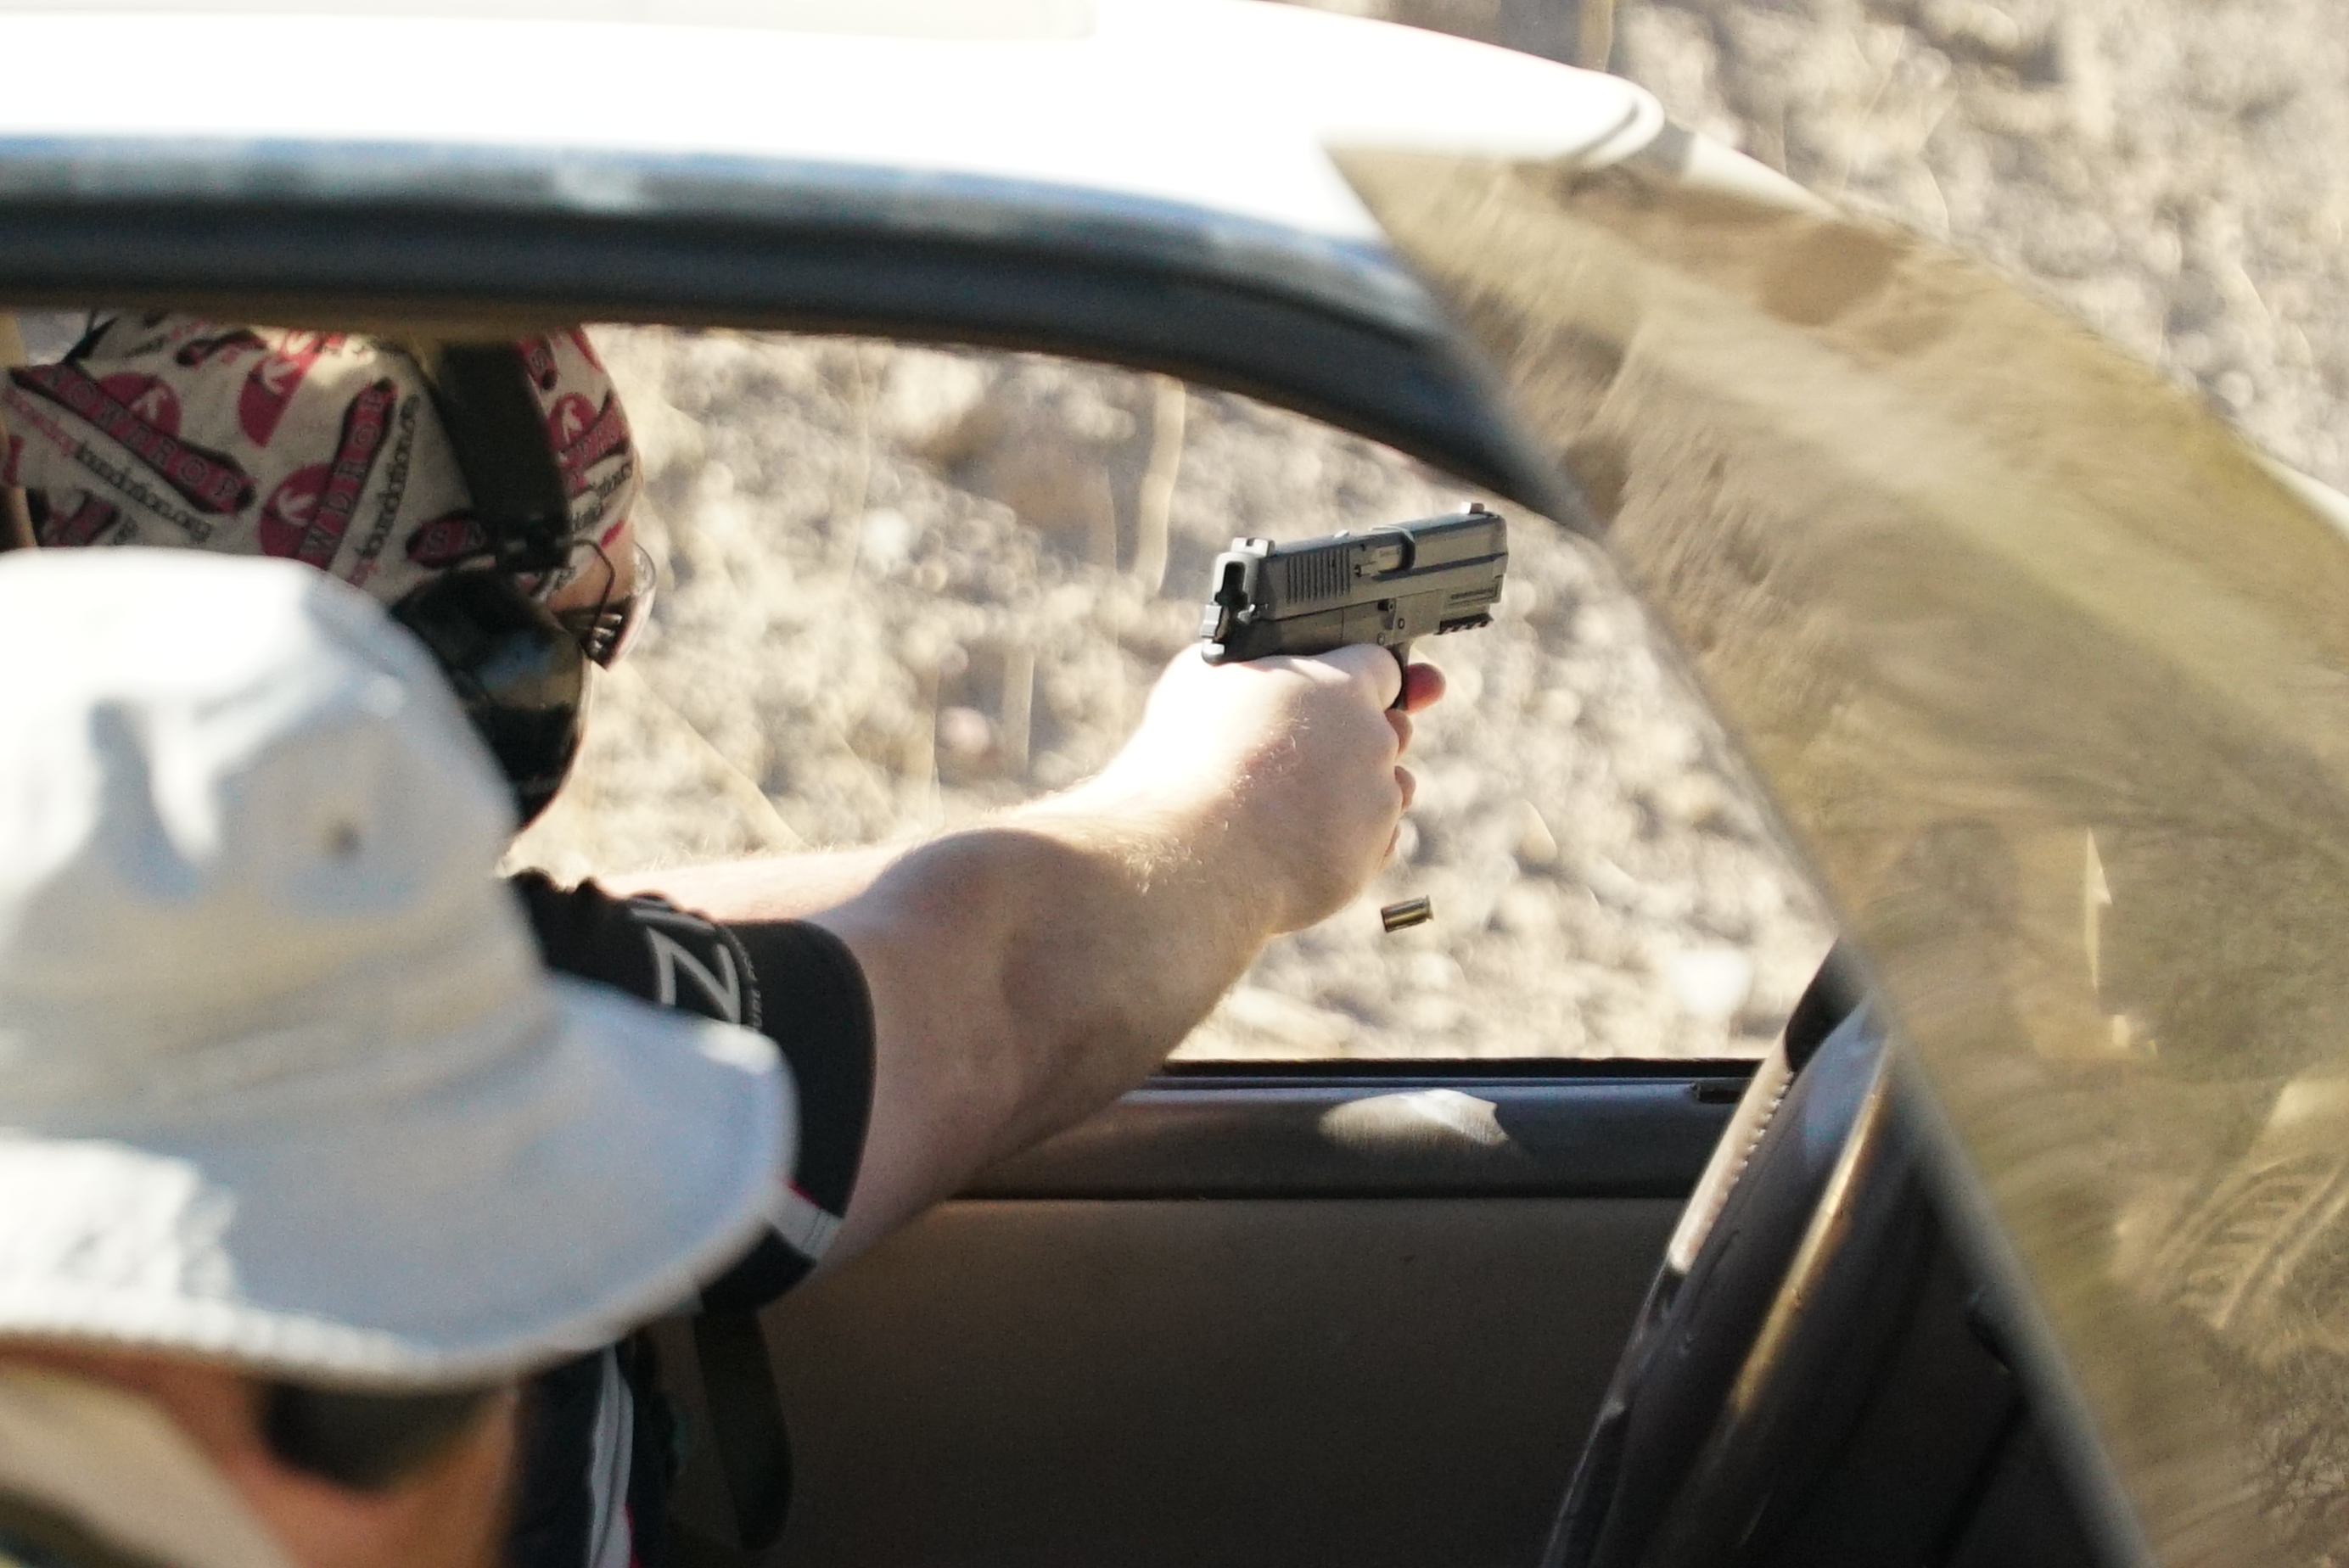
Stage 3 was a lot of fun. Start in the driver’s seat of a car, pistol in holster and rifle in the trunk.

27544975_10214419227461770_6105771323523182456_n.jpg

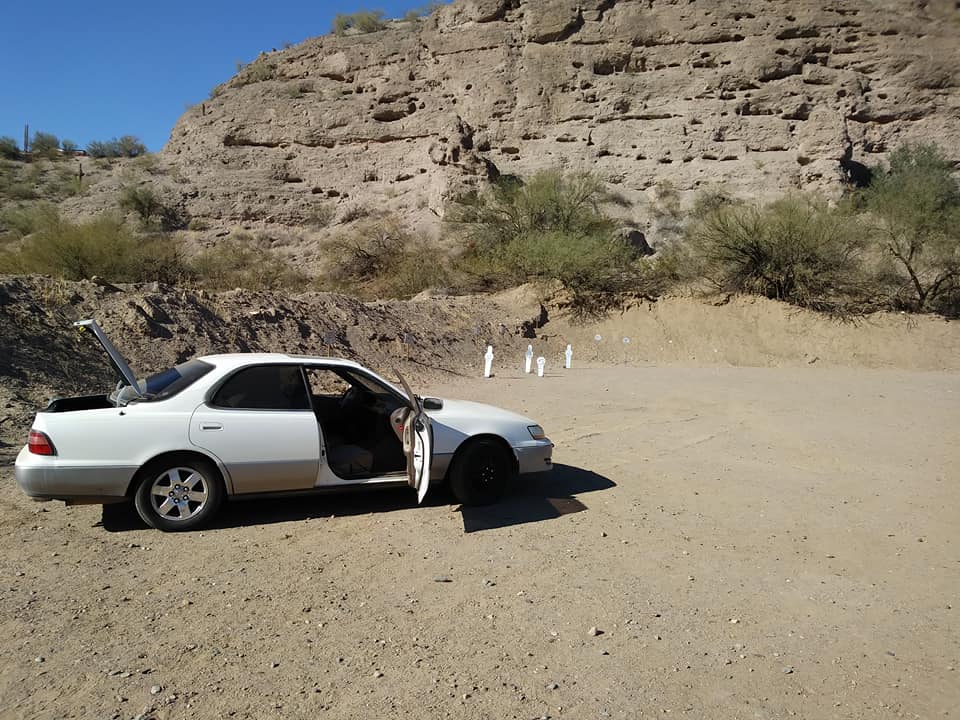
At start engage steel targets through the window.

DSC00734 (1).JPG

When all targets are engaged, run across the bay to a firing position behind a fence, and engage targets through a hole in the fence.

27337069_10214419229461820_1576214186803406654_n.jpg27545099_10214419230661850_7413665824665120634_n.jpg

When that is done, run back to the car, retrieve your rifle, and run to the next bay.

DSC00748 (1).JPG

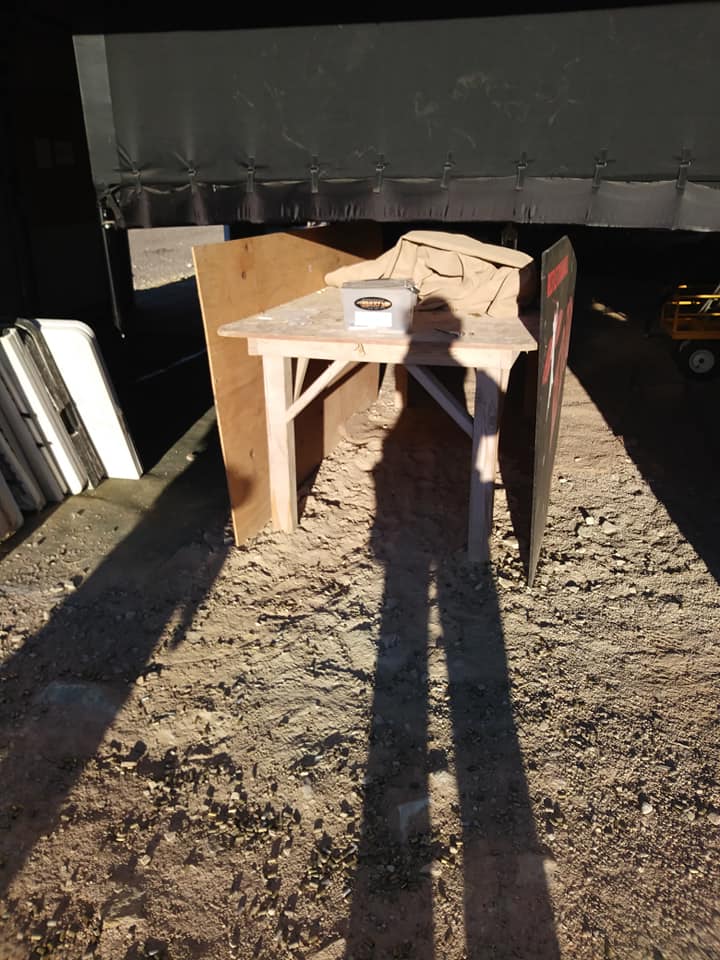
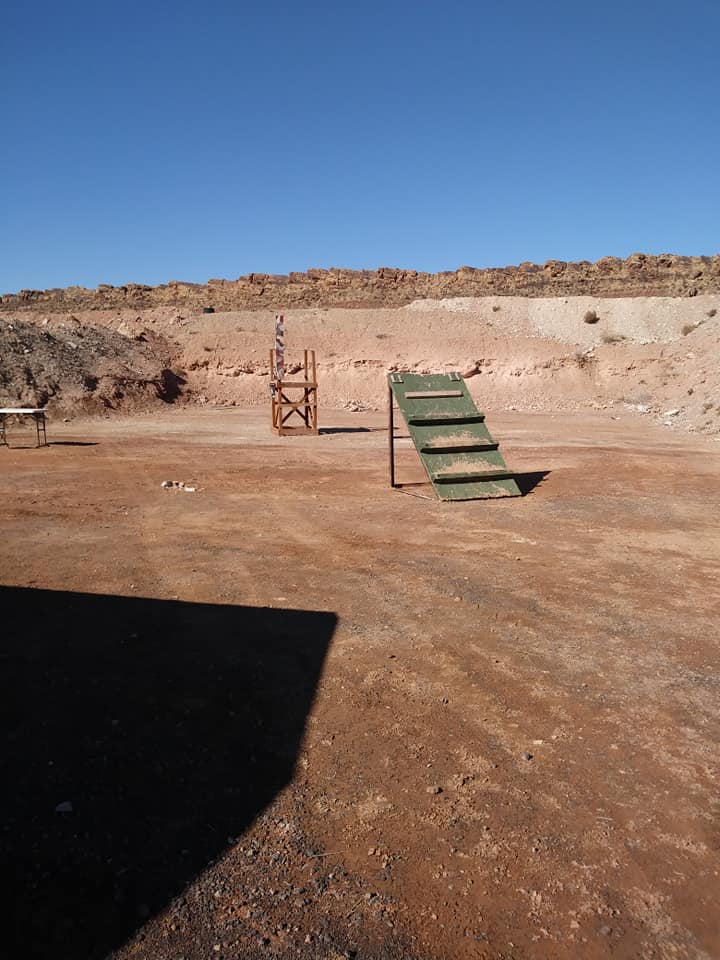
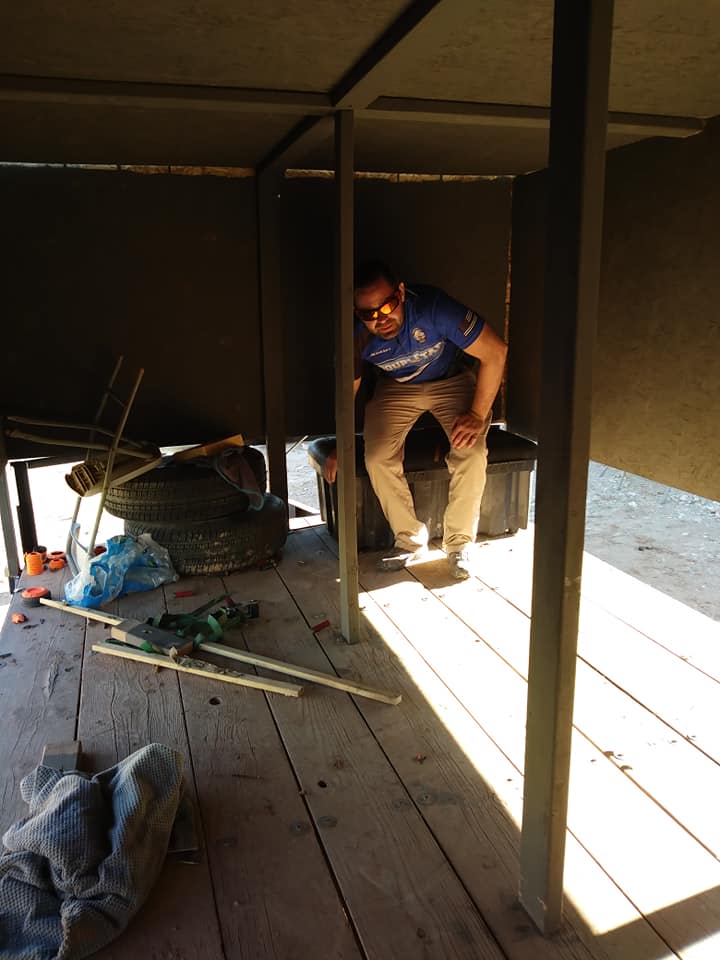
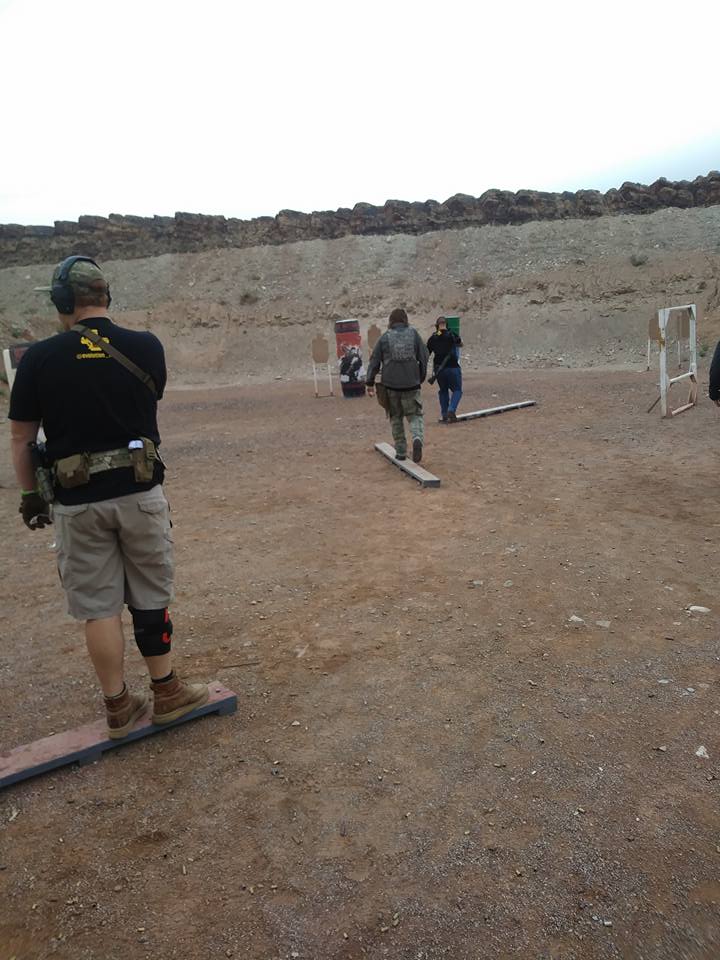
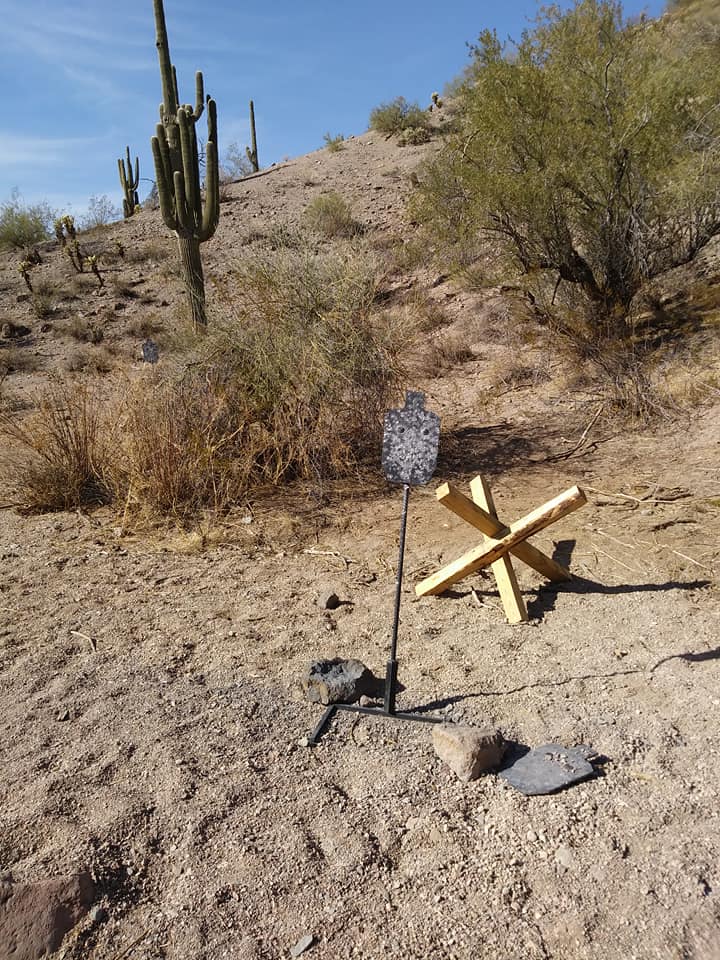
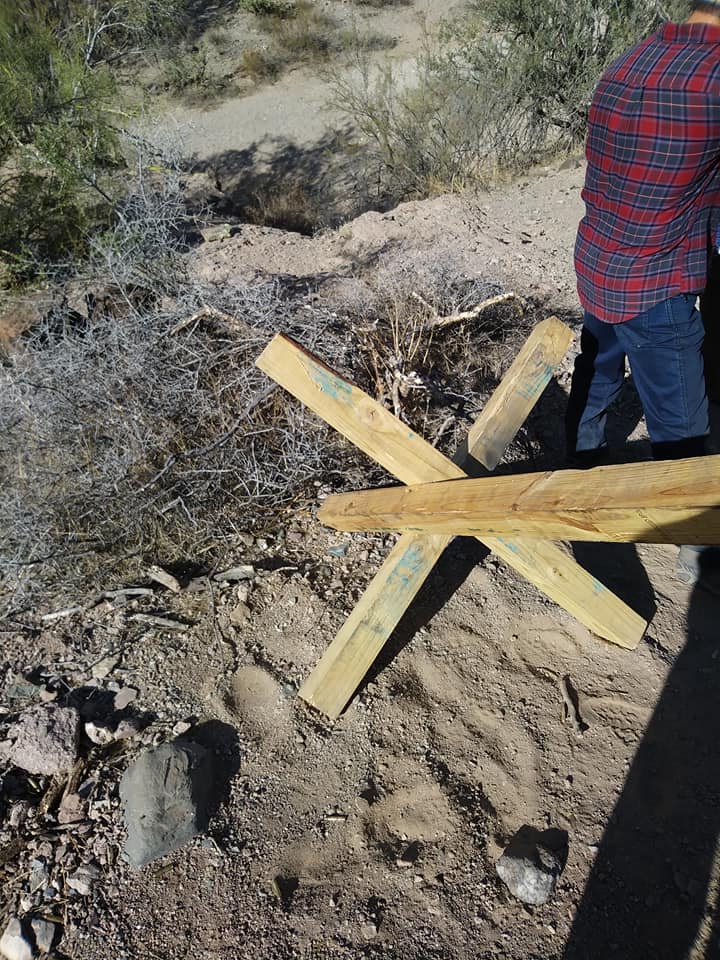
At the next bay, start at the first hula hoop, engage two steel targets, table the rifle, and crawl under the table. Grab your rifle, go to the second hoop, engage targets again, table rifle, go over a 4′ high wall, shoot again, table the rifle, under the table, shoot again… then repeat the over-under shooting process going back to the first hoop. (I did not get a photo showing the first table, this shot shows the wall and second table.)

27858830_10214419231581873_6566625041308634299_n.jpg

The range officer on this stage noted that many people were taking so long with the pistol portion that they had no time for the rifle portion. With the rifle being considerably more fun, I decided to limit myself to one mag from the car, one mag from the fence, then leave anything that you have not hit and move on. I took 4 minutes in penalties, but I completed the stage.

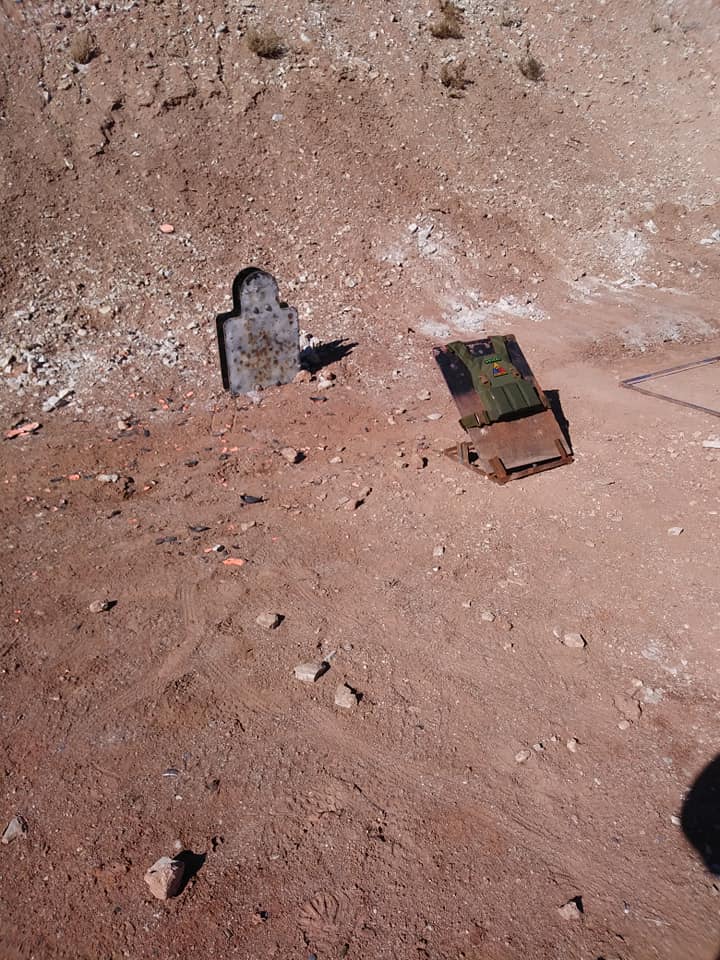
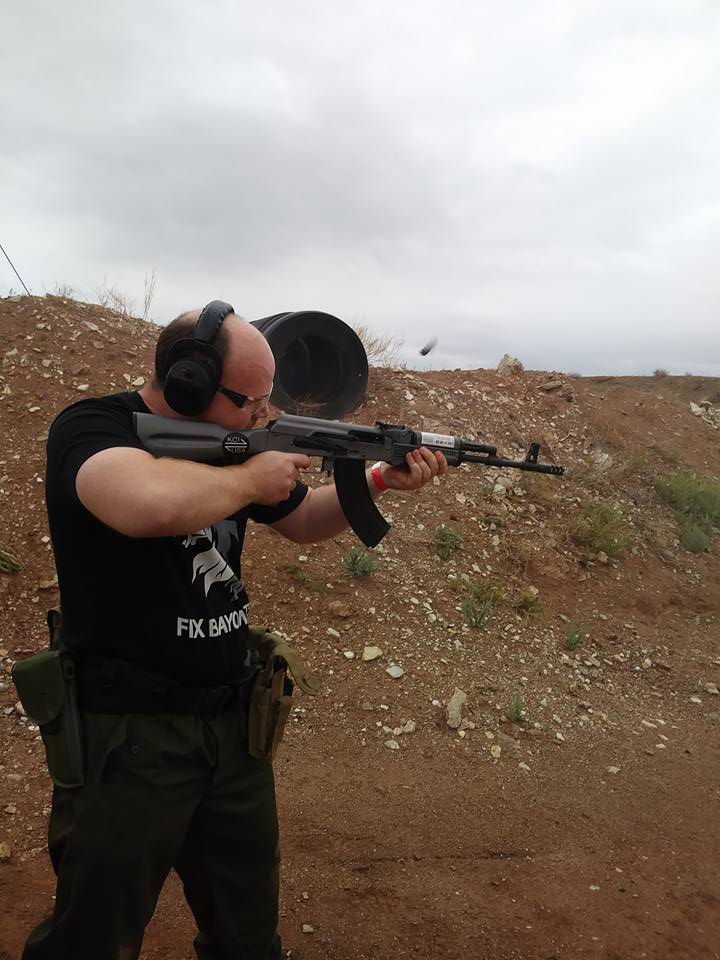
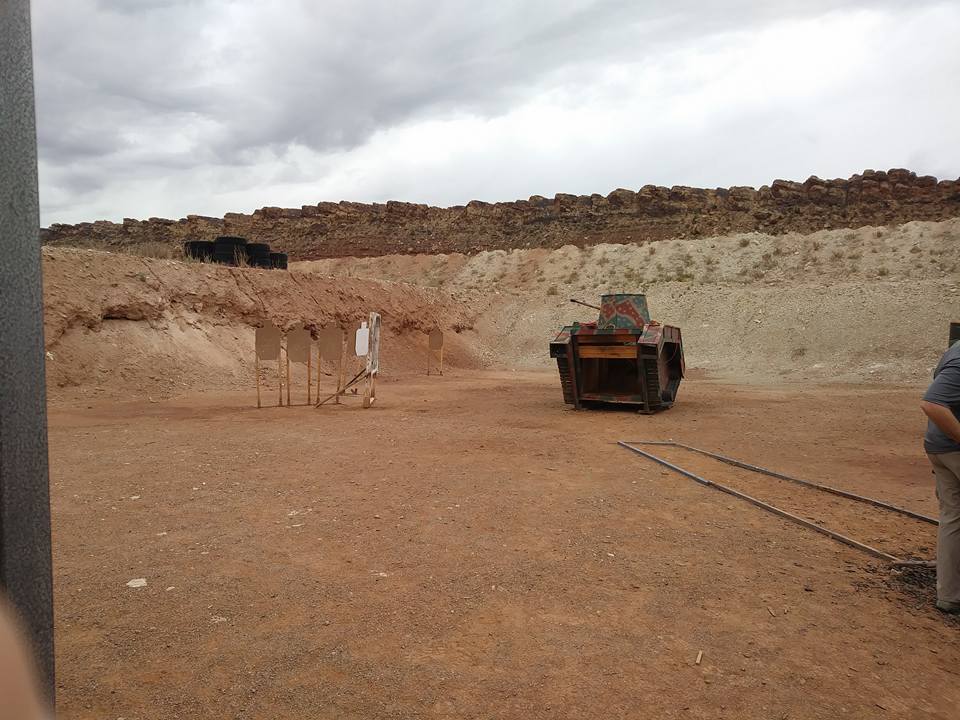
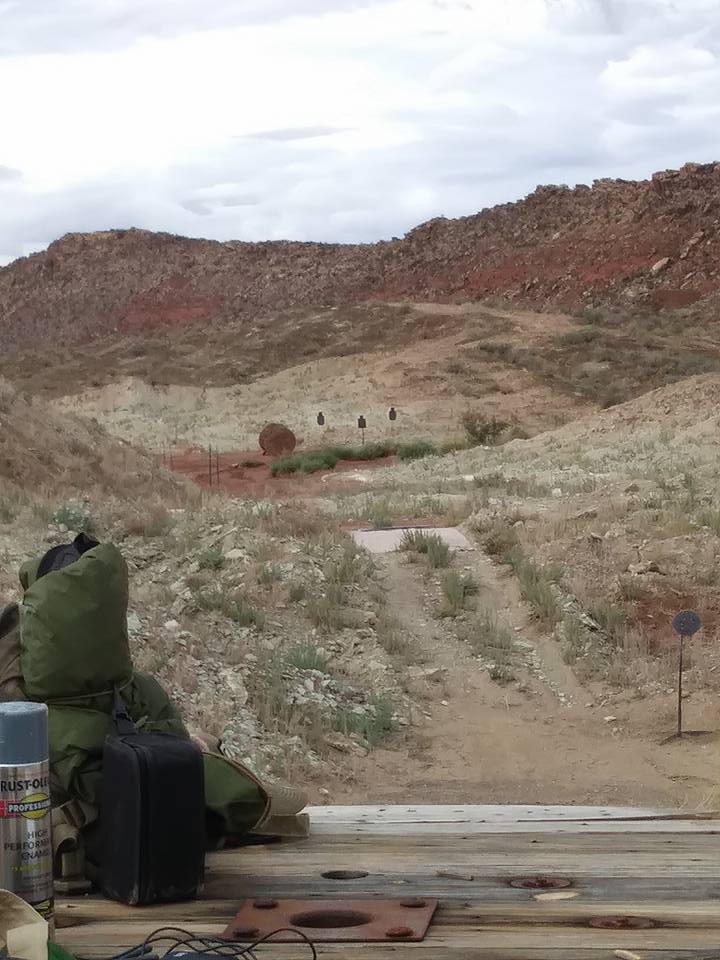
For me, Stage 4 was both a dumpster fire and a chance to learn to improvise and make things work. Targets at this stage were at longer range, far enough for me to notice that my rifle’s scope had been knocked out of zero in transport.

The stage starts with you lying on your back on a table, rifle, pistol, and all your mags staged about 20 feet away. At start, you collect your ammo, grab your pistol from a table, engage four knock-down targets, and drop your pistol in a bucket. Then load your rifle and engage two steel from behind a barrier.27459302_10214419232541897_765114354789278603_n.jpg

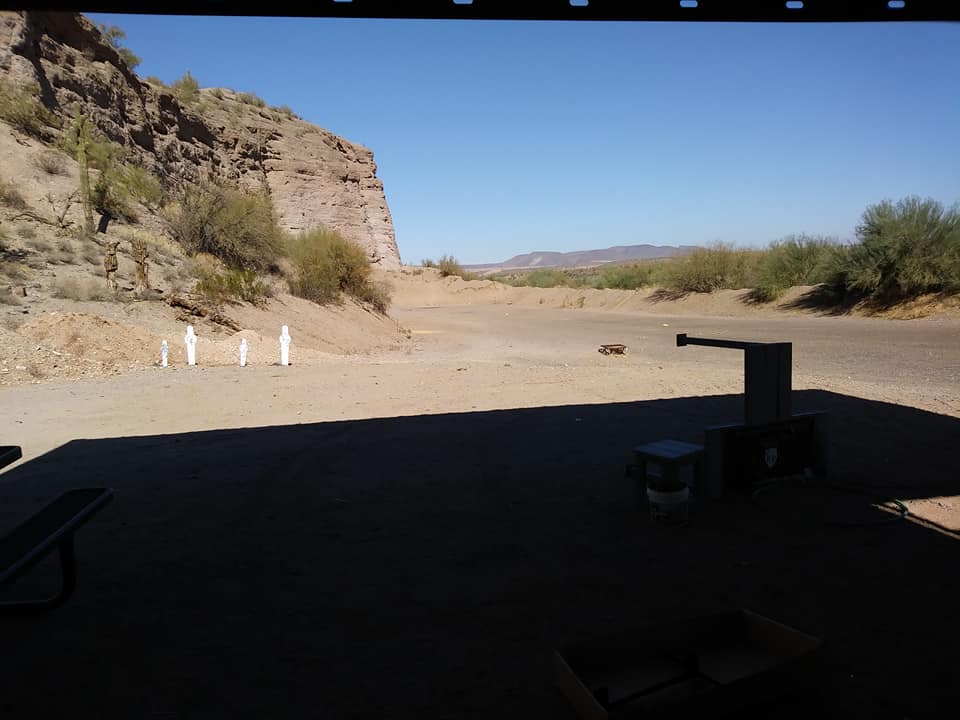
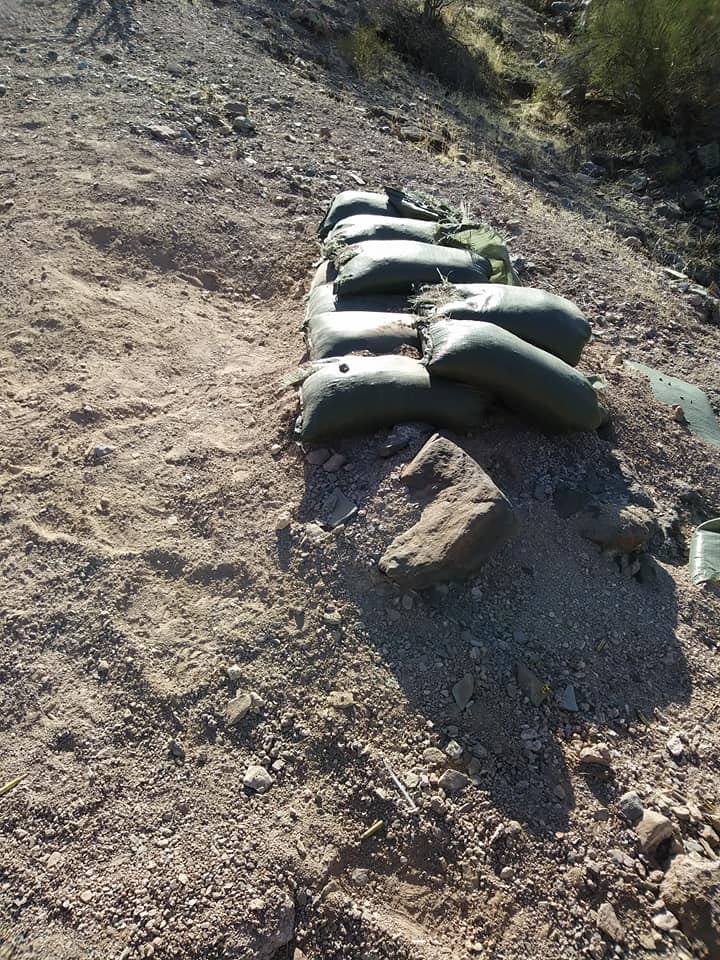
Then run downrange to a steel sled, engage the targets again from the sled, clear the rifle, and drag the sled back to the start point. Then run to a pile of rocks helpfully painted yellow:27459545_10214419233821929_8279483257995474094_n.jpg

Engage targets, run to the next pile of rocks, engage targets, run to the last pile, and from there engage the ever-dreaded MGM spinner.

About the time that I got to the first pile of rocks, I figured out where I was hitting and how far to hold off to make hits. I managed to complete the spinner holding off the target, something I would not have thought that I could do if you asked me before this. My time sucked for this stage, but I am still happy that I managed to get through it.

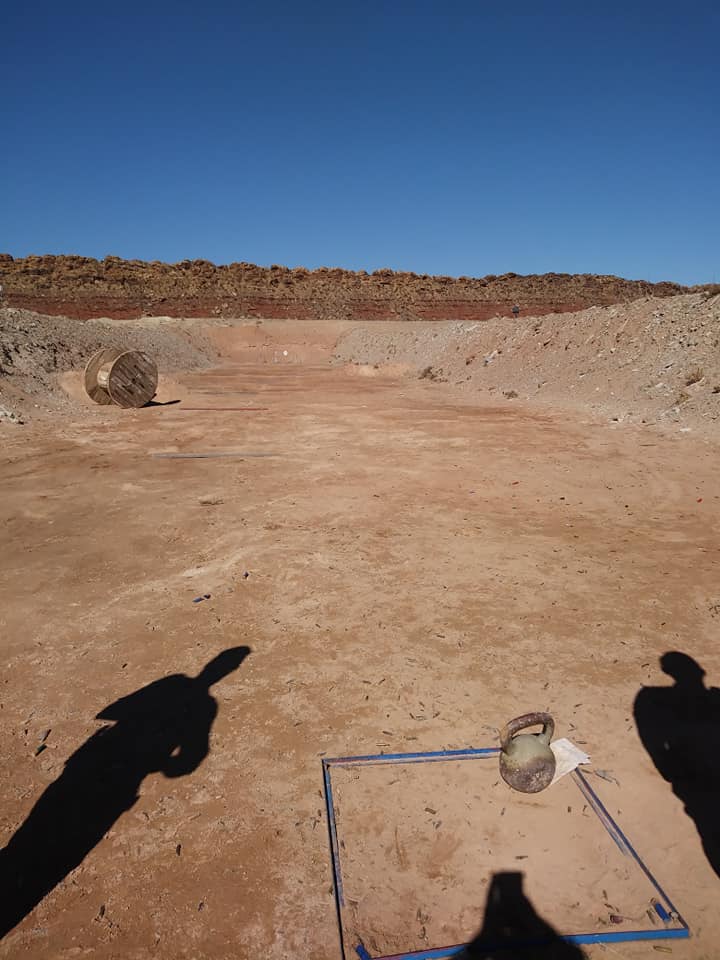
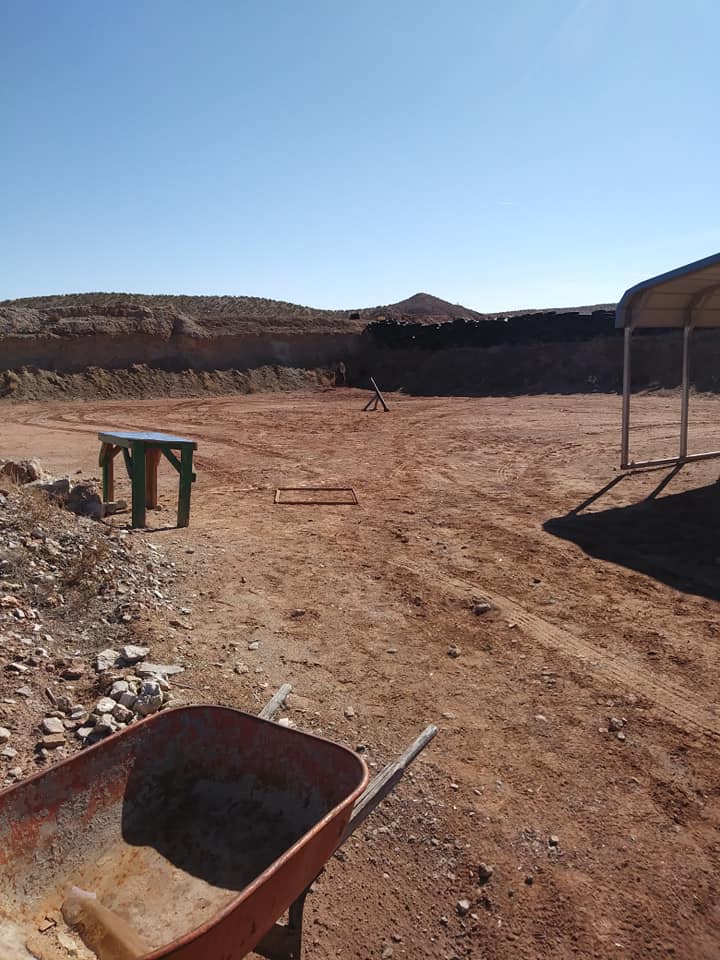
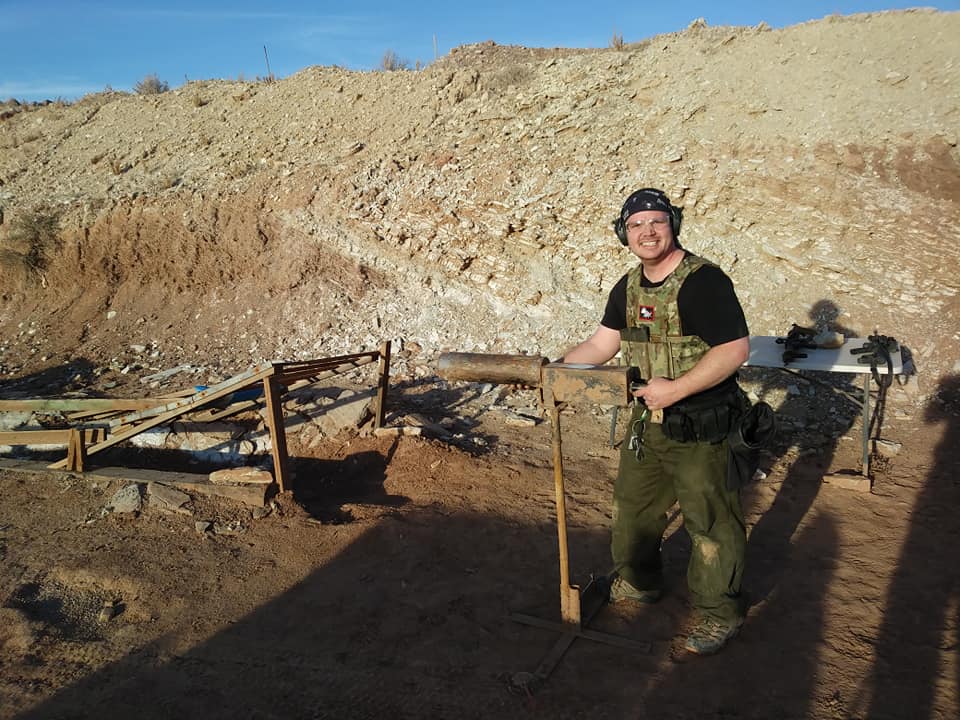
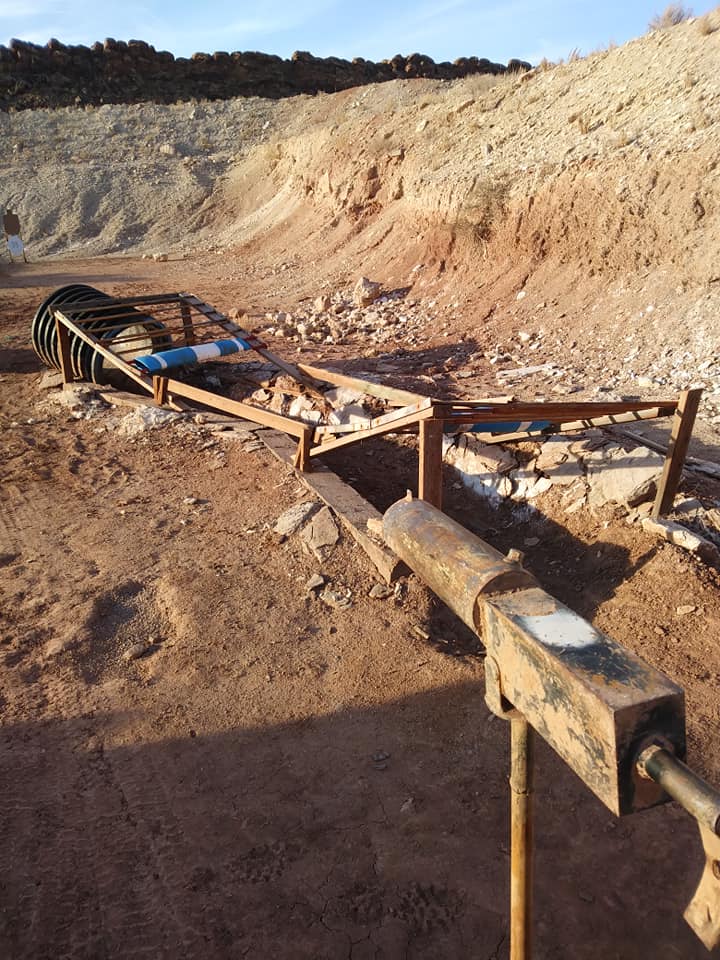
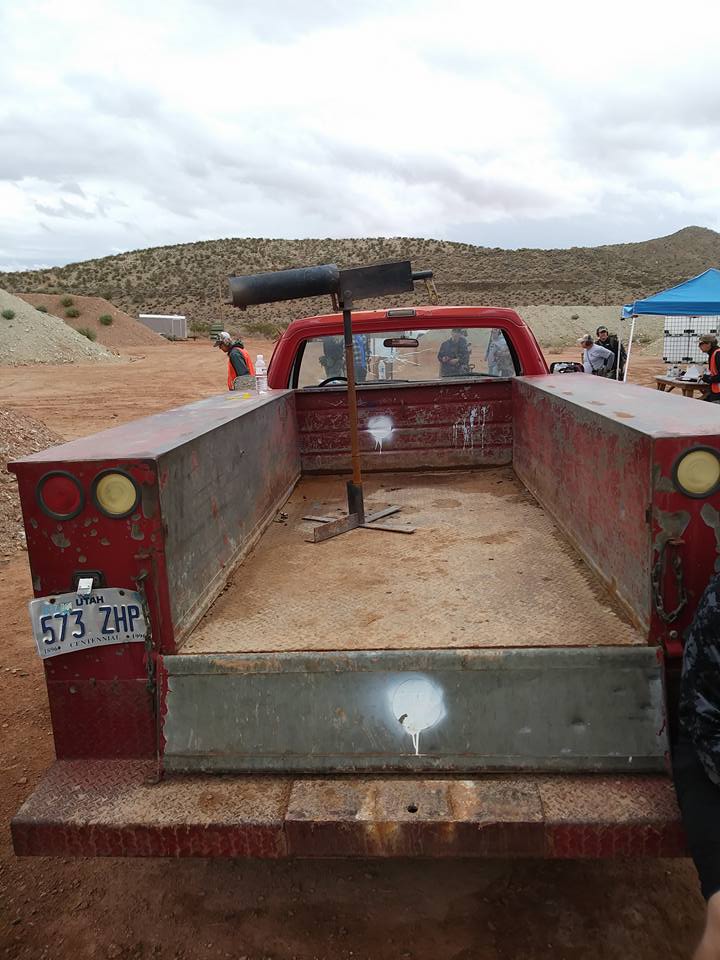
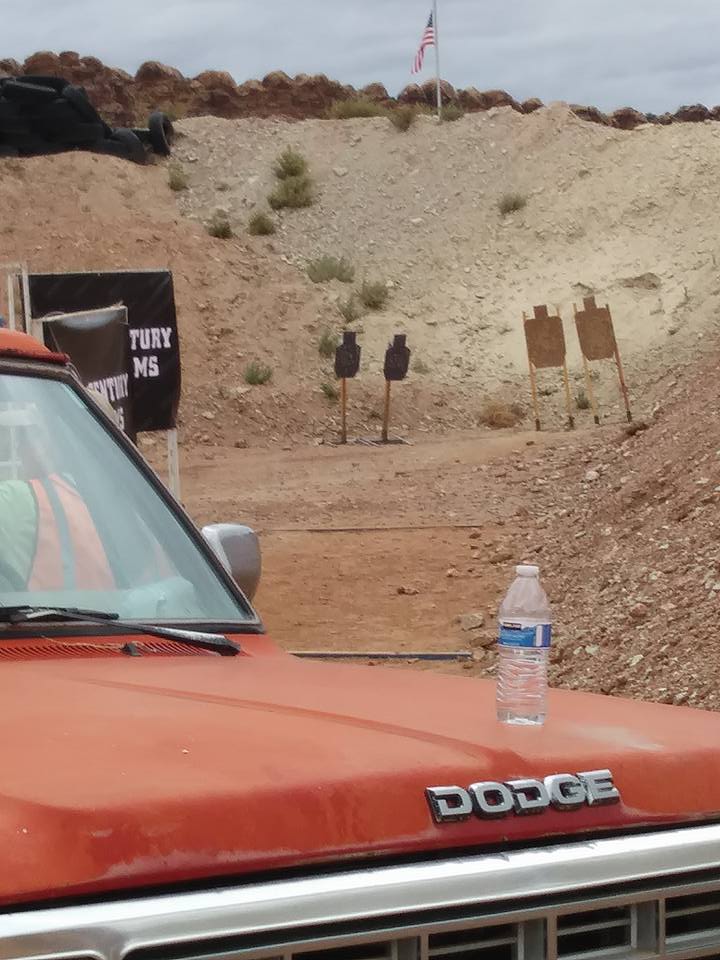
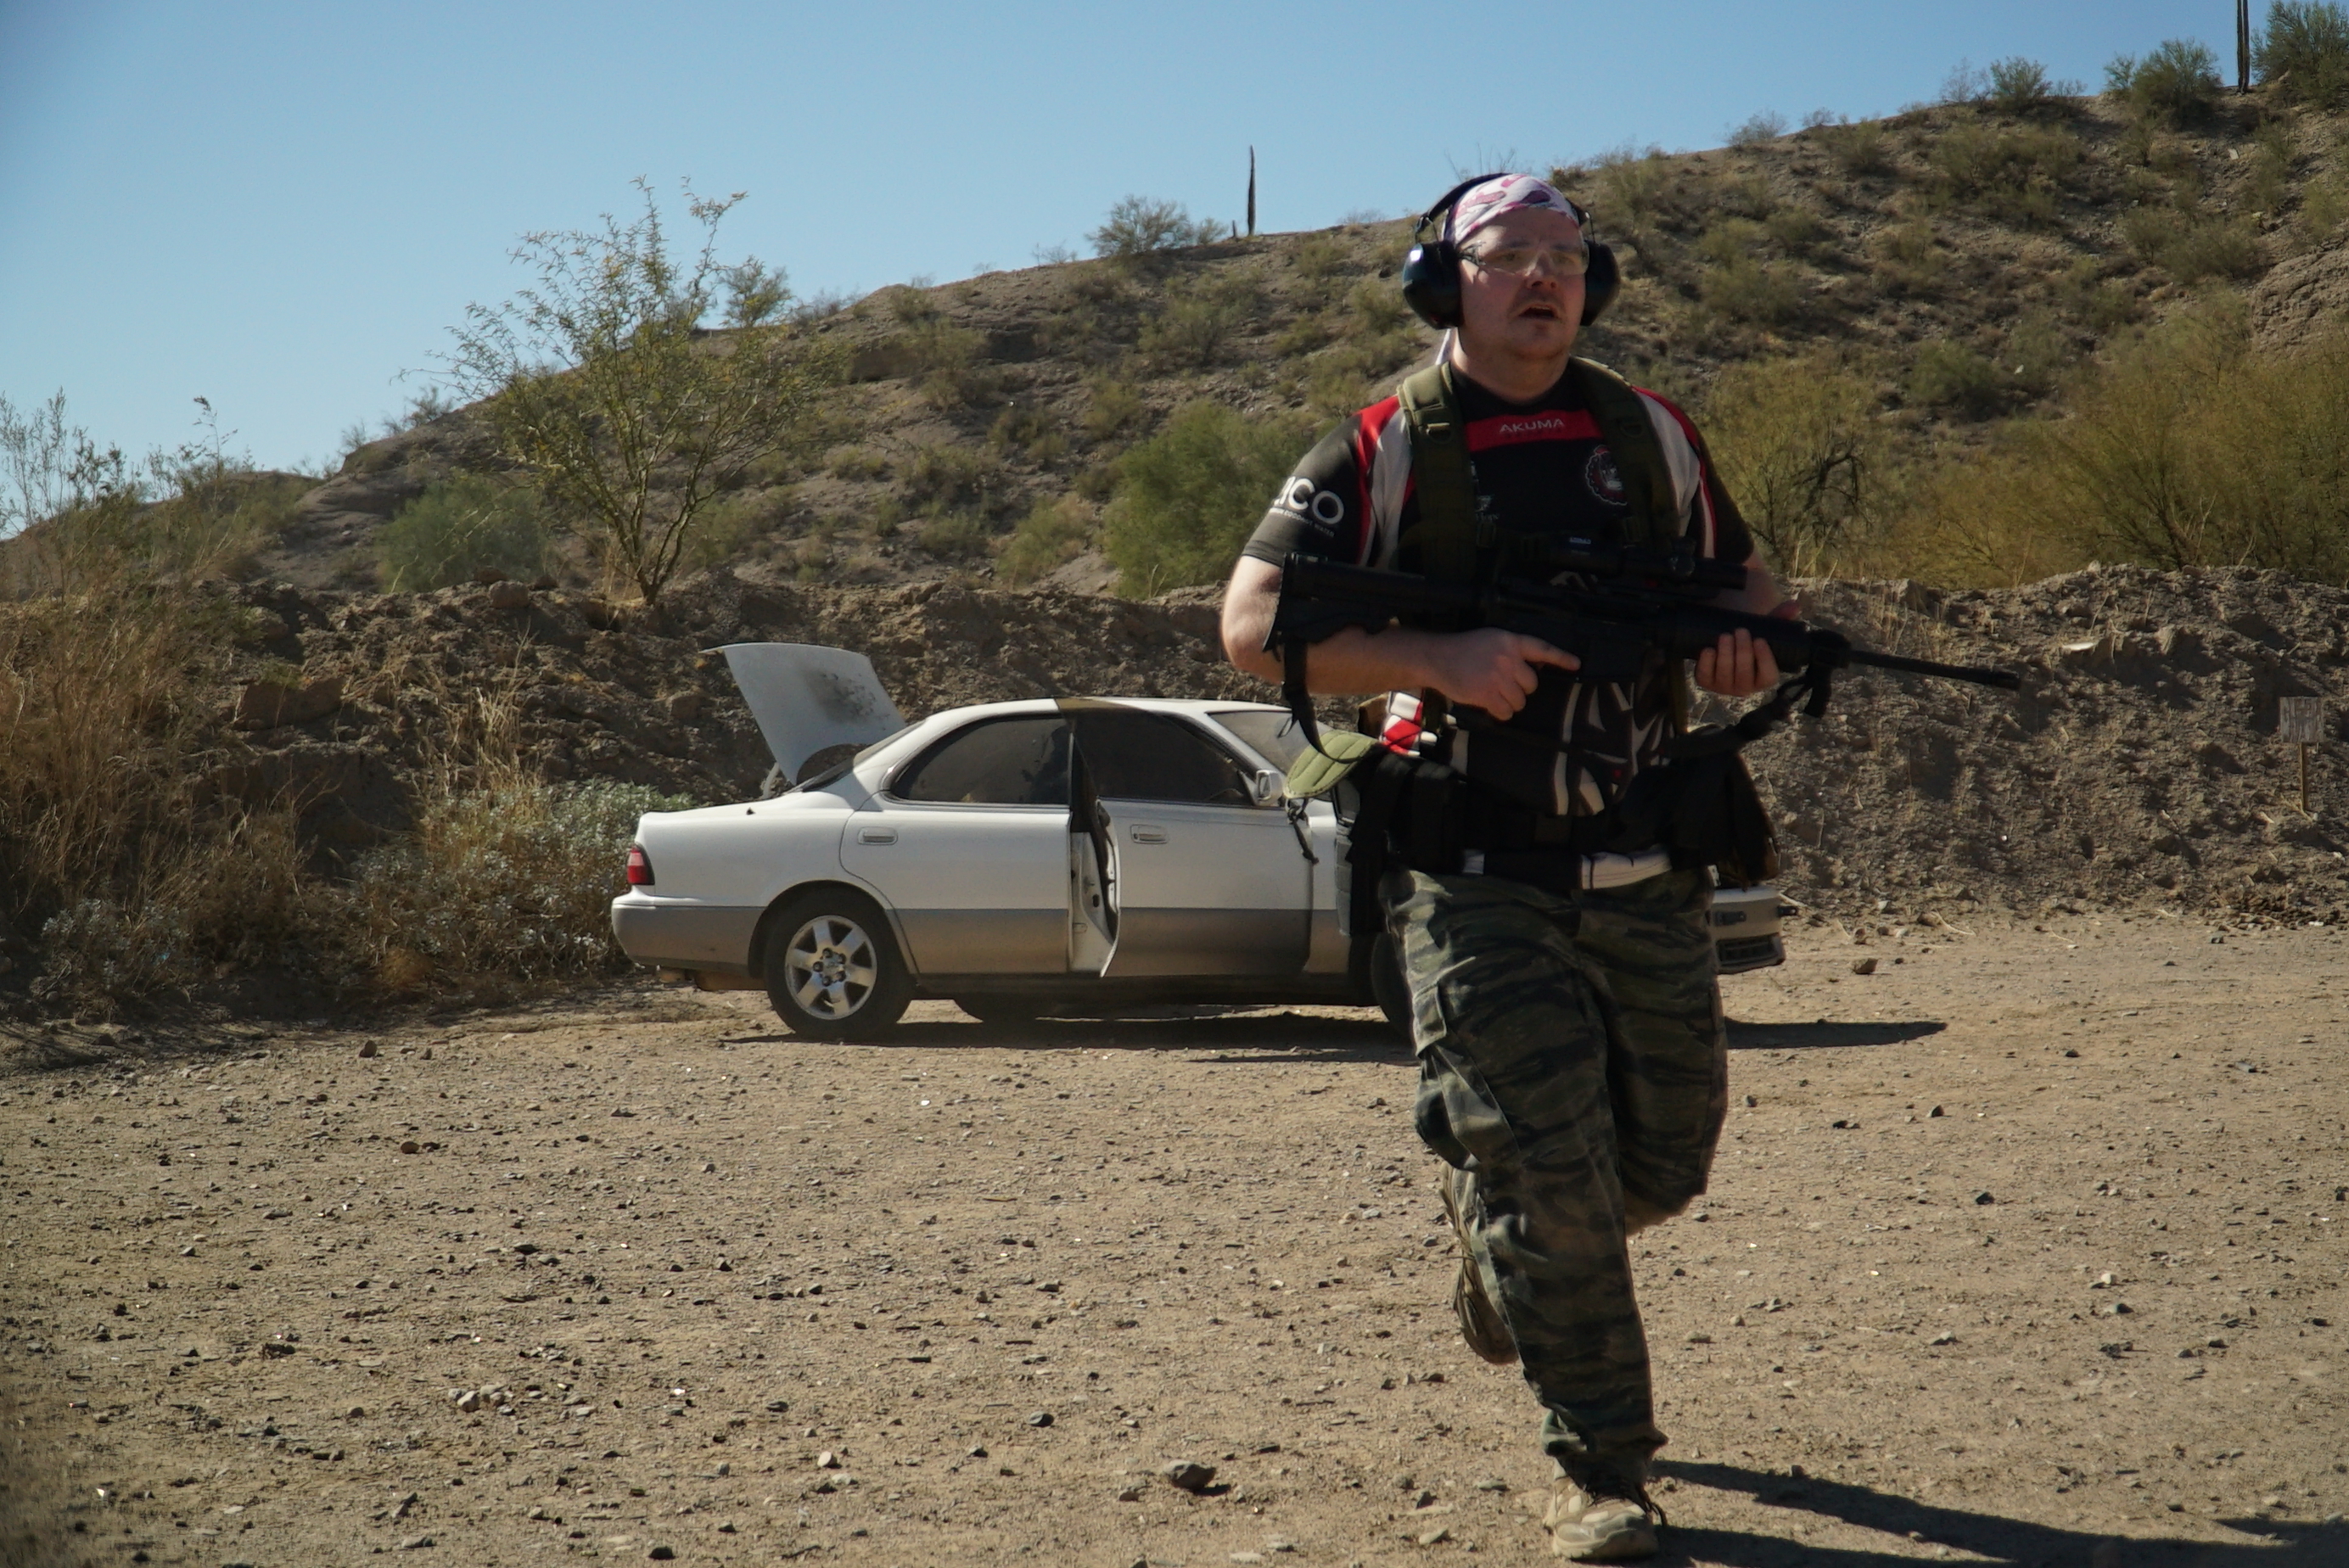
Stage 1, our last stage of the day, was a variation of the Kasarda drill with a 65-pound kettlebell. Start in the cab of a pickup truck, engage two steel targets, table the rifle, and climb into the bed of the truck. Cut the rope holding the kettlebell to the truck, and throw it out the back. 27654880_10214419233581923_2239153940079746362_n.jpg

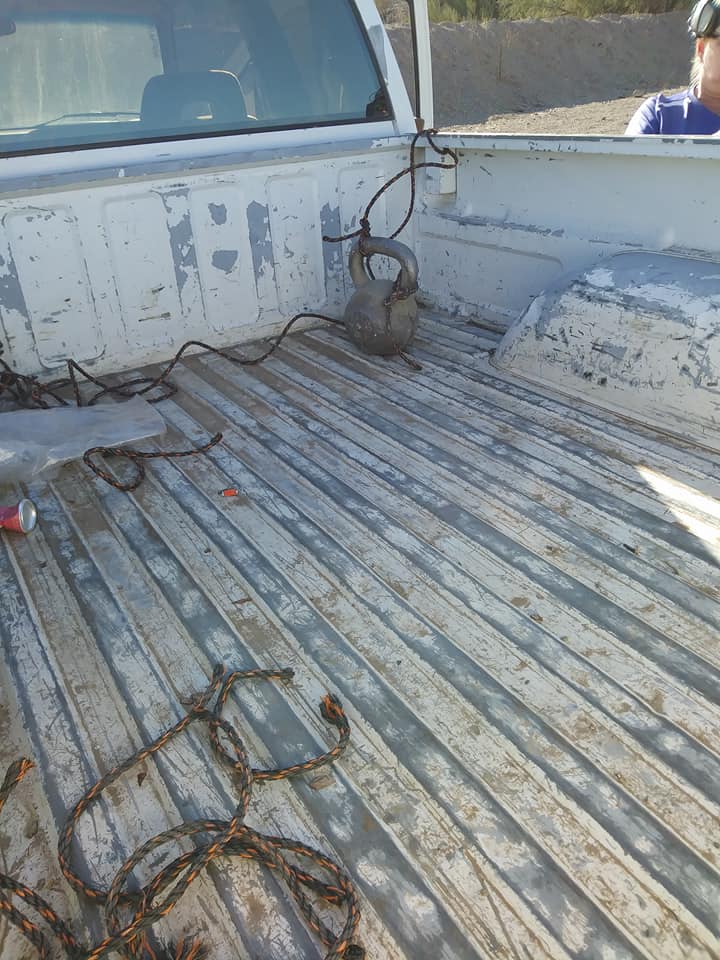
Retrieve your rifle, run to where the kettlebell landed, go prone, and shoot the targets again. There is a row of cones leading you closer to the target:27540133_10214419234061935_5279817653875172582_n.jpg

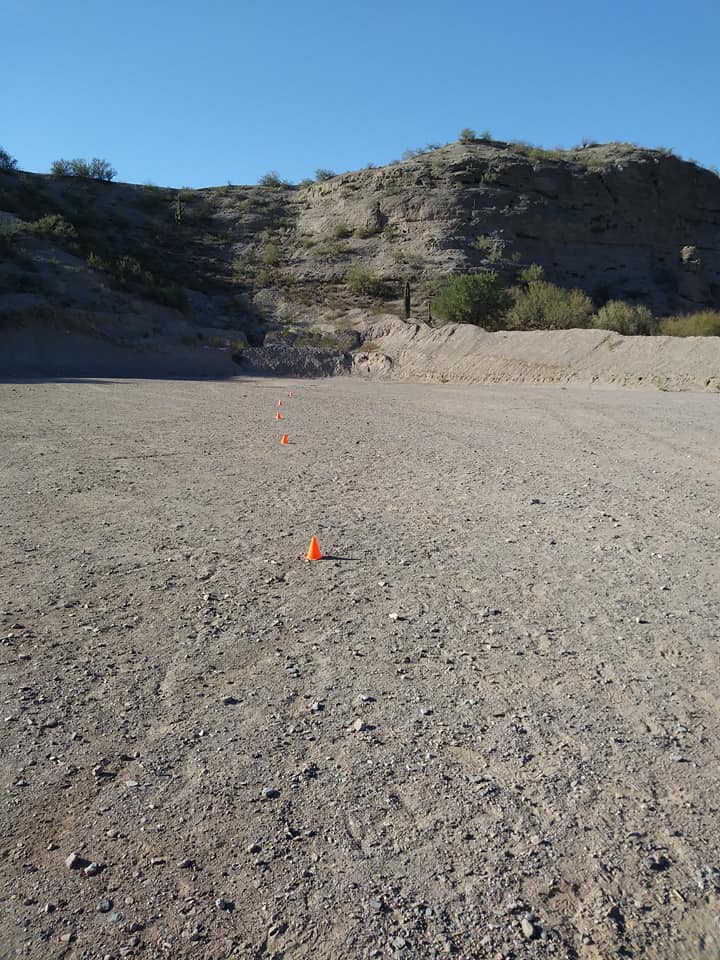
Following the cones as much as possible, throw the kettlebell, run to it, go prone, shoot both targets, get up, throw it again. Throw the bell past the last cone, make 2 more hits from the last cone, and you’re done. (Last shots are made from the cone rather than the kettlebell because a really good last throw could take you to less than the minimum distance for steel targets, so the final shooting position is set for safety reasons.)

I rocked this stage. Still using a holdoff, but hits were consistent and my throws were good. (Quick tip that I learned: many of us will throw and watch to see where it lands. As the RO told us, no need to watch it, it will be there. As soon as it is away, turn your attention to getting your rifle and getting moving. A second watching each throw adds up.)

Day one complete, found a sight-in range to fix my rifle zero, back at it in the morning.

Day 2:

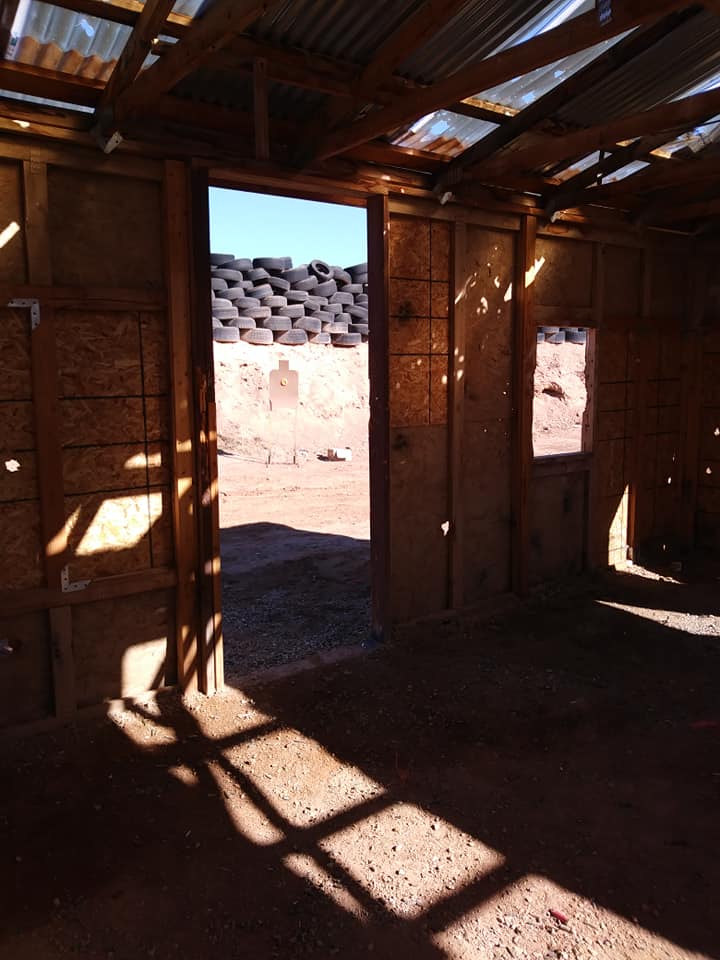
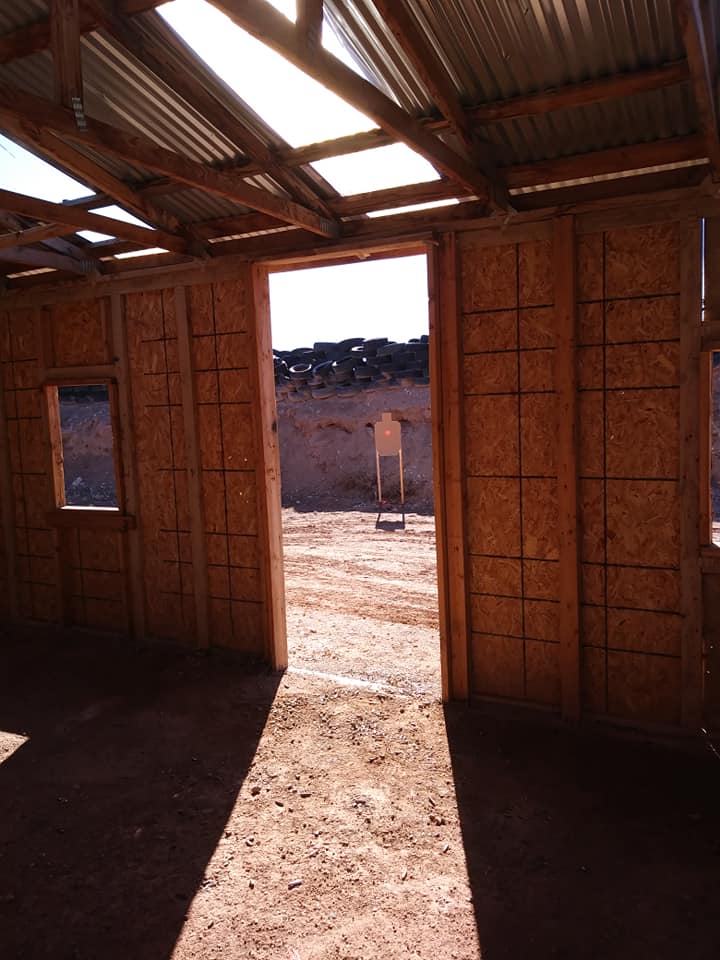
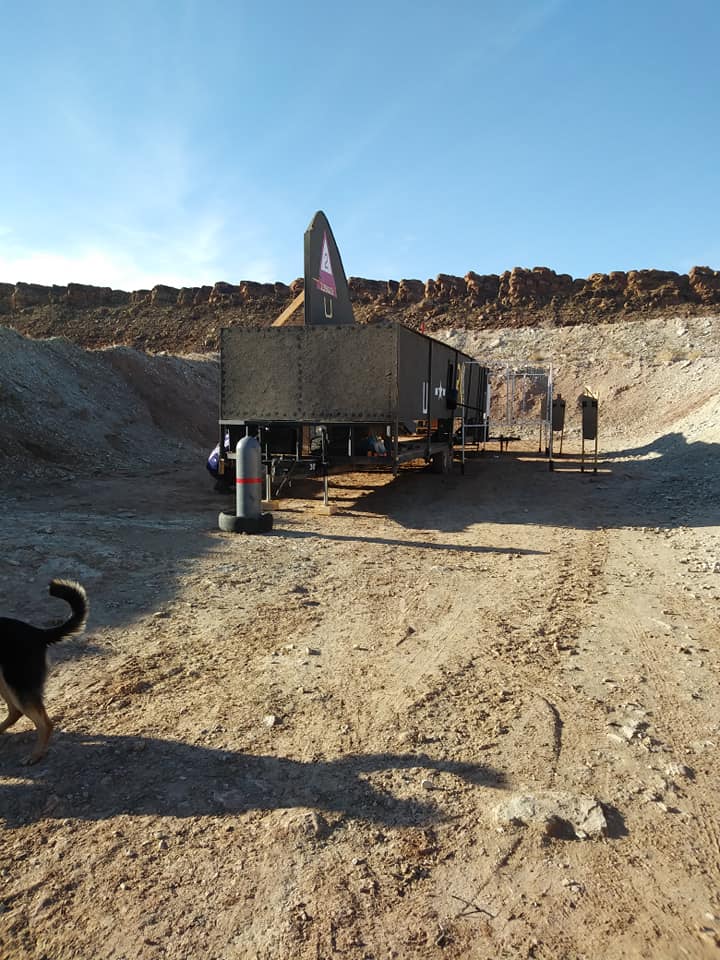
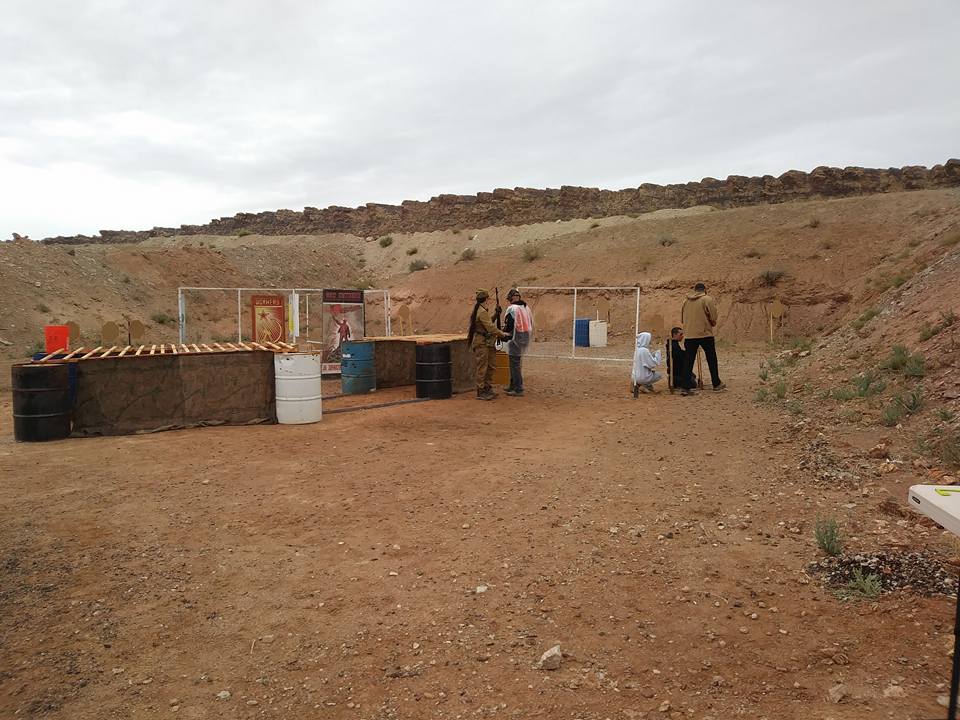
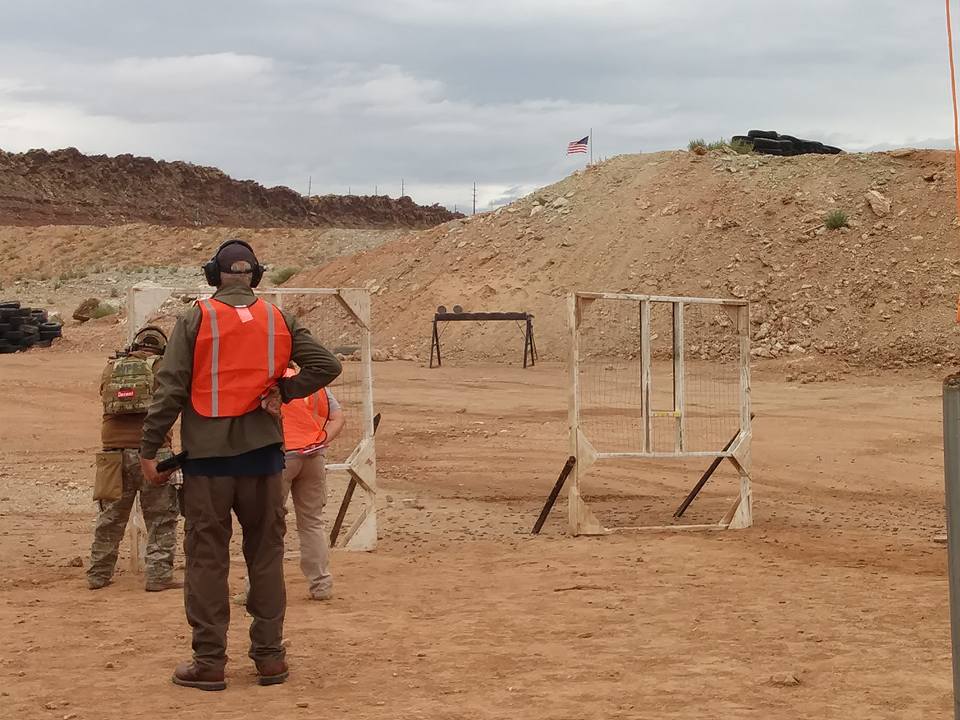
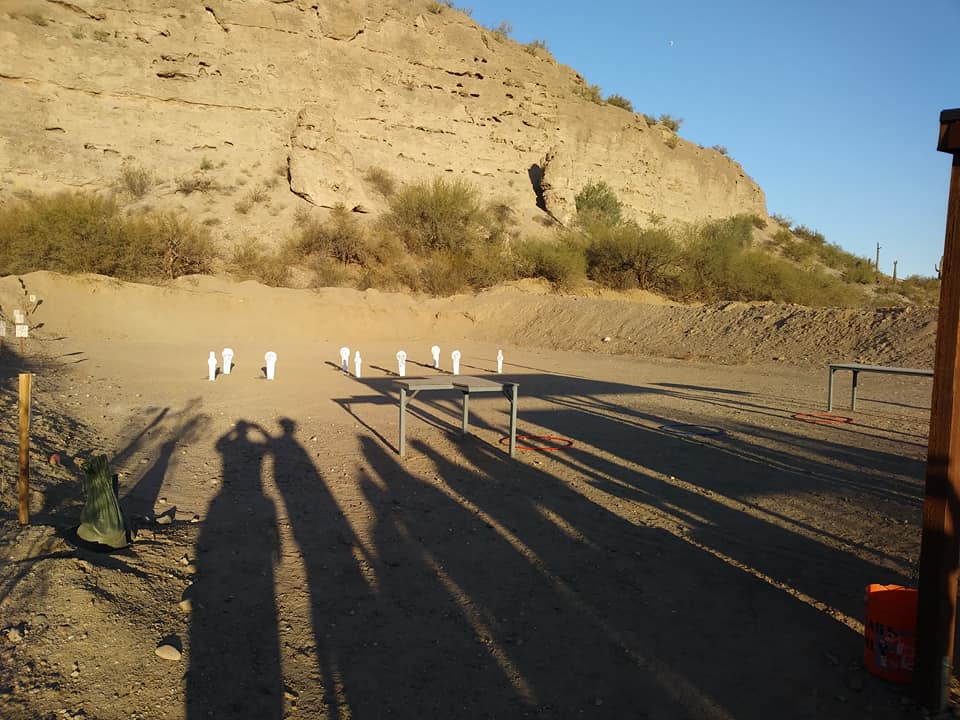
Started the day with Stage 6, the breaching cage.

27540807_10214419236782003_8144786996320466345_n.jpg


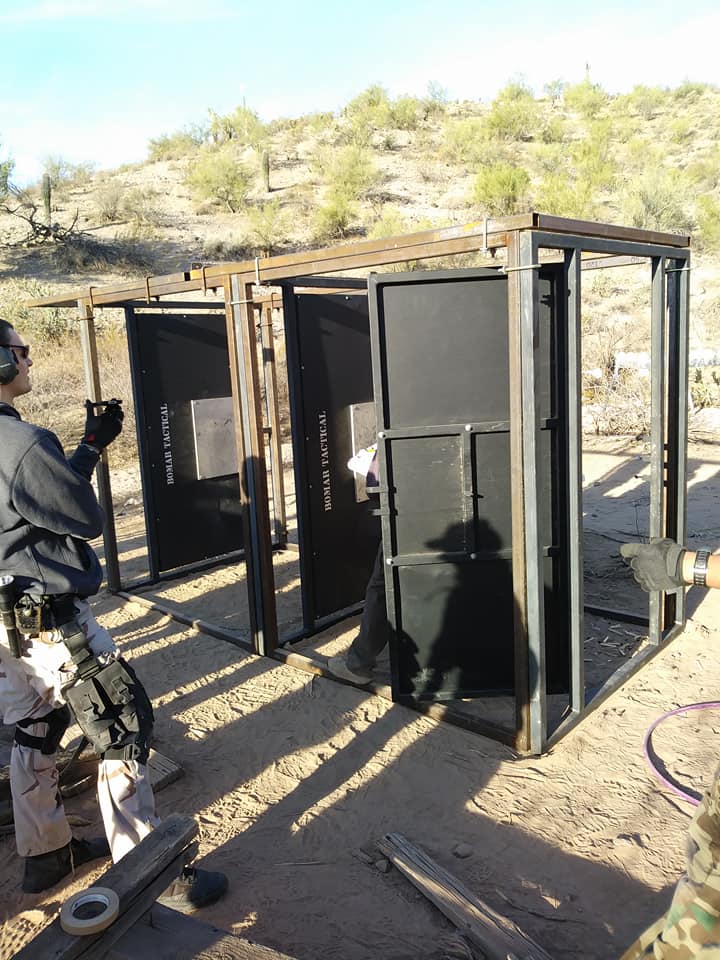
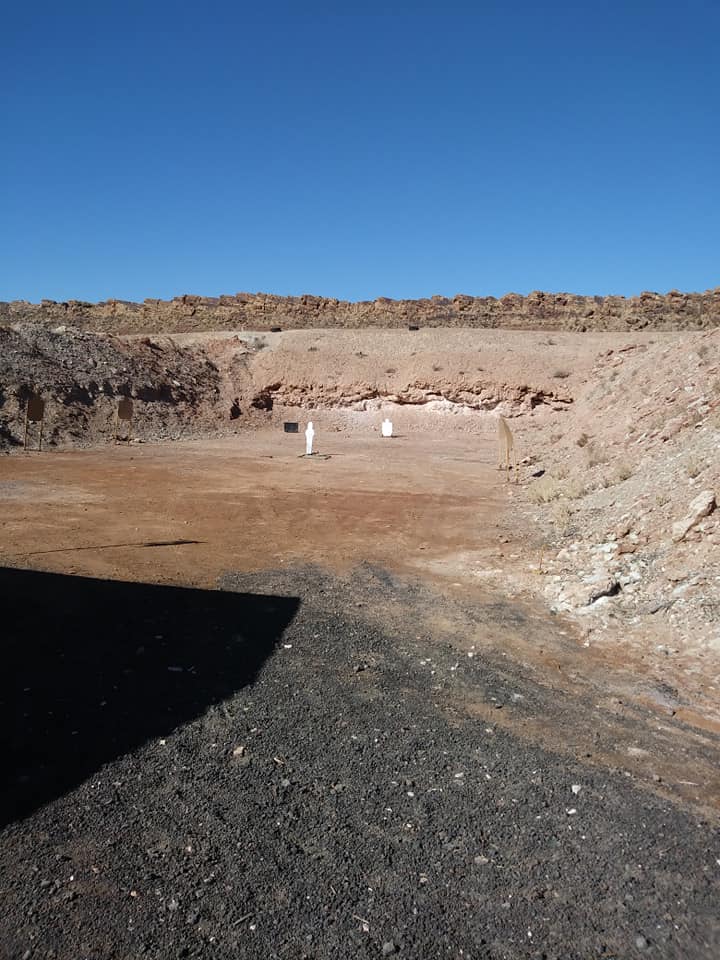
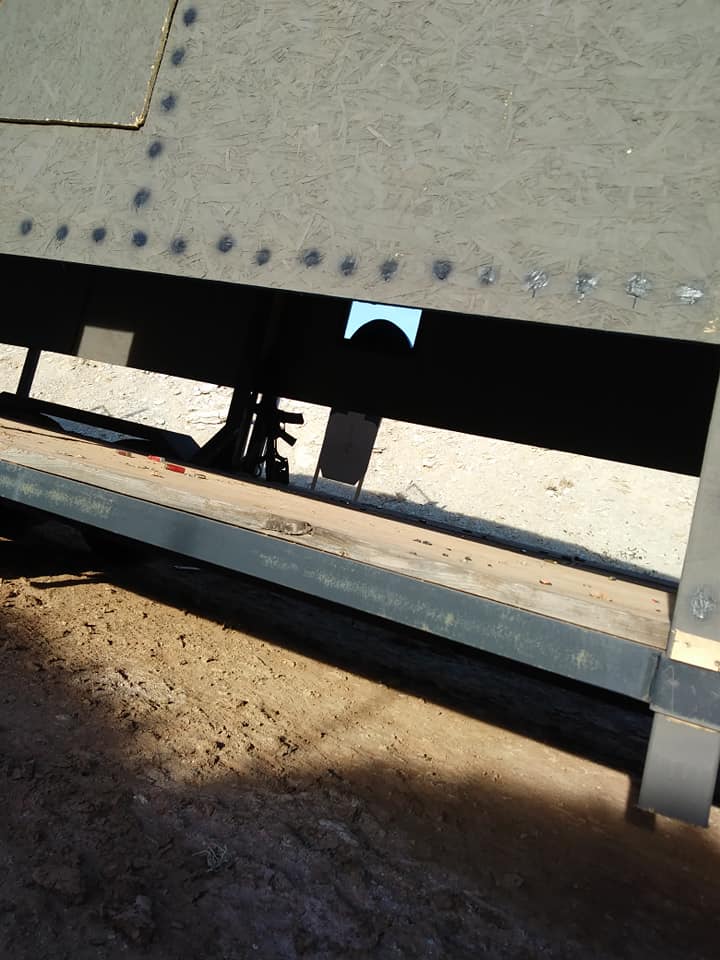
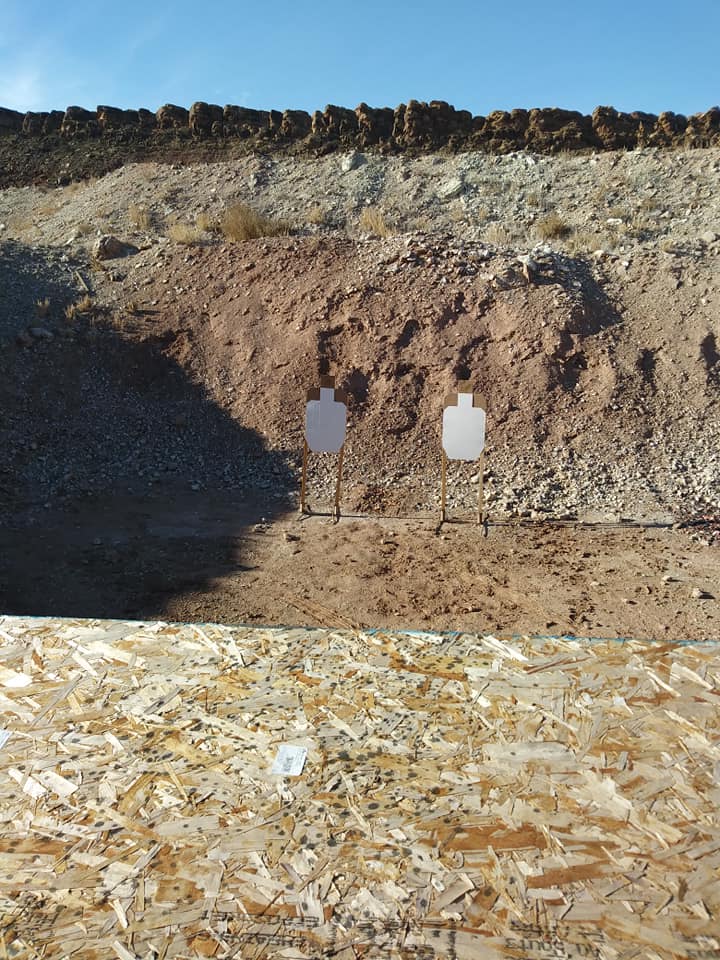
Start in front of the first door, facing four close paper targets and one steel further away.27337098_10214419237542022_3920069843023832995_n.jpg

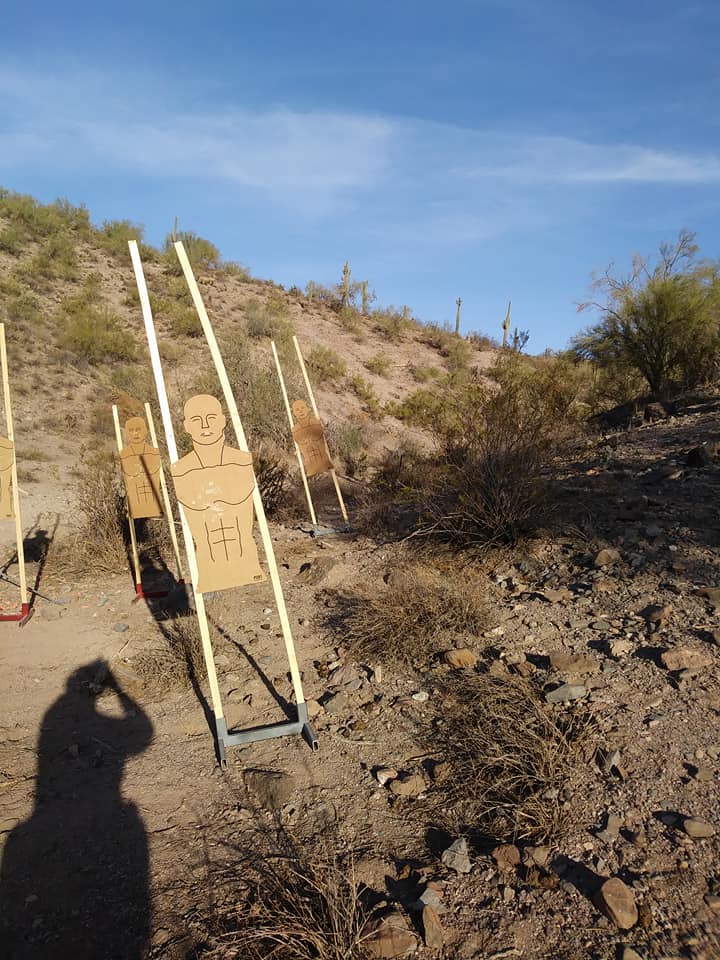
Neutralize one paper target (two hits anywhere or one shot to the center of the head), one hit on the steel, next paper target, another hit on the steel, until all the paper targets are engaged. Clear the rifle, kick in the first door.

DSC00154 (1).JPG

DSC00155 (1).JPG

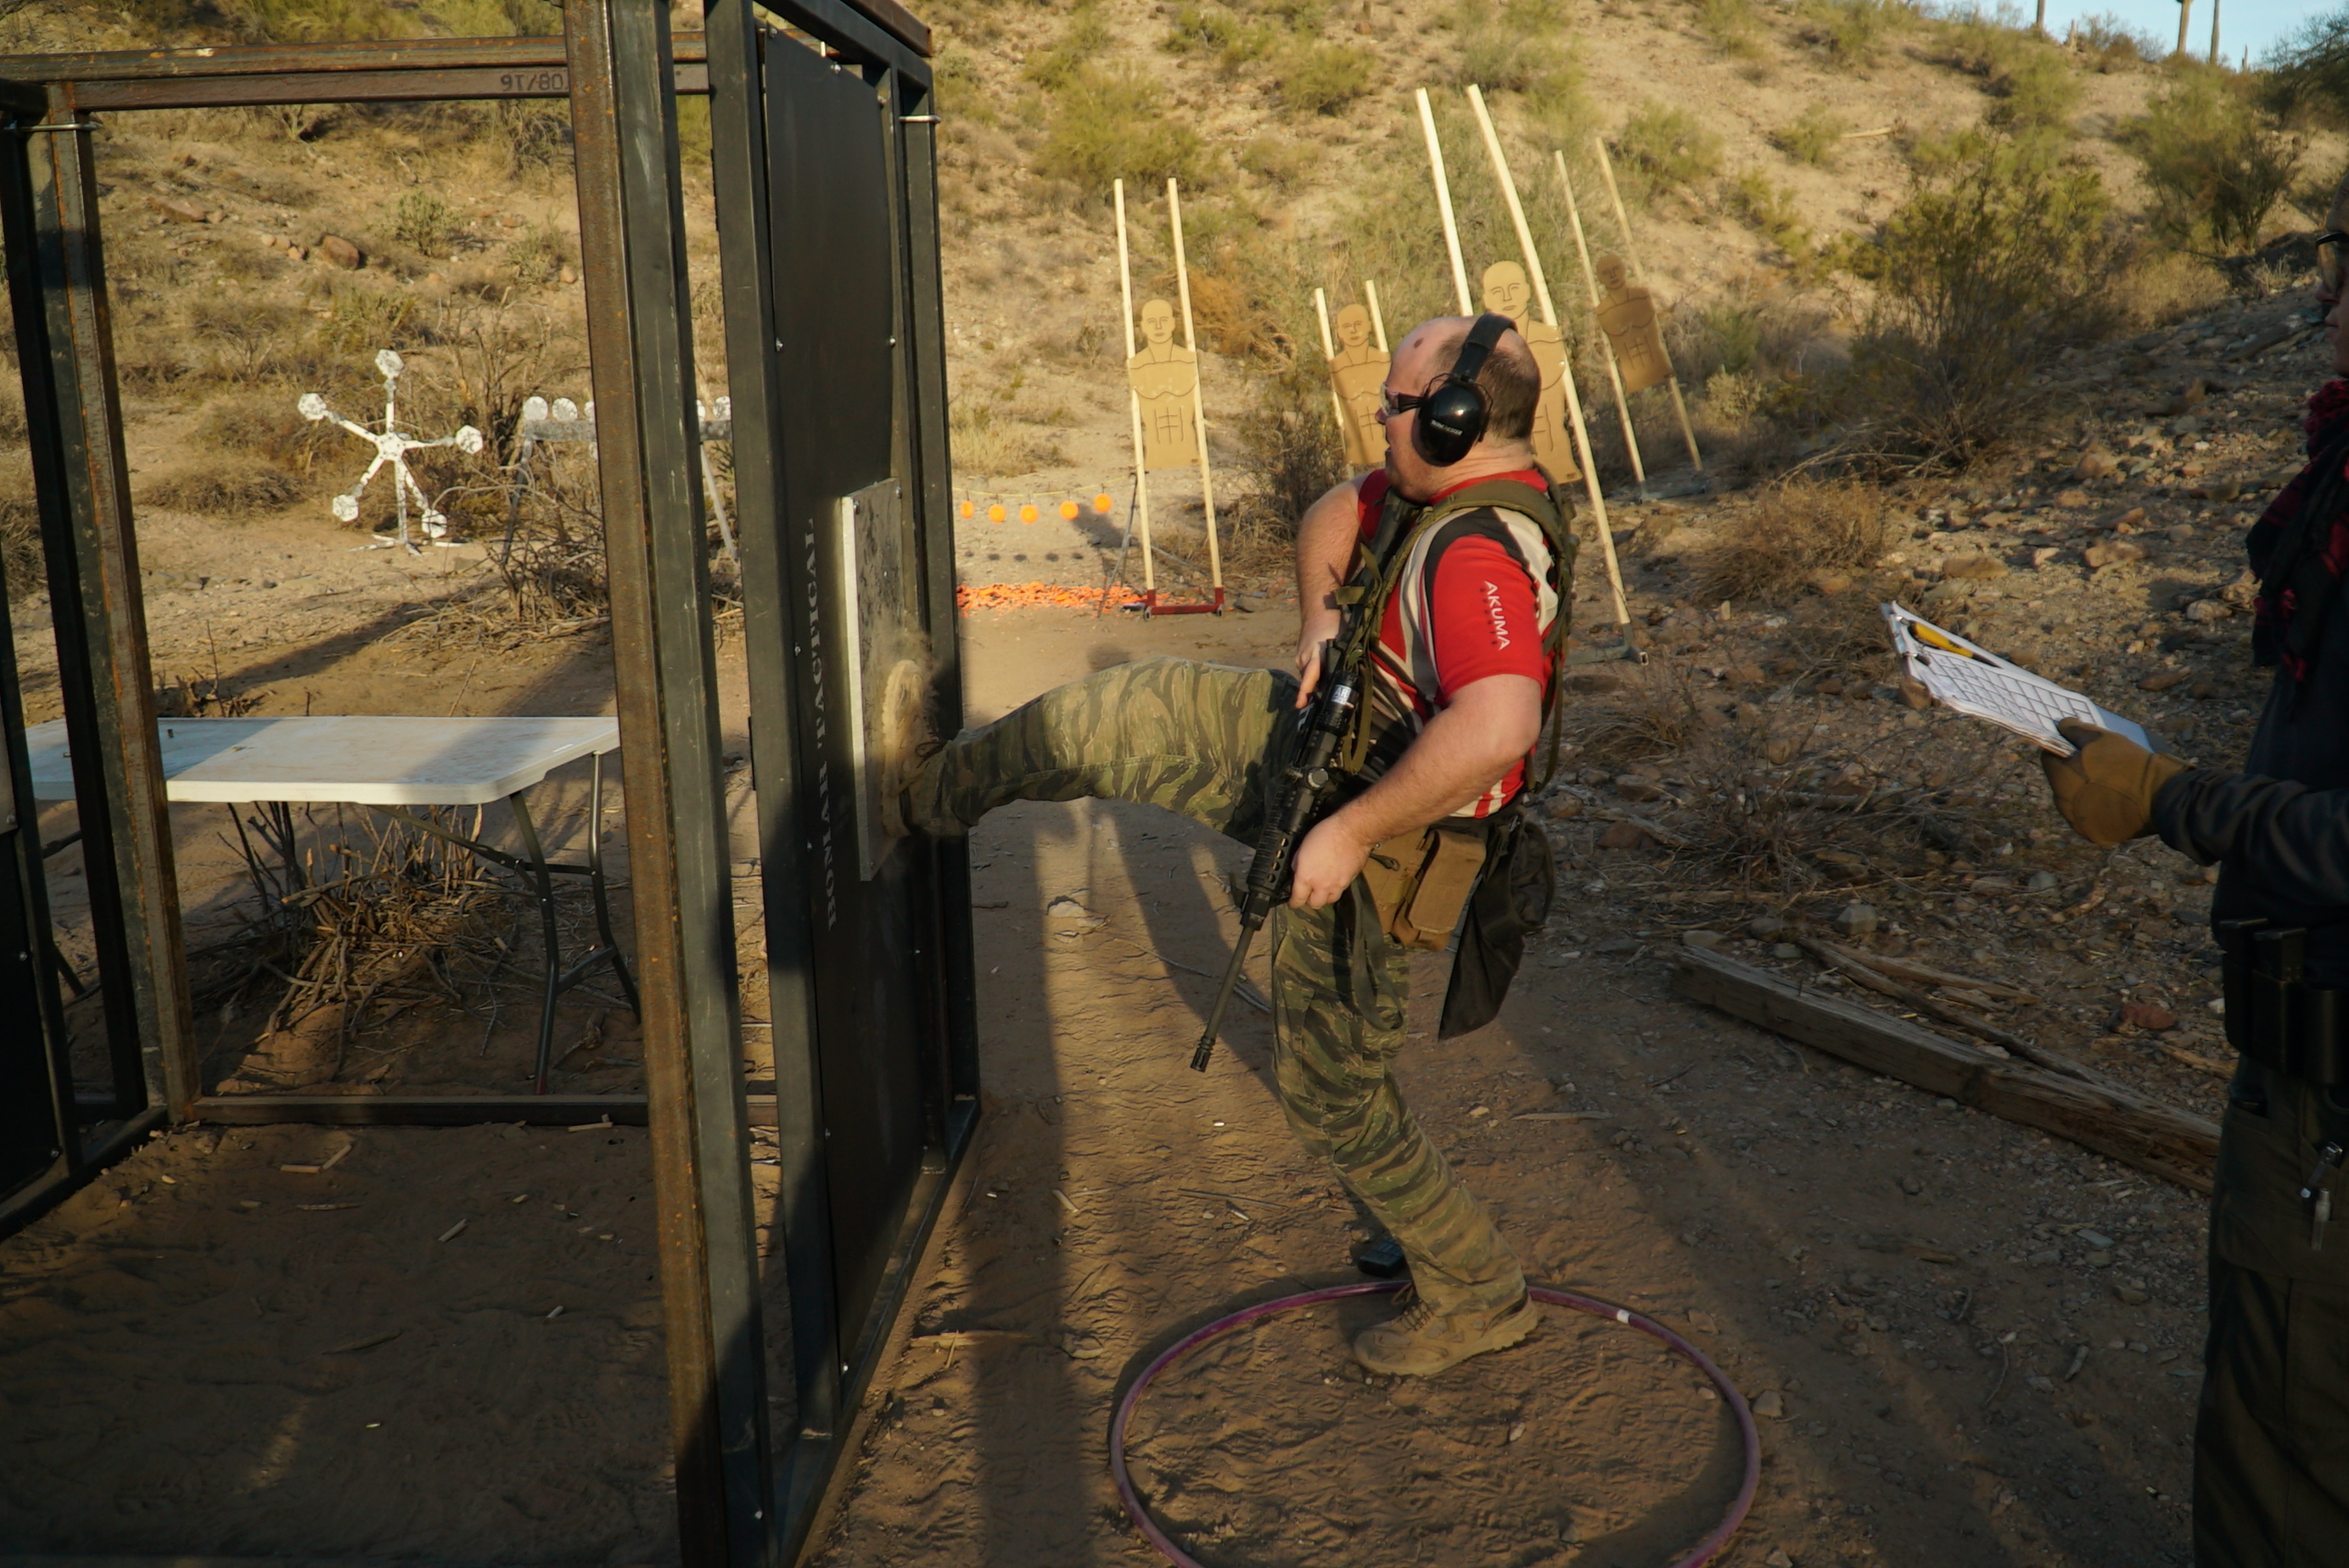
Step through the door, draw your pistol, and shoot 5 clay pigeons hanging from a string.

27750901_10214422375940480_7961703921181663300_n.jpg

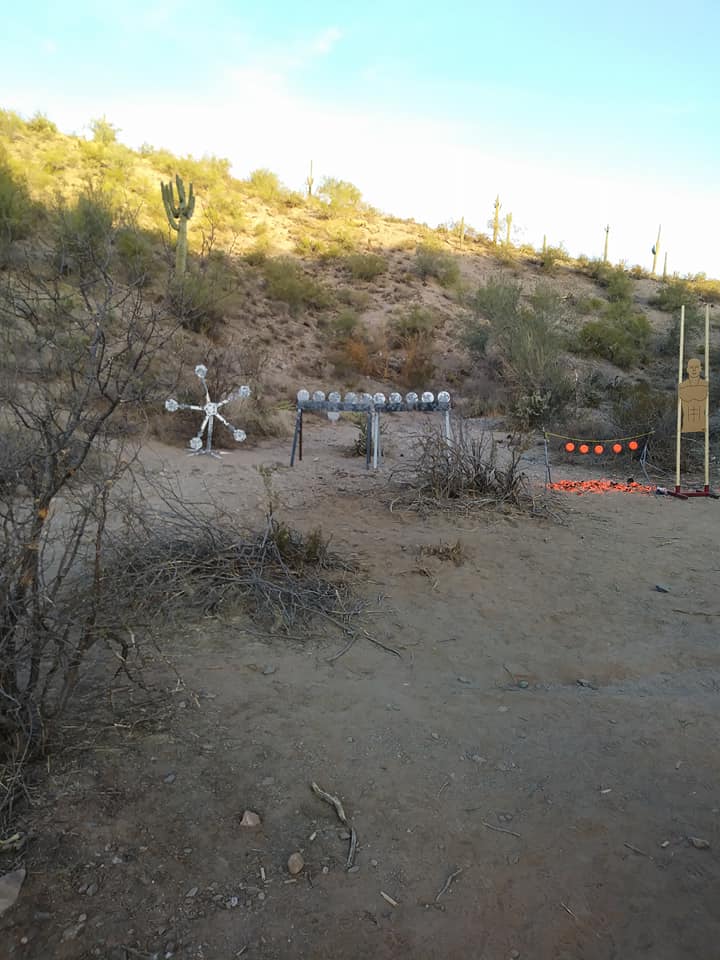
Table the pistol. Kick in the next door, shoot all the targets on the plate rack. Kick in the last door, run to a hoop marking the last firing position, and shoot all of the plates off of the Texas star.

This was a lot of fun. I had one clay pigeon that was hanging turned a little sideways and I couldn’t hit it, so I left it and moved on (better to lose one target than to burn up all my time and ammo that I could use on the easier targets that followed).

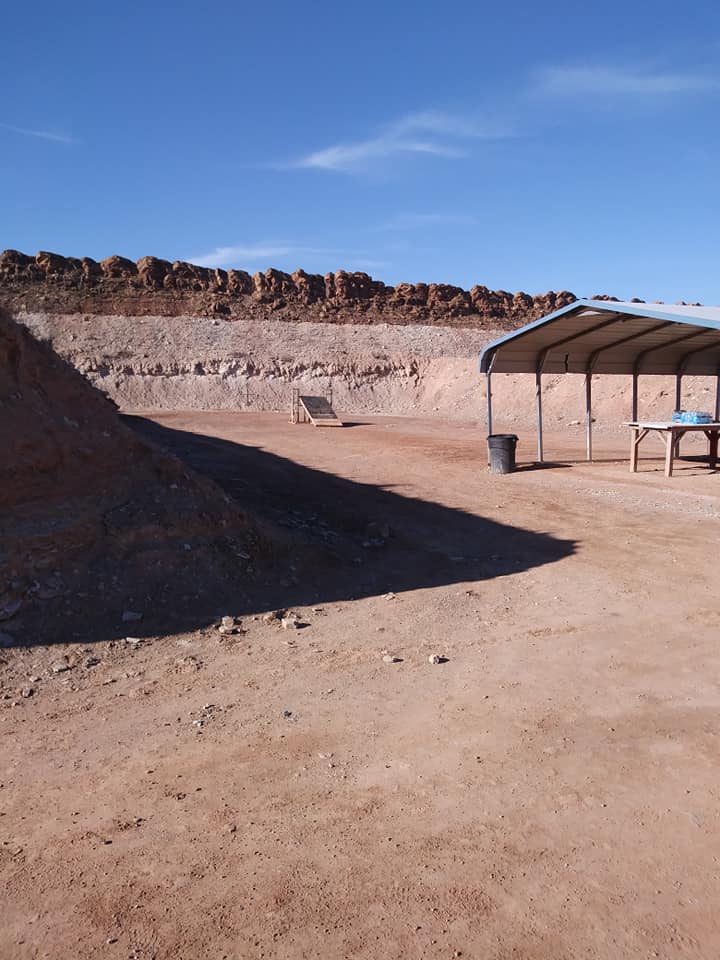
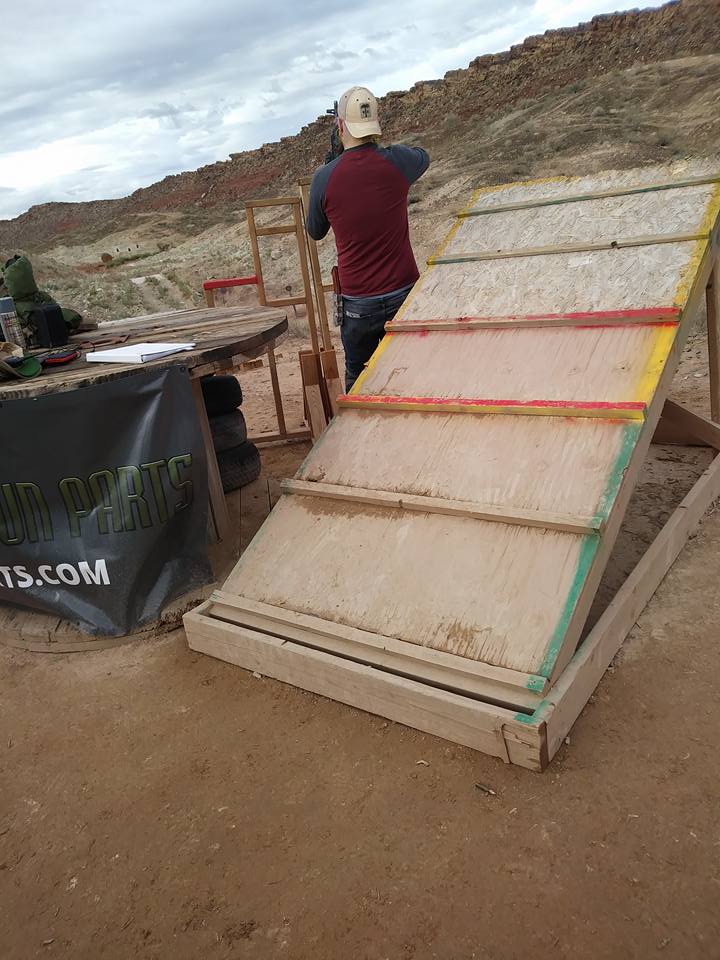
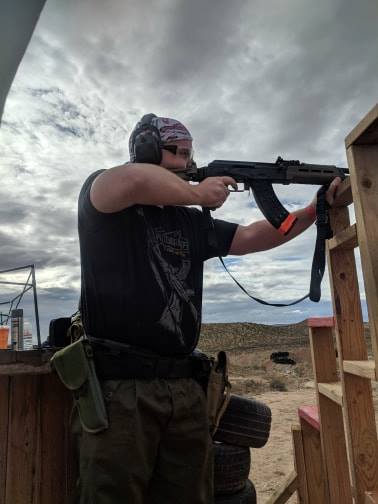
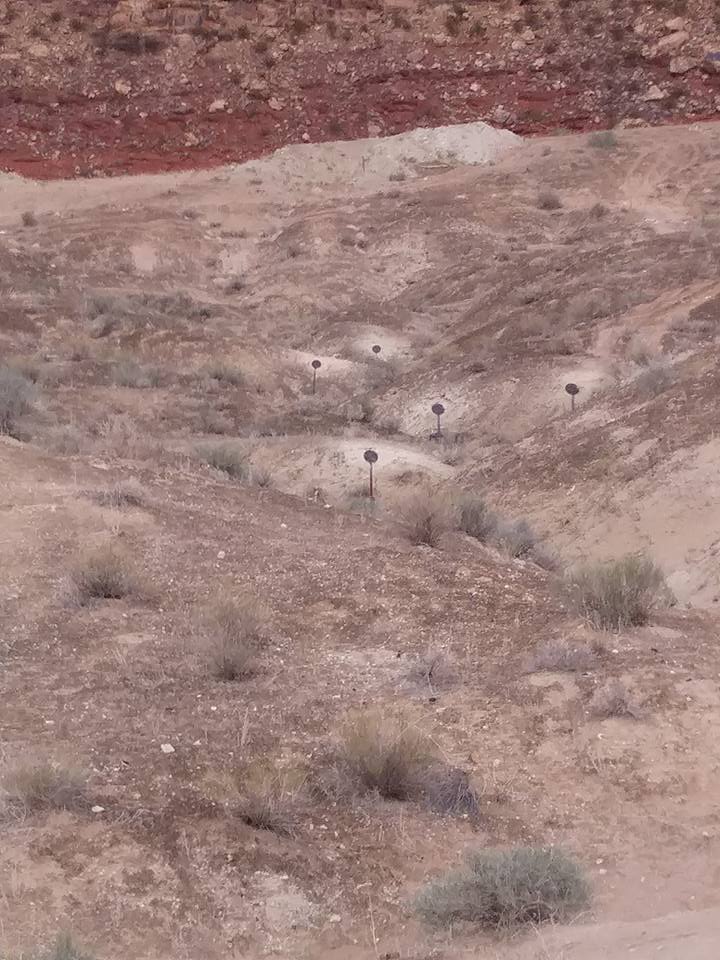
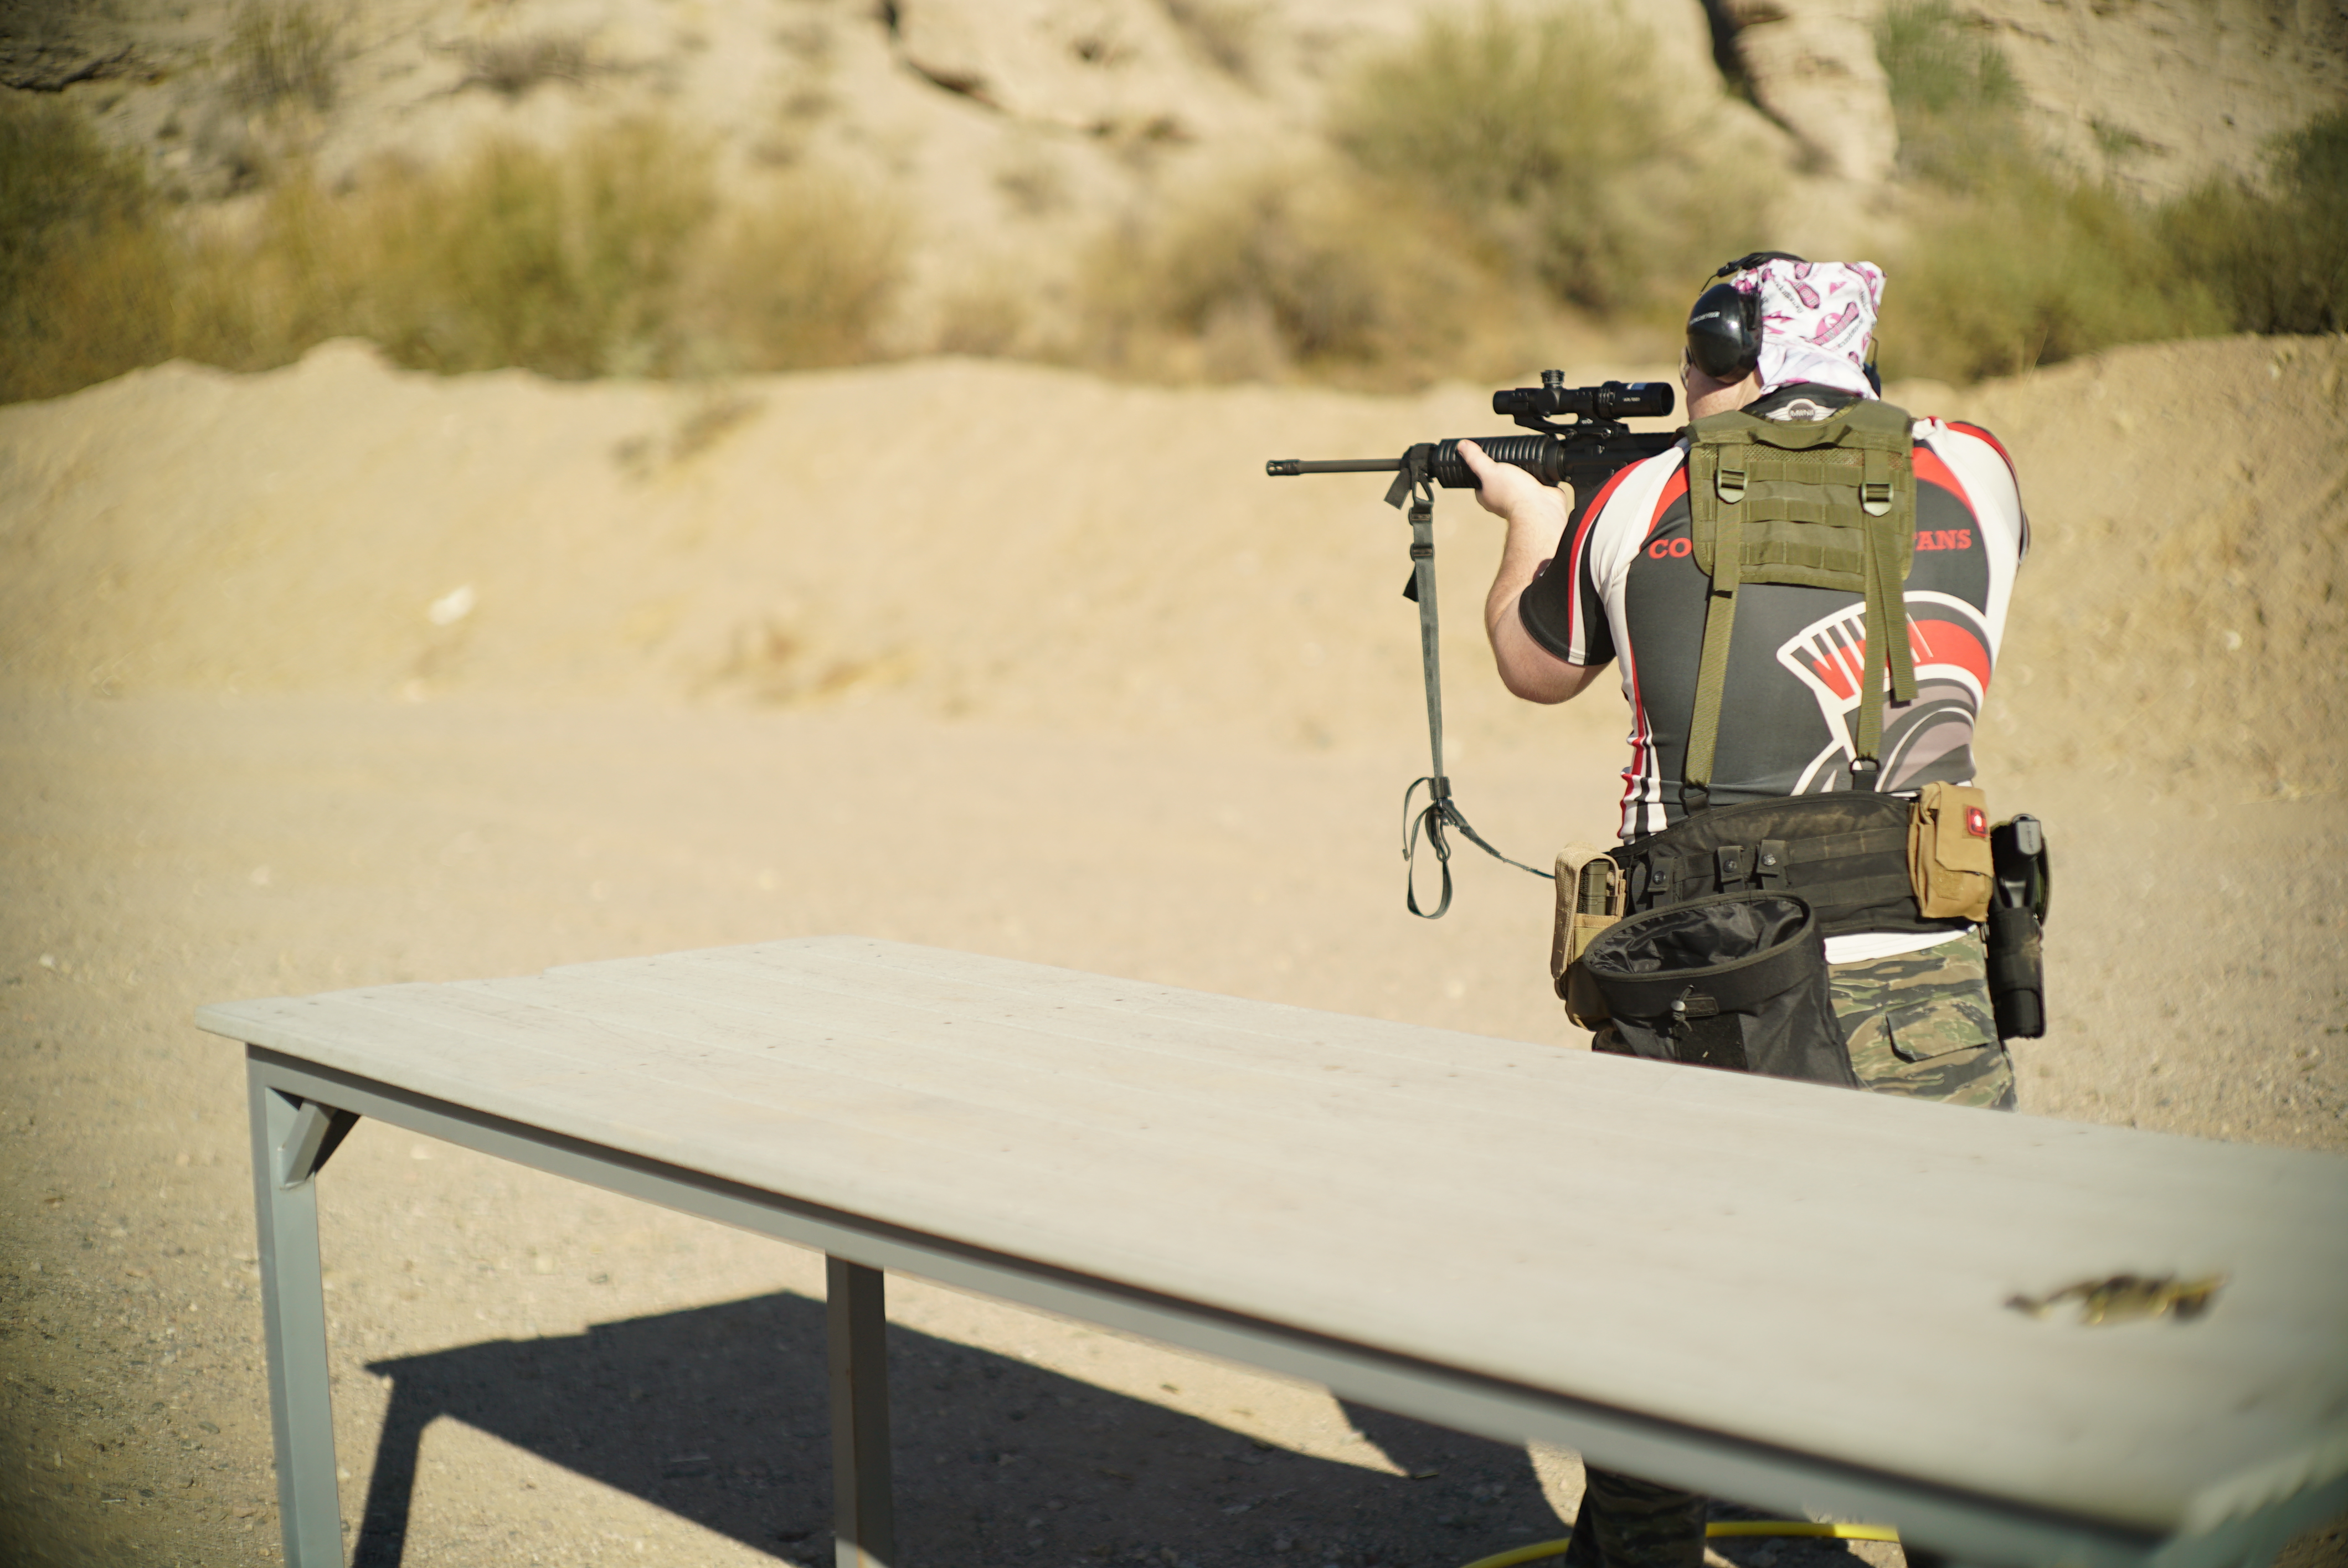
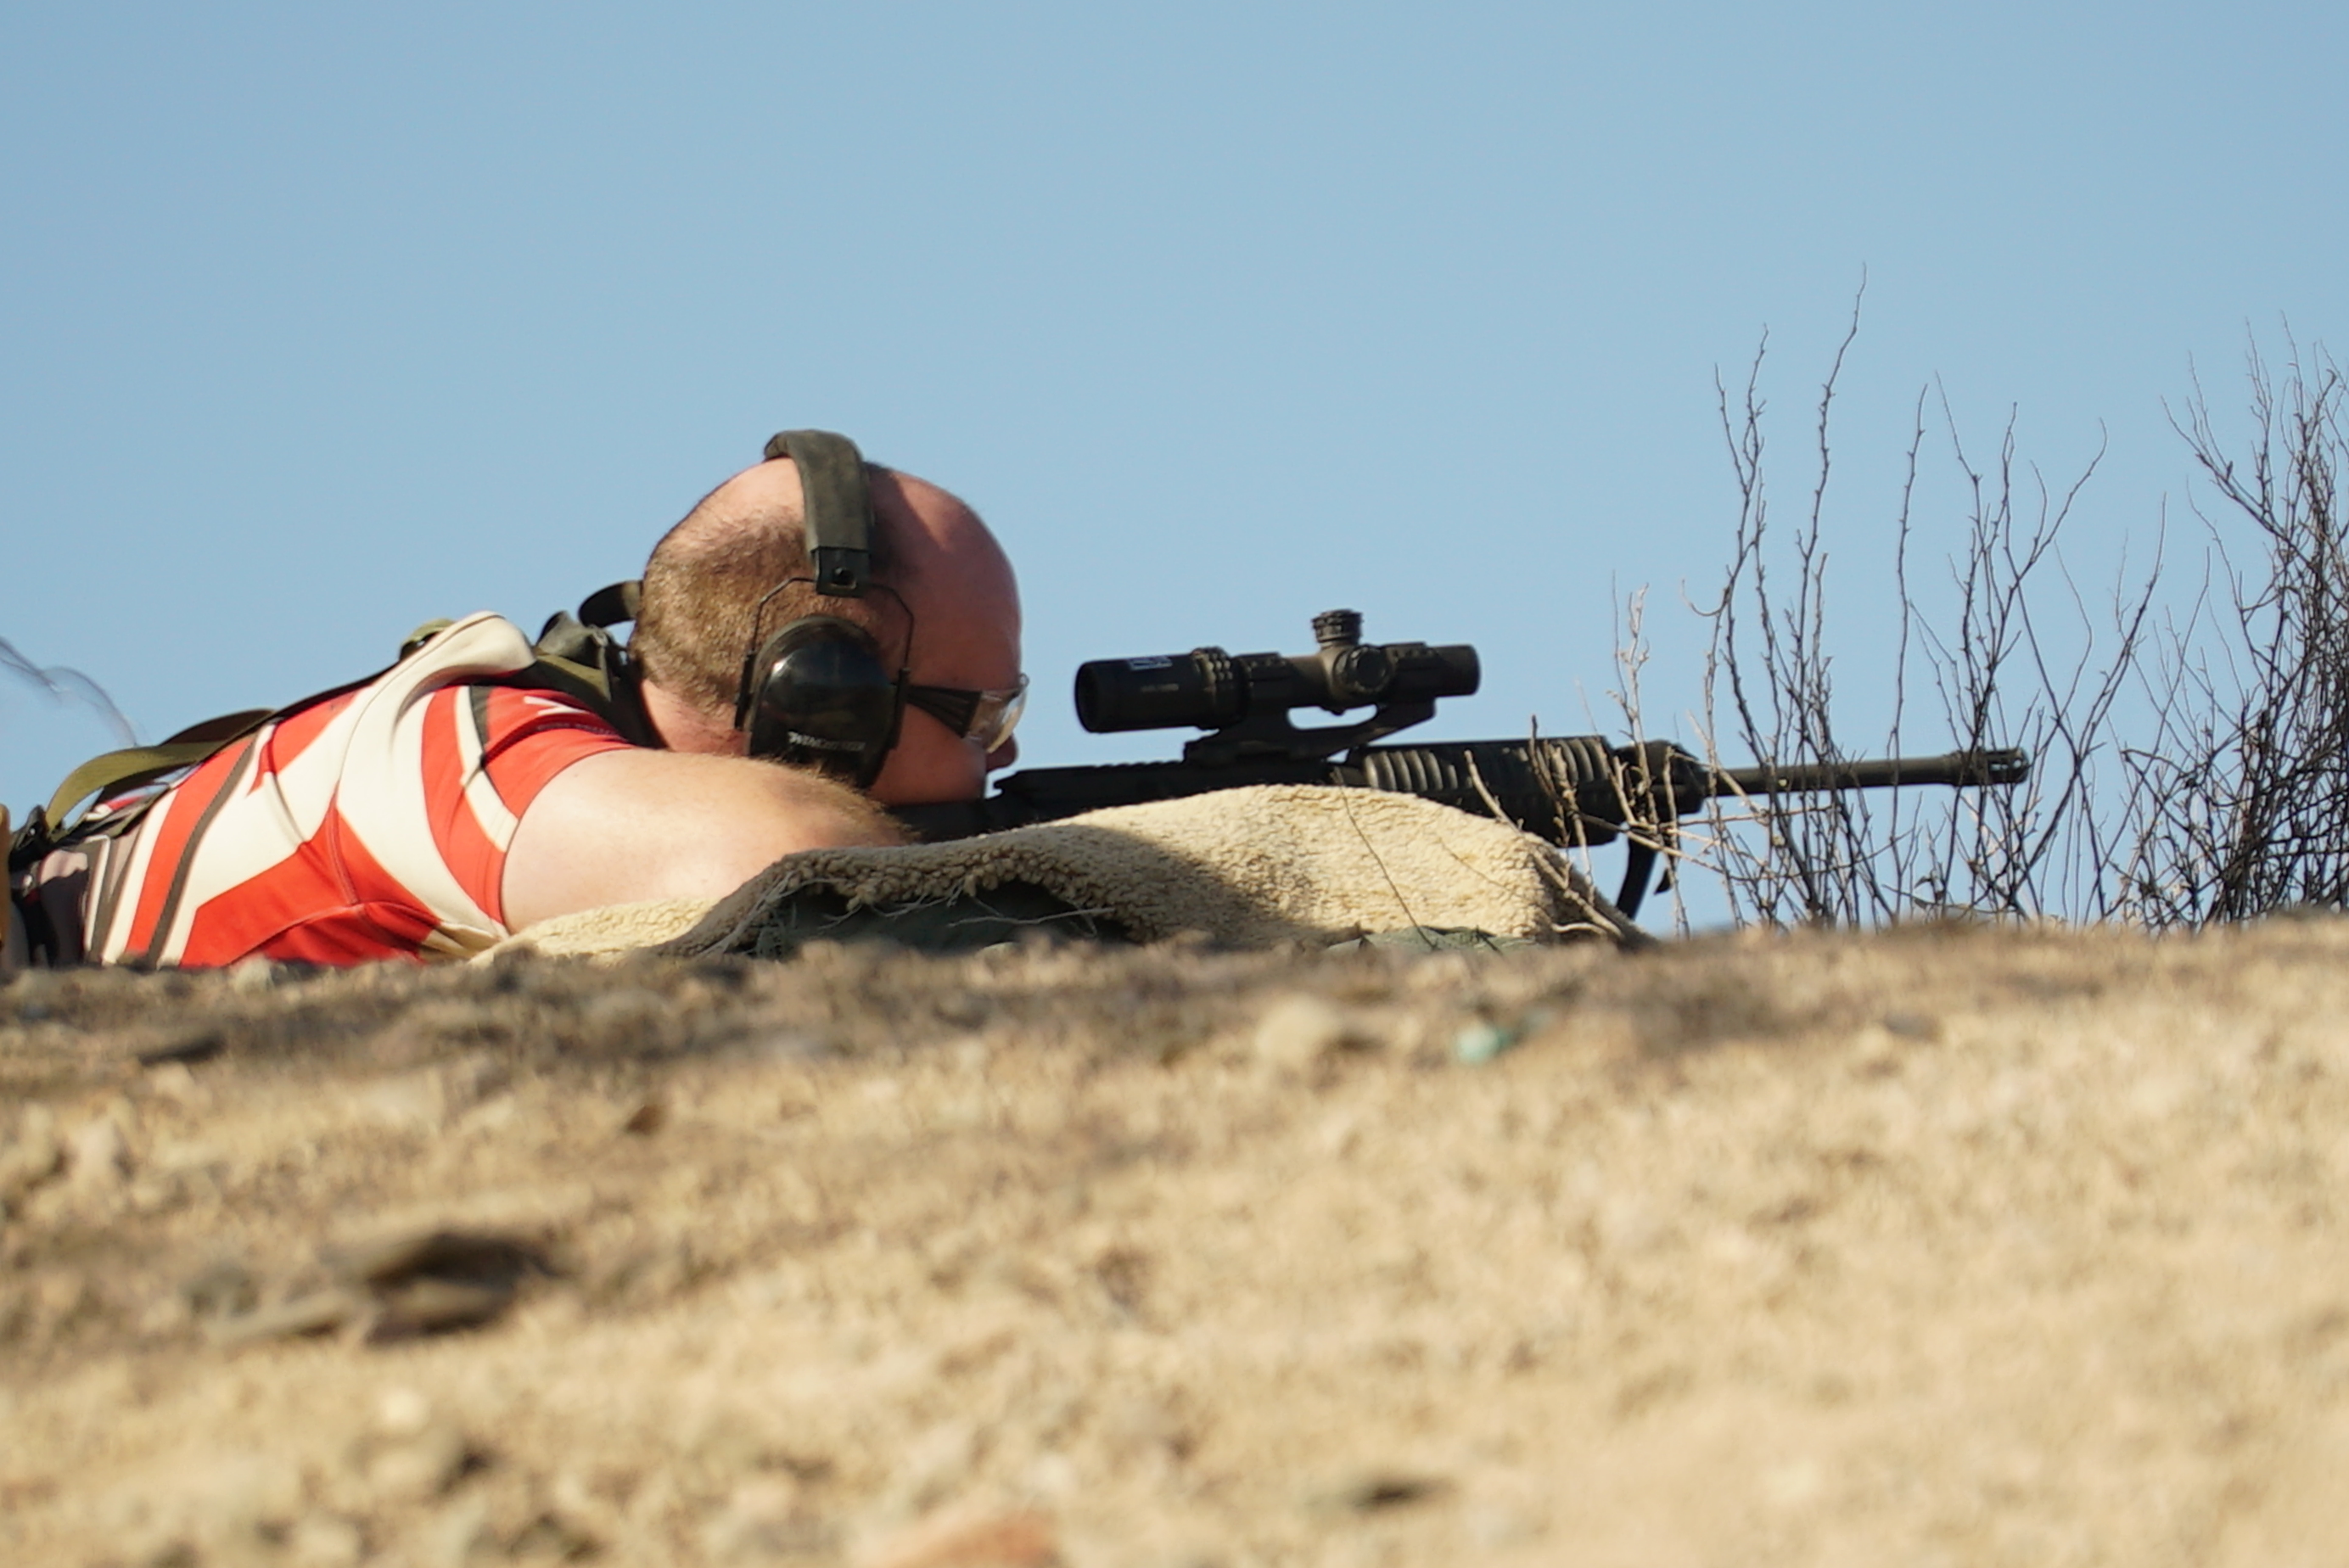
Stage 7 was tough. Start running up a steep hill to a sandbag firing position:

27459045_10214419261582623_5995722581774753891_n.jpg

DSC00432 (1).JPG

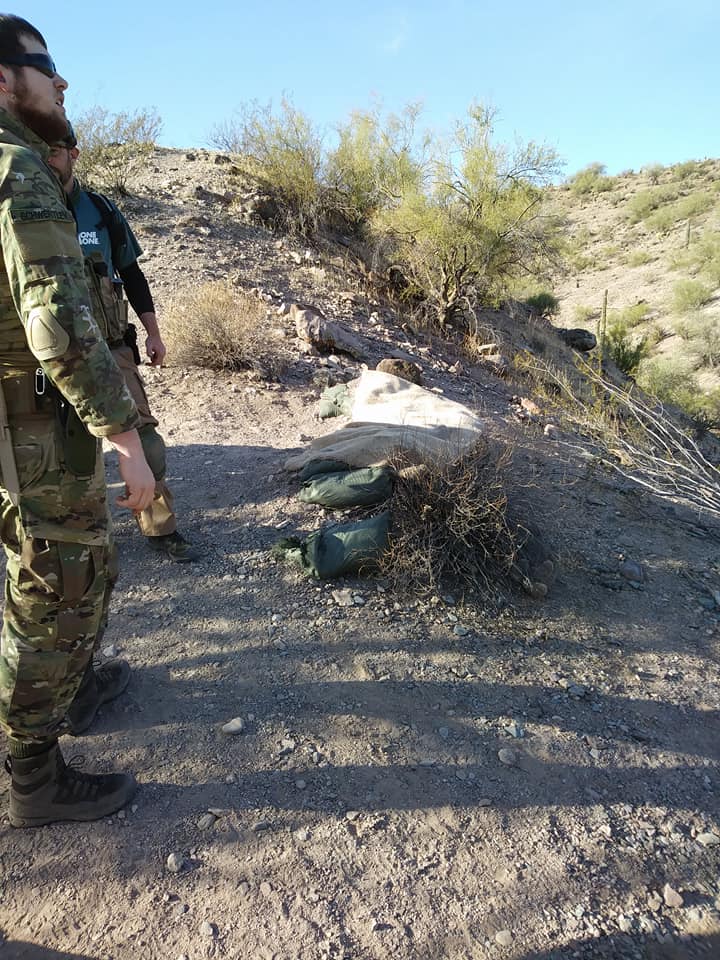
Engage two distant steel targets, 2 hits, next target, 2 hits, next, two cycles through all three targets. If you move to another target before getting 2 hits on the one before it, you need to start over. Then run to the next firing position:27545537_10214419261182613_8355530853115179292_n.jpg

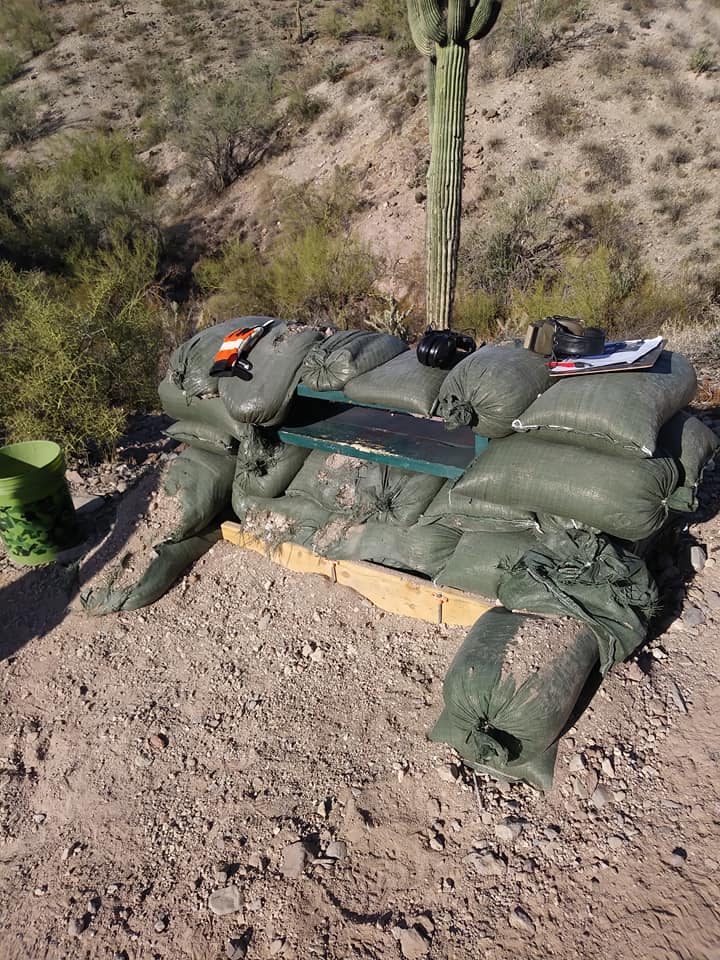
2 hits on 2 targets through the port, then run to shoot off of the barrier and the rooftop:27544557_10214419243902181_9212043189918066779_n.jpg

27751598_10214419238822054_8584093420676554705_n.jpg

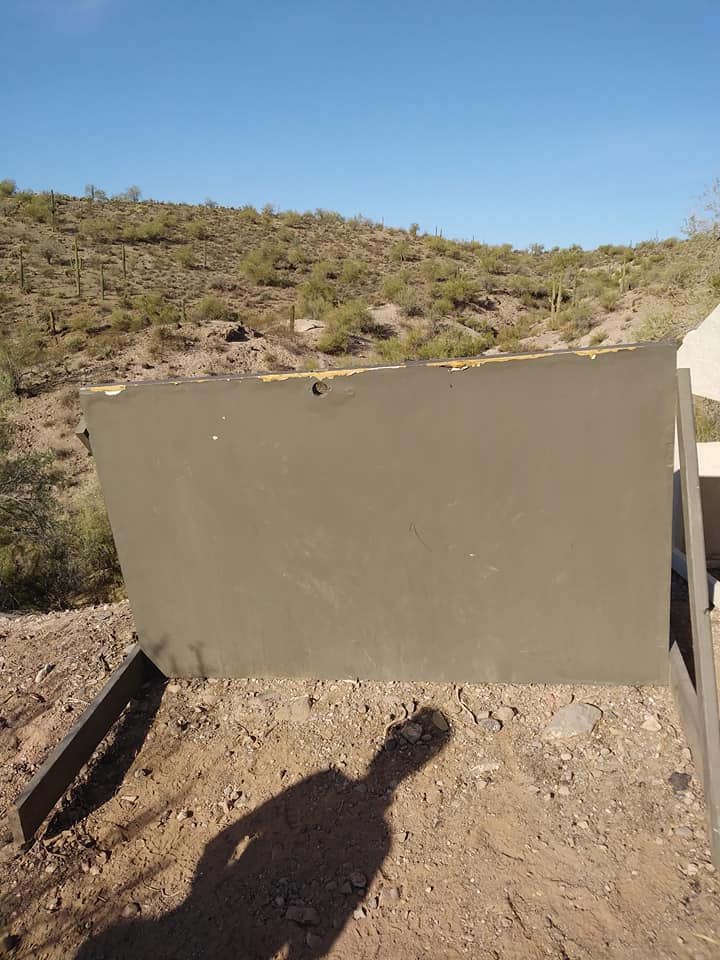
I couldn’t get settled down into a solid shooting position at the first position. I messed up and moved on after one hit and had to restart, and barely made it to the second firing position before timing out. Take notes of what to work on and move on to the next stage.

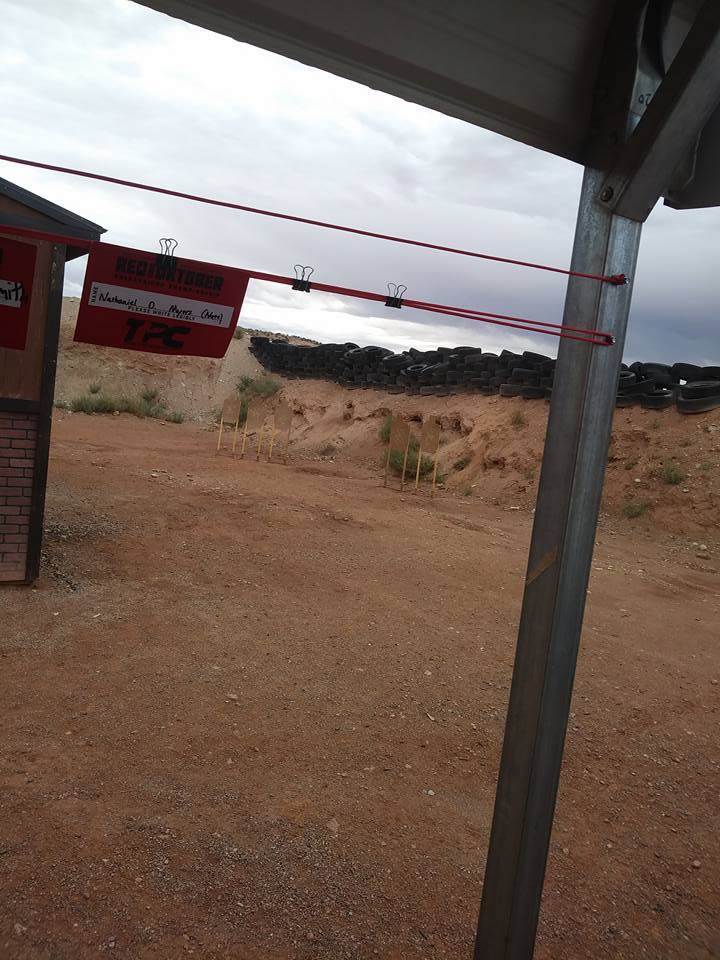
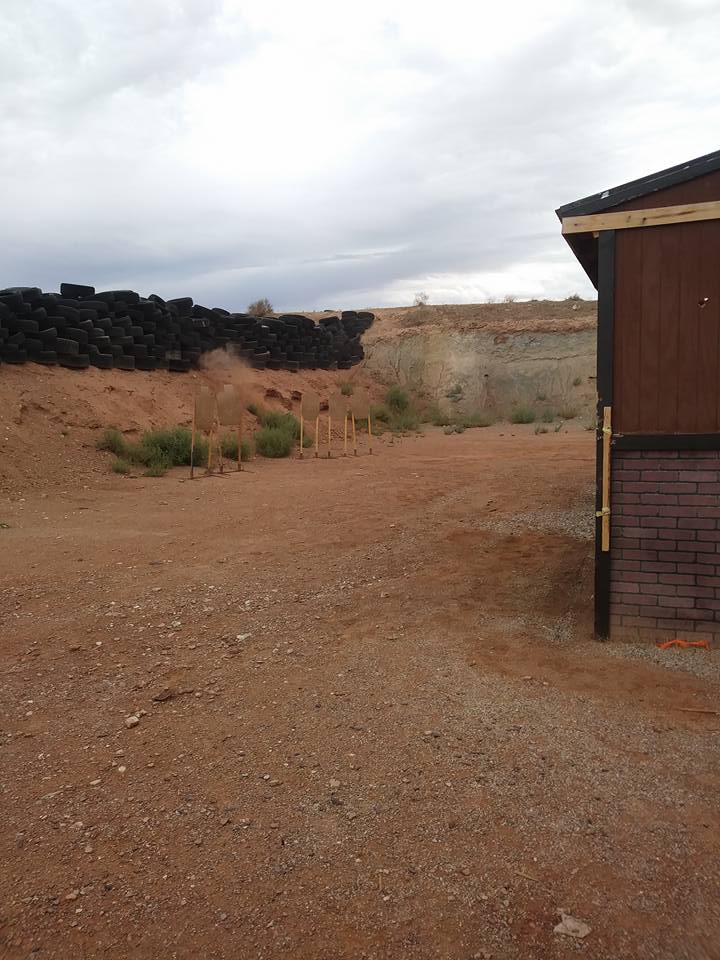
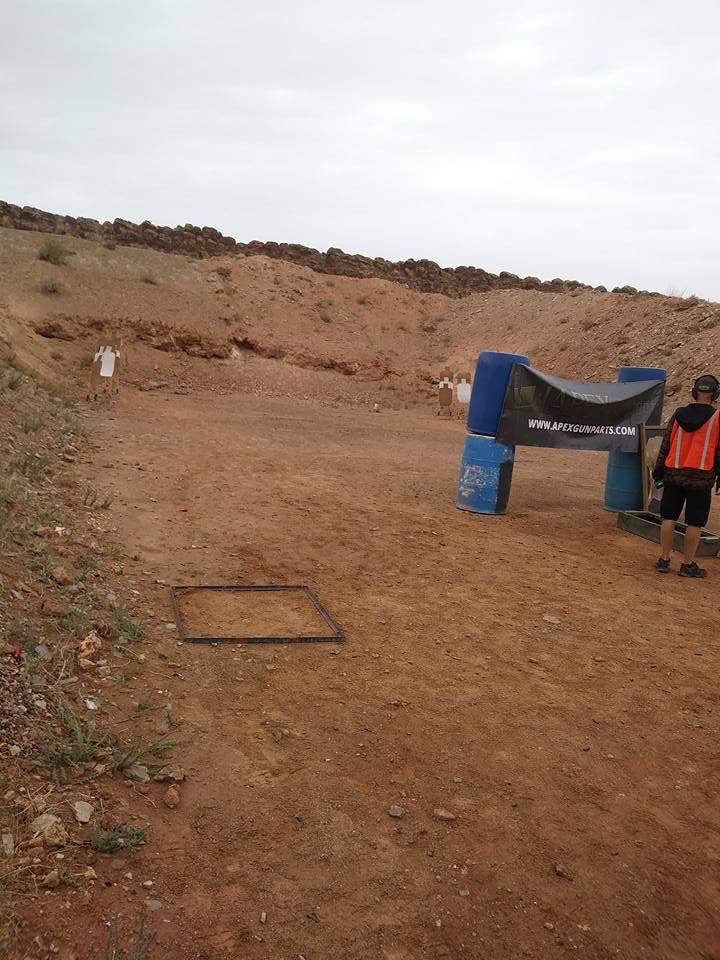
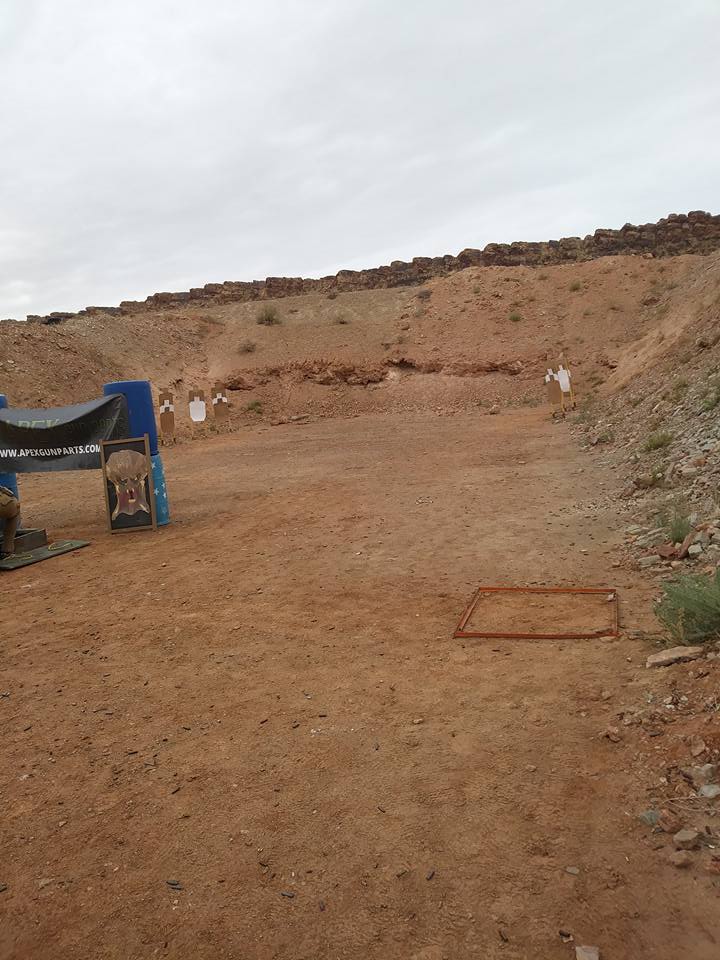
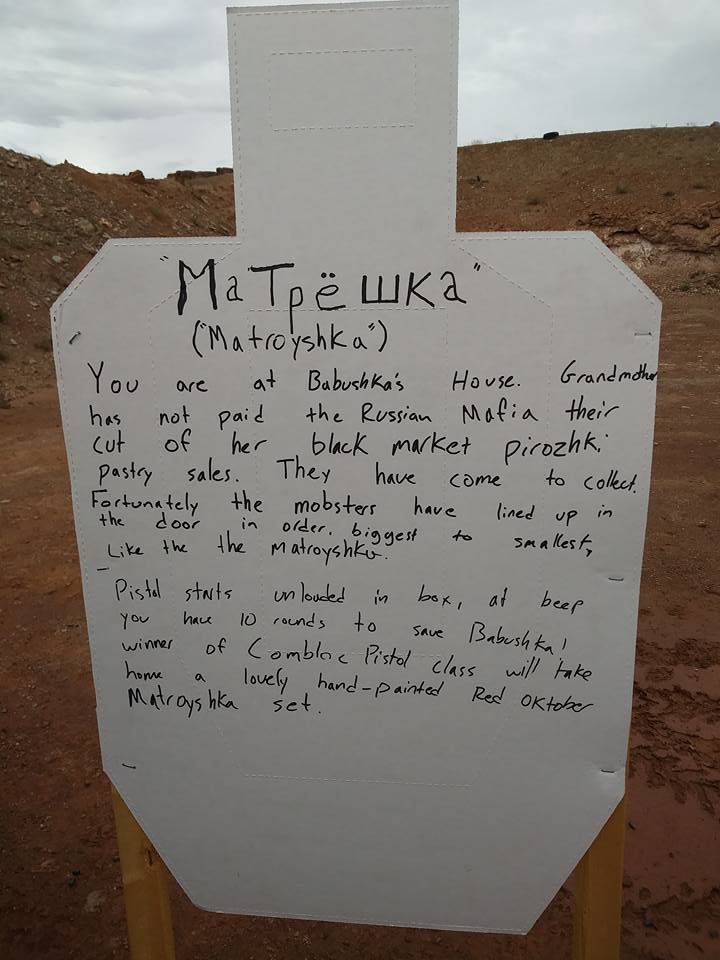
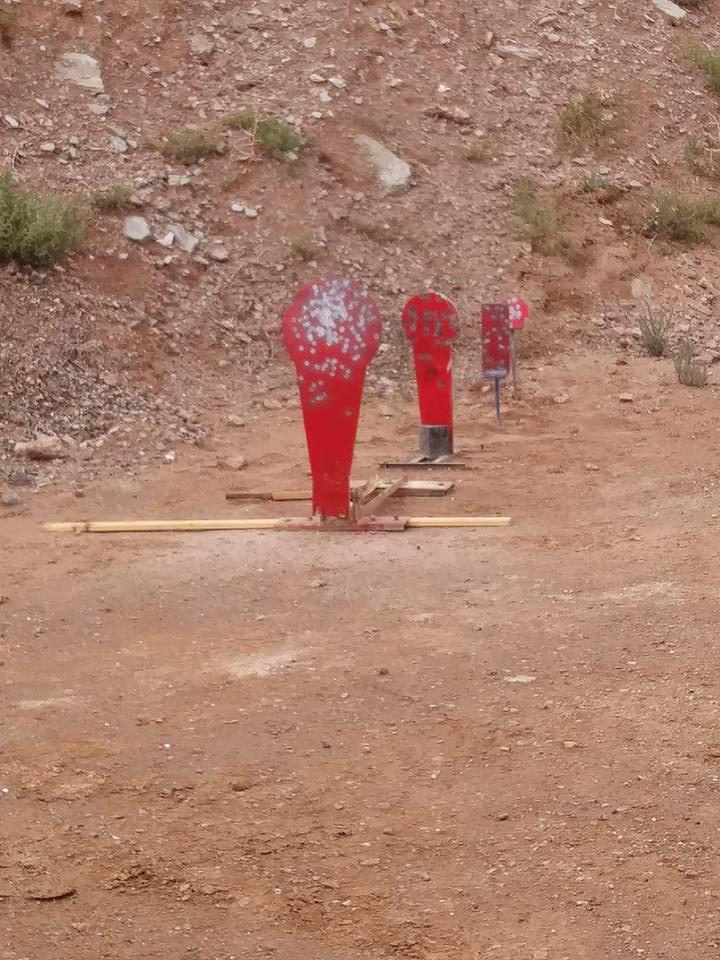
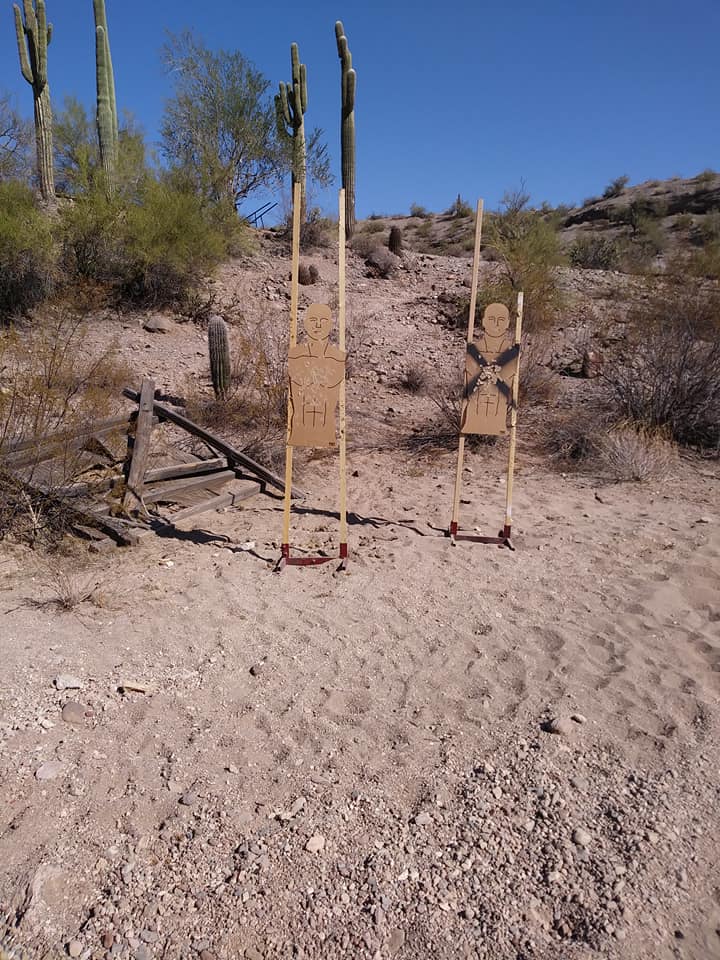
Stage 8- Mogadishu Quarter-Mile.

Start with one rifle mag of 30 rounds, following a row of cones and shooting close paper. Targets with an X are required, other targets earn bonus points but do not incur penalties if they are left. (There are more targets than you can engage with the rifle ammo you have, so if you want to skip non-X targets to save ammo, you can.) When rifle is empty, transition to pistol, shoot the rest of the paper, and finish on the pistol spinner.

27337377_10214419263502671_1116155571001224335_n.jpg

27657178_10214419263982683_6438641431168606326_n.jpg27752510_10214419264382693_7172775565127072482_n.jpg

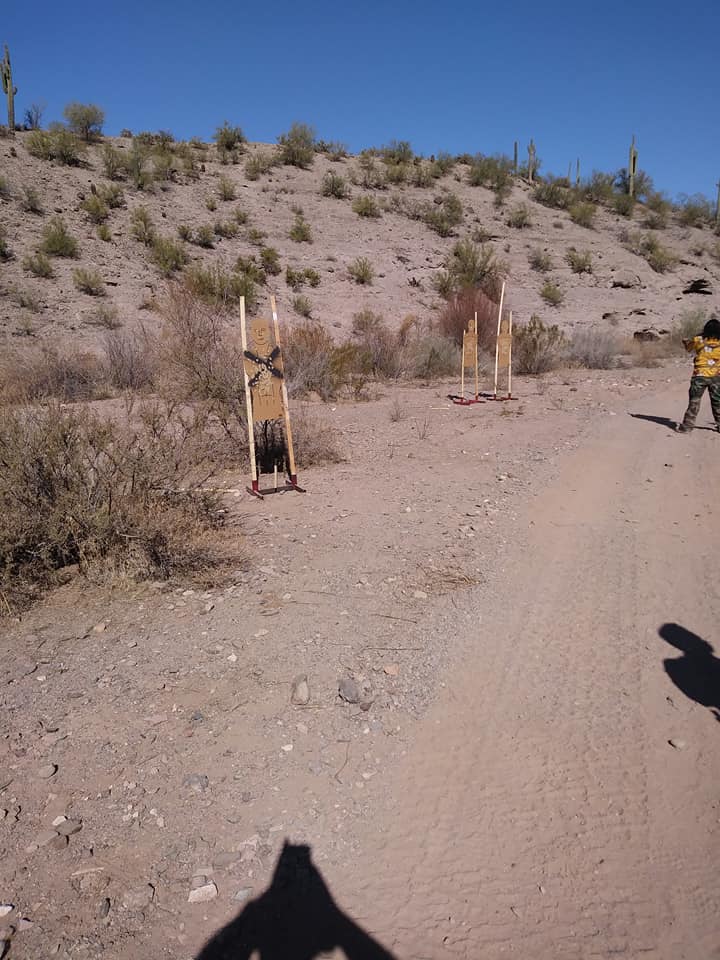
My strategy was to take the easy hits on paper and do the best that I could with the spinner. While I twice had it to the point that one more hit would push it over, I missed that last needed shot, expended all my pistol ammo and timed out.

Stage 5, our last stage, was a rifle-only fire-and-movement stage, with relatively close targets at the start and ending with some longer-range.

Start in the hula hoop, move to the first tank trap, engage two targets.

27459747_10214419270822854_3773406686670084918_n (1).jpg

27459582_10214419269862830_7001201283626767485_n.jpg

Run to another tank trap, shoot the same two targets again. Run to those targets, turn and shoot two more.

27459032_10214419268062785_757999637275739217_n.jpg27657968_10214419266702751_3022100628100170369_n.jpg

Run up a steep hill to another tank trap:

27459031_10214419265462720_8878071028816136373_n.jpg

And engage two of the three distant steel targets:

27544829_10214419265742727_790886456053117716_n.jpg

Move to a sandbag position and engage the farthest target.

27540759_10214419264782703_6853736905944163000_n.jpg

I was proud of myself on this stage. I wasn’t blazing through it by any means, but I kept it steady and made good hits. For lack of a better term, I completed this stage at my ability level, rather than fouling something up and knowing I could have done better.

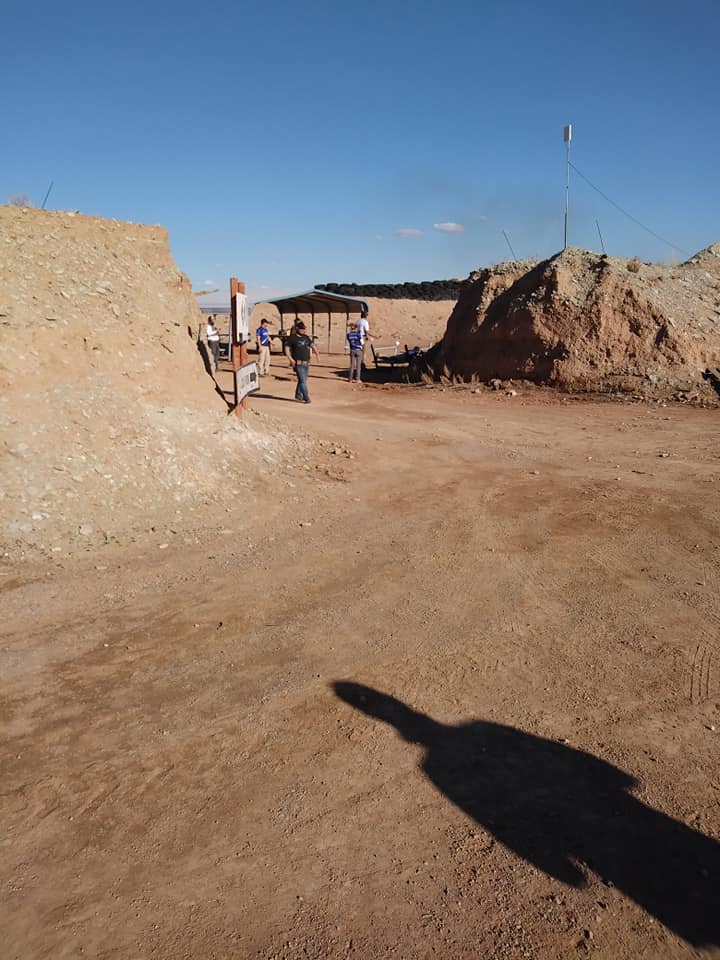
Our last stage done, we helped the crew tear everything down, sorted out our gear, and waited around for the rest of the squads to finish. I thought it was cool that several competitors, having leftover loose ammo that they couldn’t fly home with, gave it to the competitors from California.

The prize table was given out at random, they call a name and the person called comes up to choose a prize. They went with this over assigning prizes by score for two reasons: having no prizes on the line gives less incentive for the sort of cut-throat competition that often takes the fun out of events or for doing something stupid to cut a second off of your time, and it increases the odds that the gear prizes will go to someone who will actually make use of them. (The winners usually already have good gear, while the guy in last place may legitimately need to upgrade his gun belt.)

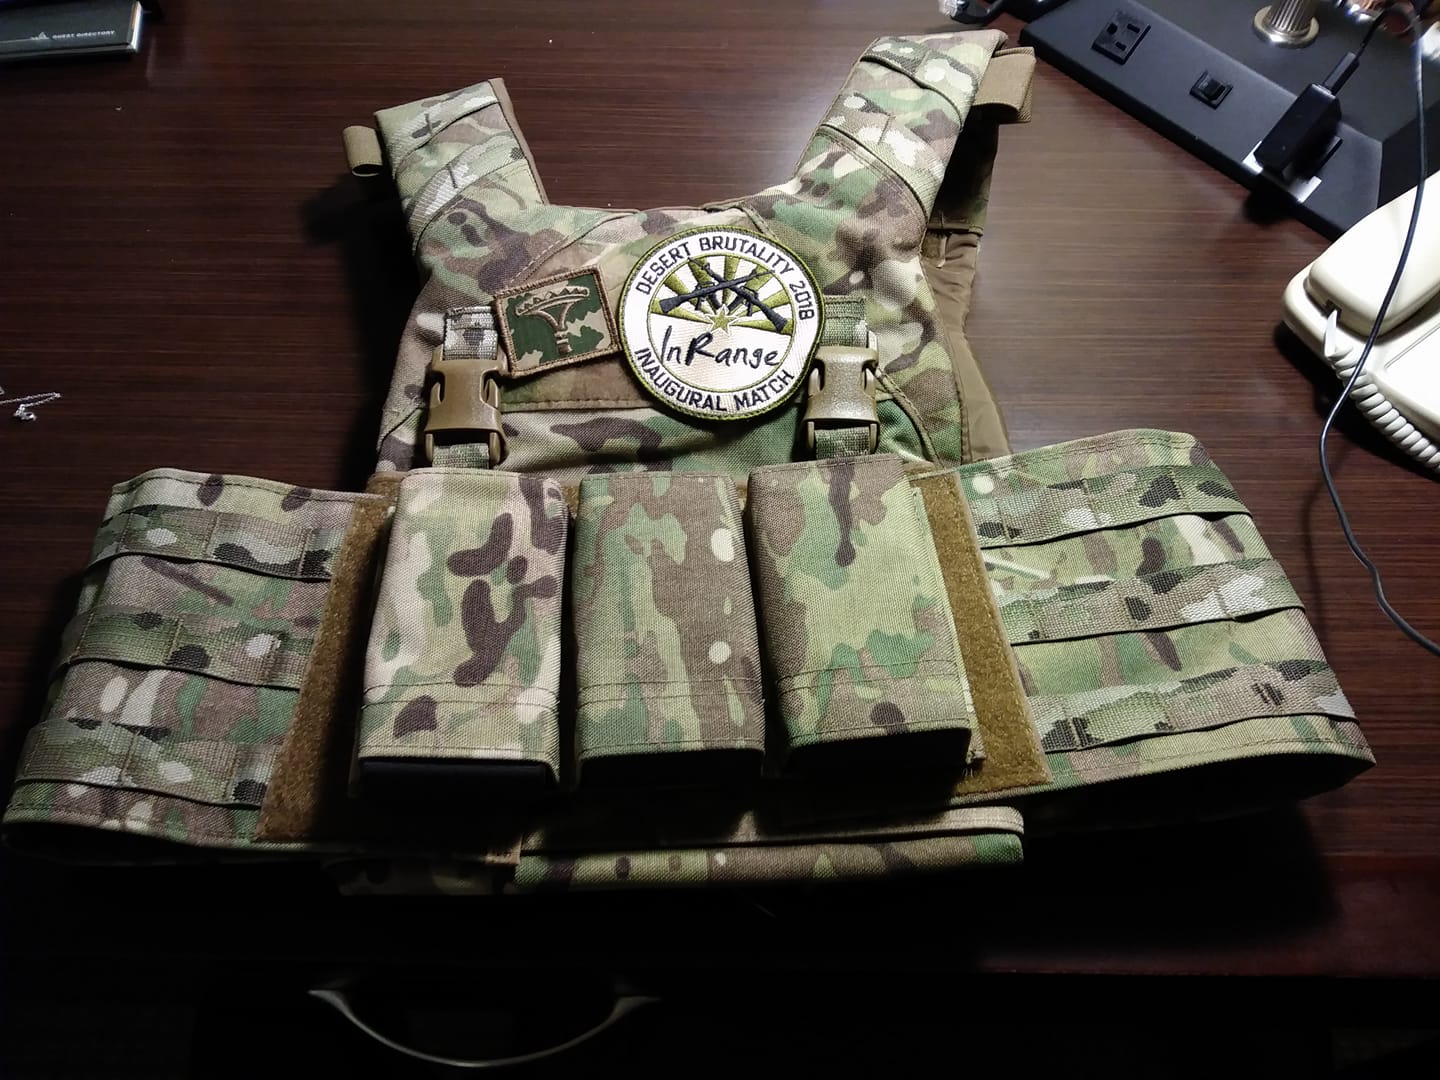
Mine was not the first name called, but one of the first five or so, and I got an awesome plate carrier from ESSTAC.

27503715_10214413649362321_1656305680760029052_o.jpg

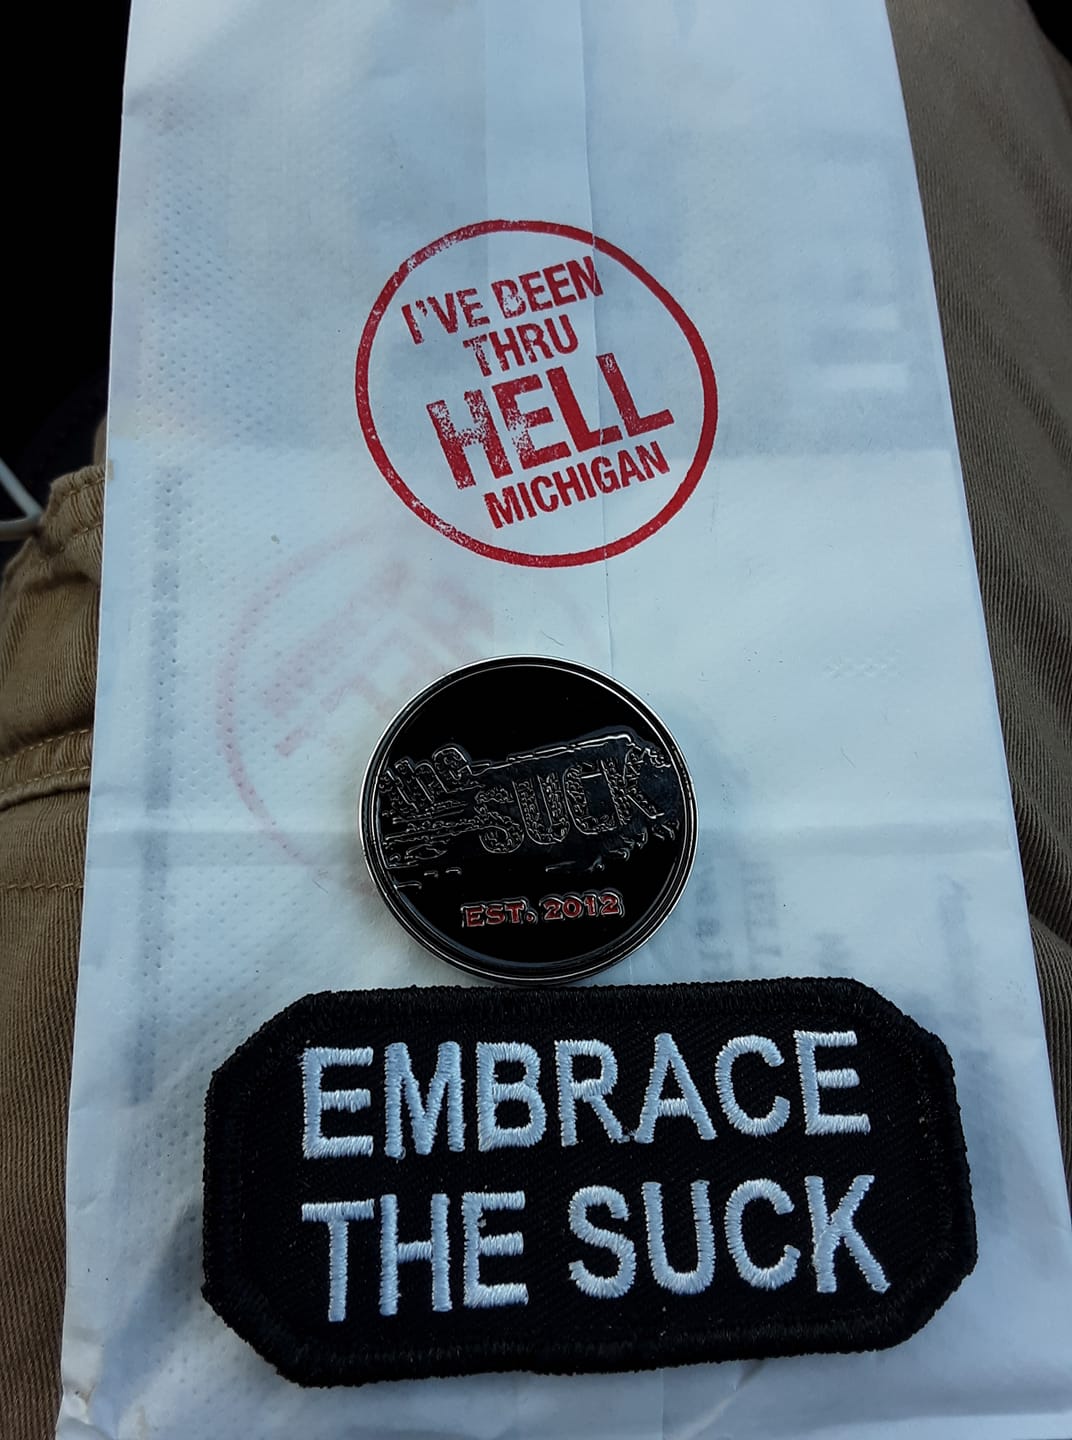
This was an awesome time and gave me a lot to think about in terms of how I train. Plans are in the works to run it again in 2019, and I can’t wait to see what they come up with for their second year.

Note: Our squad’s photographer was a cool guy named Nero Manalo (n_zeke on Instagram). All the good pictures in this post are his, all the crappy ones are mine.

The Plan Won’t Work Unless You Do: A Response to “WHY DIETS FAIL AND “EAT LESS, MOVE MORE” IS BAD ADVICE”

There is an incomprehensible amount being written on the topic of diet, and every writer thinks that their way of doing things will work for everyone. Unfortunately, people are not all the same and there is no one solution that will work for everyone. You have to find one that works for you, and perhaps more importantly, one that you can use. The ultra low carb paleo South Patagonia Dr, Oz diet may absolutely give the best results possible… unless you don’t actually follow it. You need to make the system that you follow convenient enough that you will actually follow it when life gets complicated.

I came across this article, and had a visceral “not only no but **** no” response to some of its points. While there is a lot of good in the article, I thought I would critique a few things.


I mainly coach bodybuilders, and bodybuilders are not very well-liked. I understand why: in the media all you see is unnaturally muscular, tanned men and women lined up in what seems to be some sort of muscle worship fetish. Yet in spite of their poor reputation, this stigmatized subculture does know the cure to obesity.

If you look up photos of many bodybuilders in the off season, you will see the very definition of yo-yo dieting.  The bodybuilding subculture also has a reputation for serious health problems caused by the way they push their bodies and for an unusually high occurrence of eating disorders. (You could argue that there are ways to avoid these risks and you would be correct. But the number of bodybuilders dying young would indicate that there are a lot of people not using these safeguards.) There are in fact things to learn from bodybuilding that can help in other endeavors, but there is a serious amount of bad mixed in with the good.

Basically, bodybuilders achieve what everyone on a diet wants: to lose fat, not muscle. That’s why I essentially treat all my clients that want to lose fat like I would treat a bodybuilder. Bodybuilding is just the more successful version of ‘dieting’.

Bodybuilding is a more extreme subset of dieting with specific requirements, goals, and risks, and it is not suitable for all situations. Different diets are suitable to different goals. Someone going into figure competition should be training and eating differently than someone going into an ultramarathon or into Ranger School. Different methods for different goals.

…most diets fail in the evening. After a long, stressful day at work, you come home hungry and your brain is too foggy to think about what to cook. You open your fridge and a pack of ready-to-eat microwave wraps looks you right in the eye. Decision fatigue has set in and you don’t have the cognitive resources anymore to resist your hunger. Therefore, you opt for convenience foods instead of diet foods.

I absolutely agree that this is where most diets fall apart. I did an impromptu poll of my friends on FB of what is the most challenging part of diet, and the most common answer was convenience. When you have no time to cook, when you are at a business meeting and your food choices are limited, “diet” foods won’t survive staying in your lunchbox on a construction site, and on and on. Where I disagree is how to get past this. Most people won’t arrange for food restrictions at every business trip, meal prep for every day without fail, etc. Your diet plan needs to be convenient enough that you will actually use it in the real world.

Common advice is to take the stairs instead of the elevator. Or park your car further away from work or your house so you have to walk a bit. The benefit is self-evident, right? Actually, it’s not, and neither is the cost.

These small benefits do not weigh up against the hidden cost: decision fatigue from fatiguing your brain every time see a staircase or you have to park your car. Constantly thinking about ways to increase your activity level requires effortful self-control. Combine this with a stressful day at work and you’ve got the recipe for a cheat meal. A single cheat meal can undo weeks or even a month of ‘moving more’.

You have totally misunderstood “eat less, move more.” It is short hand for “consume fewer calories and I don’t care what type of exercise you get, but get some exercise.” Small things like taking the stairs are not meant to be the sum and total of your physical activity. You should have a workout plan. Stairs and parking locations are just little extras you can put in if you want, and having 30 flights of stairs as part of your daily routine does help.

Here’s a photo from the Arnold Classic, a major fitness conference. It went viral in fitness circles under headlines as ‘bodybuilders not fit enough to take the stairs’. No, bodybuilders just know that taking those stairs is a needless effort. Conserving mental energy is far more important than expending physical energy. Bodybuilders instead invest their energy in structured exercise.

You can use that reasoning if you like. I have also met more than a few weightlifters who so focus on one aspect of fitness, forsaking all others, that they can’t take the stairs. Unless we find everyone in that picture and ask why they didn’t take the stairs, we will never know what portion of that crowd was waiting for the escalator for which reason. (Or the common reason of “Leg day was yesterday, no I’m not taking the stairs.”)

None of this in any way implies that exercise is bad for you on a diet. But the crucial feature of successful exercise is structure.

Structure is the key to lifestyle change. You need to plan in advance so that you avoid having to make dozens of daily decisions about diet and physical activity. Investing in a structured exercise program frees your mind from decision fatigue. As the saying goes, “Failing to plan is planning to fail.”

Absolutely agreed. A structured workout plan is what most people are meaning when they say to move more. If you are only moving randomly it is hard to track if it is “more.”

I did no cardio whatsoever – just weight training – to get in condition for the photo shoot below. Almost none of my clients, including competitive physique athletes, do cardio.

We know that most bodybuilders don’t do cardio. That is why it is easy to think that you can’t handle the stairs. Cardio is indeed over-rated. For weight loss. For heart health and for any sport where you need to move for more than 5 minutes at a time, cardio helps a lot. It is also great for people new to working out, as it is easy to figure out and easy to make sure you keep at it. “Okay, start walking and don’t stop for 30 minutes” is a lot easier to keep track of than 5×10 of this, 3×10 of that, 20-2×2 of this list of exercises.

Cardio should not be all of your workout regimen, but it should be in there somewhere.

‘Eating less’ implies sticking to the same food choices but simply eating less of them. This requires constant self-control by constantly eating less than your appetite signals you to. As the diet progresses and you become hungrier, you must eat even less as your metabolism slows down, which is when the struggle becomes exponentially more difficult. It’s no surprise that this is how most diets fail.

The solution? Eat more, not less. In my photo above I was eating close to 9 pounds (~4 kg) of food every day. I just ate low-calorie foods. I mostly ate fruits, vegetables and lean animal protein sources. In fact, it’s rare that I don’t eat at least 4.5 pounds (2 kg) of food in a given day.

First off, eating less just implies taking in fewer calories, it says nothing about food choices.  Second, most of us eat for reasons other than hunger. The package is almost empty, finish it. There are chips and salsa on the table. I always have a soda in the morning, I need the caffeine. Most of us can cut enough calories for slow weight loss (which should be the goal, rapid weight loss is seldom sustainable) without being hungry.

Eating more low-calorie foods is the reason paleo diets are so successful at causing fat loss.

It is also why so many people find them hard to follow. There is a large mass of food that you must constantly keep available and fresh, and it simply takes longer to eat, which is a problem with work, family and workout time demands.

For example, the typical Mediterranean lunch: 2 large slices of whole-wheat bread with cheese, 1 glass of semi-skimmed milk and an apple. Compare that to these 3 huge Sashimi Omelet Wraps. Both meals contain ~620 calories, but I know which I prefer.

I can put together the sandwich in about a minute. What is your prep time on those wraps? See where this could cause someone to just say screw it and order pizza?

In the end, your diet plan has to work for you. If it has perfect macros, but causes you to hate everything you eat or if you don’t follow it because you can’t find the prep time, it is not going to work long-term. It doesn’t need to be perfect, it just has to be workable for you. The reason so many diets fail is that people are pushed into diet plans that are too inconvenient to use in the real world.

I have tried several plans over the years, and thought I should share my history with diet plans and why I left them behind. These are just my results, yours may vary:

Slim-fast plan- It worked for weight maintenance, but didn’t provide the energy needed for my workouts.

Myfitnesspal- While it may have improved over the years since I tried it, I had a great deal of trouble finding foods and exercises in their database, and I thought some of the exercise calorie ratings were wonky.

Whole Life Challenge- This was the worst for me. The food restrictions made getting anything to eat really inconvenient and the point system encouraged binging. You start the day with 5 points and lose one for every serving of forbidden food you have. When you are down to zero points for today, why not hit Dairy Queen?

Maffetone low-carb- I tried this twice, and hated every minute I was on it. It failed to bring any of the health benefits that it promised. I lost a little weight, but the promises of feeling better and having more energy never materialized. This was designed as a test to see how well your body tolerates carbs, and it appears my body handles them just fine.

Current program- I am using a calorie tracking app called Lose It. I have not had trouble finding foods or exercises in it, and being able to scan bar codes and have it look up the foods is nice. I am losing weight slightly faster than I did under low carb, and the system of simply tracking calories lets me eat my favorite foods, usually an annoyance with the above plans. (I did come home one night and figure out that I could have 17 pizza rolls and still be okay. ) It also allows me to track where I am over or under calorie goals for the week, so if I go over one day I can still try to be under for the week.


The Donkey Strength Doctrine: Initial Thoughts and Principles

When I first started training, I remember how hard it was to find training information for events that included both strength and distance running. I pored through all the information I could find (living next door to the library helped) and finally found a way to put them together… right about the time that OCR-specific training books and plans started to come out.

Now, I see that the problem has morphed over the years. There are hundreds of training plans for specific types of athletes, and it gets very difficult for a beginning or non-elite athlete to find what training style works for their goals and their current physical condition. This often leads to doing nothing, paralysis by analysis.

The unlikely catalyst for putting together some thoughts for athletes in this space (the space where I lived for some time) was jokes surrounding an online meme:

27021526_1827133560653871_5193422291592006494_o.jpg

I commented that Donkeystregth sounded like a ruck training program, then realized it was a fitting metaphor for this sort of athlete. Lacking both the speed and endurance of the race horses and the strength and stamina of the work horses, we get through training and events more on sheer stubbornness than anything else. Working toward being able to keep up with both of them (maybe call that state mule strong?), just not quite there yet.

I may write more on this at a later time, but for now, here are the key principles that I have learned so far:

1: Start now.

10505569_10206034272070858_6983176121692030969_n.jpg

Do what you can with what you have now. You can change up how you go about it as you learn more and get stronger (there are things I did five years ago that I would not do now, and there are plans I have waiting for when I am strong enough to keep up with them), but doing nothing isn’t going to get you anywhere.

2: No Yeah Buts.

Hey I should start working out. Yeah, but I’m not sure if this plan is right.

I should eat more vegetables. Yeah, but the fresh is too expensive and the frozen has added sodium.

Doing something is almost always better than doing nothing. Frozen veggies are better for you than McDonald’s. You don’t need to do things perfectly, just do a little better than you are doing right now. Later you can try to do a little better than that.

3: Pick a plan.

I like to pick a training plan lasting from three to fifteen weeks, complete it, then switch it up. This counters the two problems I often find: over-specialization and the shiny object syndrome.

Many goals require a certain amount of specificity in training, and that is all well and good. If you are training for a 100 miler, you need to devote a good deal of your training time to long runs. Just don’t get so focused on only one skill that all of your other abilities decrease. No one wants to be the guy that can run 200 miles but can’t carry his suitcase in from the car, or the guy who can pick up the car but can’t run around the block. Devote the training time to whatever event you have, then change up the next plan you use.

The shiny object syndrome was a problem for me for years. I like this plan, use it for a week. OOOH SHINY! That plan is better, I will switch to that one. OOOH MORE SHINY. Totally changing everything because this one is cooler! Other trainers have described this as chasing many rabbits and catching none. Pick one plan and stick with it for a month or three, then change things out.

4: Fit the plan to your abilities.

We have all tried a plan that looks easy on paper but absolutely flattens you when you go to do it. A lot of plans for events I want to do are written for people considerably fitter than I am. While a little of this is good, too much of it will lead to injury. If you find yourself on a plan that requires way more fitness than you have, you have three options, which fit different types of workouts.

First is to switch to an easier plan.Doing this too often leads to the shiny object syndrome, but doing it when you recognize you are out of your league is okay.

Second option is to break it into pieces. If you are beaten down at the halfway point of your workout, do half in the morning and half at night, or half today and half tomorrow. Next week try to do a little more, and build up to doing it all in one go.

Third, and most common, is to scale the weights, reps and paces. Plan calls for ten pullups and you can only do five? Okay, do five. You can’t keep the 8-minute-per-mile pace called for? Pick a pace that is challenging for you and go with it. Don’t make it easy on yourself, but make it doable.

5: PACE 

We all have things to do other than training, and life can get in the way. Having a PACE plan (Primary, Alternate, Contingency, Emergency) for your workouts can help keep you moving forward on days that would otherwise prevent getting any form of workout in.

Primary is what you originally planned to do.

Alternate is for small bumps in the road that may screw up your workout. If someone is hogging the squat rack, I can switch to a run or some dumbbell work (depending on what I did yesterday, etc.).  The alternate can be for the entire workout, or for a particular exercise that requires particular gear.

Contingency is for when logistics prevent you from getting to the gym or outside or wherever you usually workout. I like workout DVDs for this.

Emergency is when time and logistics have gone to crap and you just want to get something in. I keep a kettlebell behind my desk, will do 5-10 minutes of swings when I can’t get anything else in. Any available exercise can fill the bill. A little bit of something is better than a whole lot of nothing.

6: Don’t overthink diet.

There are eleventy billion diet plans on the market, and every last one of them is convinced that they are the only way to eat properly, and you will likely hate being on at least 80% of them.

Make sure you are getting enough nutrients and are somewhere close to the amount of food that keeps you at the same weight (slow gain or loss depending on your goals). Take care of those two things and you have 80% of it figured out. Don’t look for the perfect diet, just something good enough that you can follow without hating life.

7: Learn proper form, and keep learning.

Learning how to exercise correctly will often mean doing it wrong for awhile until you figure it out, but you should always be trying to get as close to correct as possible. Various trainers will have various little tricks to check if your form is correct. Pick those up where you can and use them. (I tend to use little tricks from Pavel’s books pretty frequently.) While you are working through a plan, see what info you can dig up on what plan you might do next, try to understand the logic behind them and see if it matches your goals.