
I didn’t learn to ride a bike when I was little. I grew up on a farm, so I learned to drive a tractor. Anywhere I would have taken a bike, I could take a tractor, so learning the bike never became a priority.
I learned to ride last year, and along the way I noticed that there isn’t a whole lot of information out there for how to teach yourself as an adult. To help fix that, I’m posting what I did and what I figured out along the way.
Choosing a bike to learn on
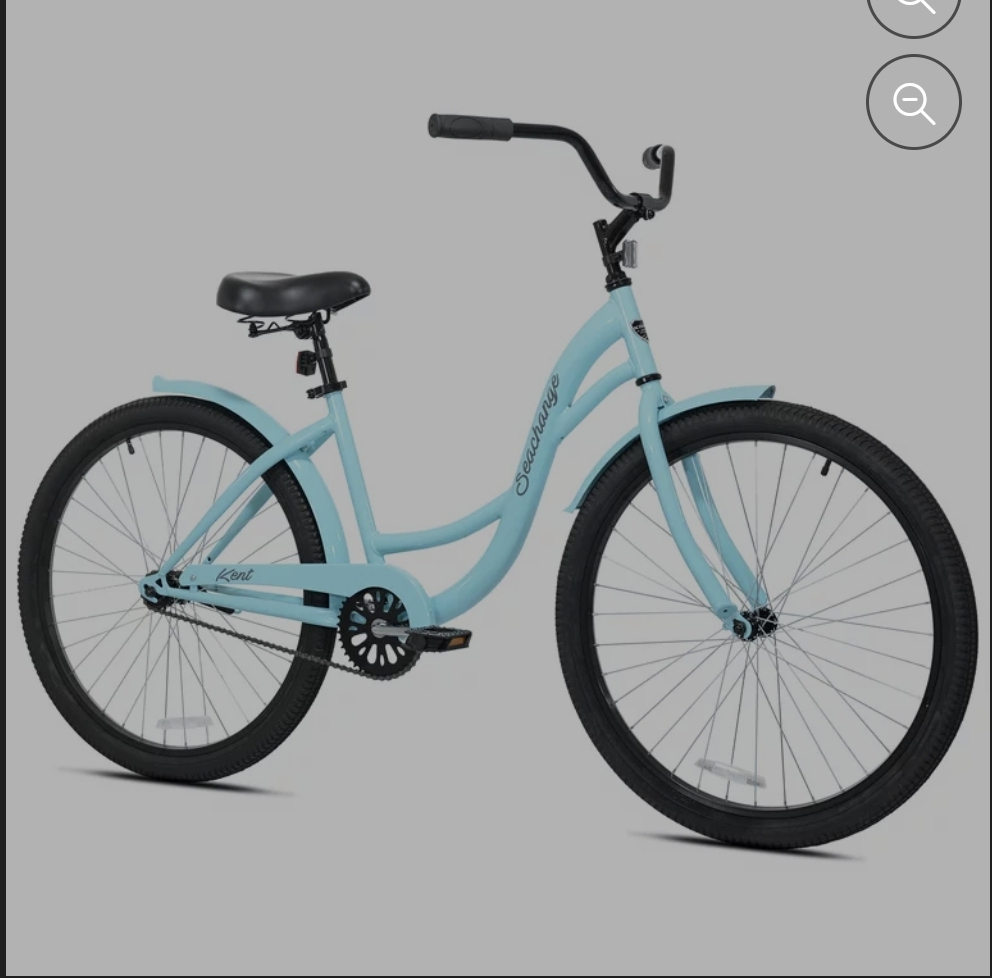
My advice for easiest bike to learn on is a cruiser style, single speed, lady’s model. Hundreds of these show up at your neighborhood big box store every spring for about 100 bucks. Single speed gives you the fewest variables to figure out. Cruisers have wide handlebars, which means a slight wobble in your hand position has less impact on your direction. (The first time I tried my wife’s bike, which has narrow handlebars, I found it to be very lively. It would have been a pain to learn on.) Regardless of your gender, you want the step-through (women’s) frame style. Sometimes something goes wrong and you need to get both feet on the ground. This is much more pleasant if the bike frame doesn’t hit you in the junk.
Training ground
You need a long stretch of concrete at least 8 feet wide to start. I used the alleyway behind my house. When you get to turns, you will want to find an empty parking lot.
Step one
Take the pedals off the bike and lower the seat so that you can sit with both feet flat on the ground. Start walking with the bike, and try to roll a bit between steps. Try to get to where you can lift both feet and glide for a second or two before you have to touch a foot down.
Try to make practice sessions half an hour or more, but no more than an hour. Enough time to make progress, but not enough to get frustrated.
Step two
When you can glide a bit, it’s time to put the pedals back on. Raise the seat to where you can touch with the balls of your feet. The goal is first to glide and get one foot on a pedal. When you can reliably do that, work on getting one foot on the pedal and pushing it to propel you forward. (Getting the pedal in position before you start makes this easier. You want it just forward of the top position, about 45 degrees from the horizontal.) Then work on getting the second foot on the pedal. When you get both feet going, you’re riding.
Step three
Okay, now we work on maintaining balance over distance, stopping, and adjusting the bike. The low seat makes learning easier, but lots of pedaling with the seat that low will wreck your knees. Every practice session, raise it half an inch or so, until your legs are nearly straight at the bottom of the cycle. Adjust it slowly so that it doesn’t feel all that different from last time.
See how far you can go in a straight line, brake to a stop, get off the bike, turn it around, and go again. When you feel like you are about to fall, turning towards the way you are falling can help bring you back.
If your bike has hand brakes, hit the rear then the front. Stopping the front first can make you pitch forward. If it has no hand brakes, you pedal backwards to stop.
Step four
Okay, now that you can go straight, work on making turns. Find a wide open parking lot and try a wide circle. Then start playing with figure eights and smaller turns.
The next step is simply to go somewhere. Ride to the park down the street or the grocery store or whatever. If you reach something that you think is above your abilities, stop, get off, walk the bike, and get back on when conditions are better. The more skilled you get, the more places you will think of that you want to ride to.
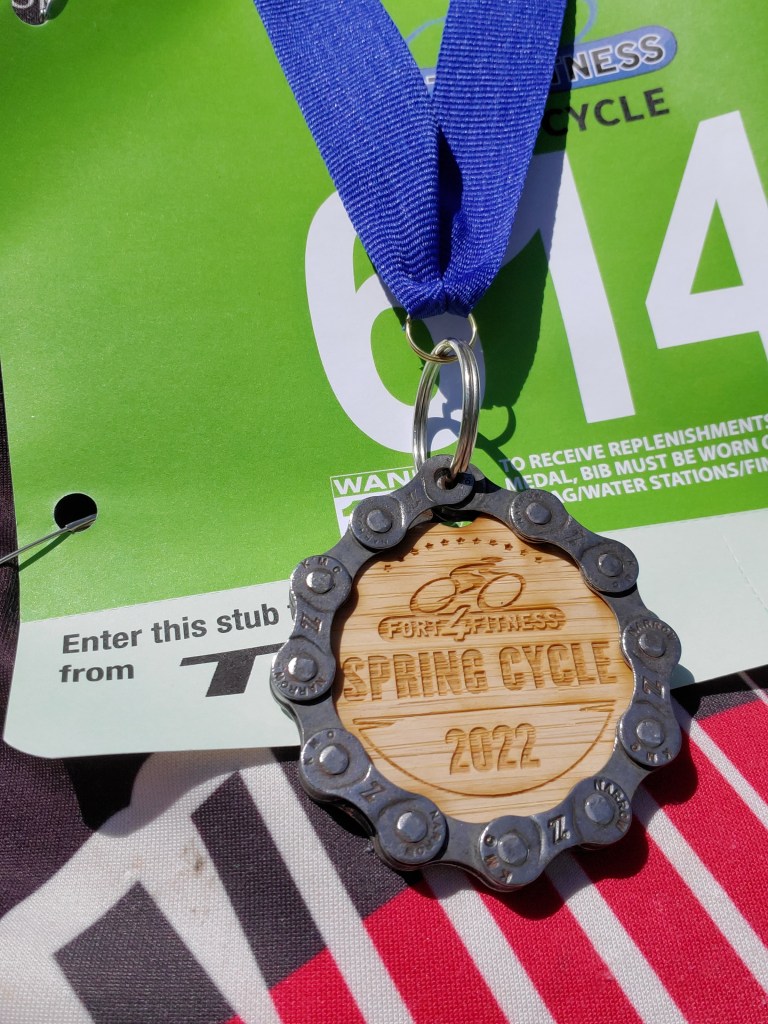
Cycling events
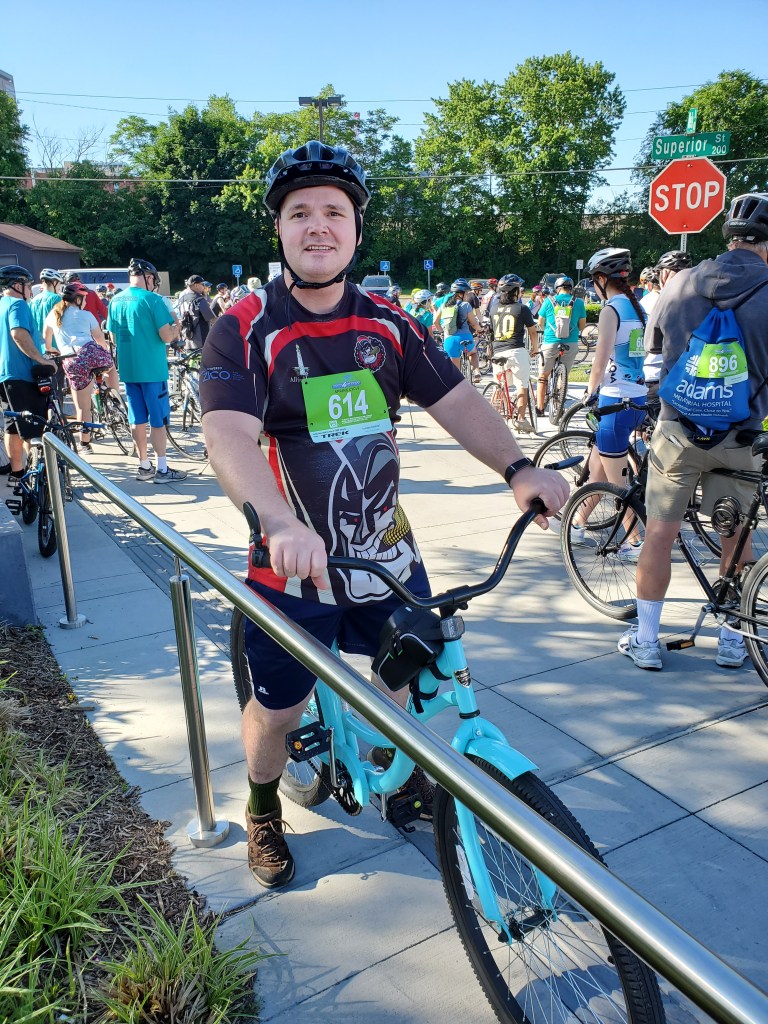
As soon as I could ride a few miles, I wanted to do official rides/races. I emailed the race organizers to ask their advice, explaining that I’d only been riding a month and I had never ridden in a group setting. They advised me to start at the back of the crowd and have a good time. I made it through the 8 mile with only a few minor problems and will probably sign up for the 20 miler this year.